Apply windshield glass coating
What this coating is and what it does
A 3M glass coat on a windshield is a thin, clear hydrophobic treatment on the exterior glass. It is meant to help water bead and sheet off so the wipers work less in rain. It is not window film, not tint, and not a repair for chips, pits, delamination, or a failed interlayer. Night glare, wiper chatter, and sensor function still depend on glass condition, wiper blades, and washer fluid.
Follow the label and technical data for the exact 3M glass-coat SKU you have. Dwell, coverage, number of coats, temperature window, and time before rain or wipers are product-specific and were not supplied for this article. Do not copy times or quantities from a different brand. Consumer 9H kits sold under names such as Mr. Fix are a separate product class with their own prep, wipe, and cure rules; they are not a substitute set of 3M instructions.
Before you start
Confirm the bottle is rated for exterior automotive glass. Coatings written for paint, wheels, or plastic headlights can haze glass or stain trim. Most windshield coats are for the outside face only. Interior glass is usually left untreated so the coating does not smear, haze, or add night reflections in the driver’s sightline.
Work on cool glass in the shade, out of direct sun and wind. The windshield must be dry. If the forecast calls for rain inside the product’s stated cure window, wait. Park so you can reach the full glass, including the top band under the roof and the lower band above the cowl, without standing on painted panels.
Have the coat, the applicator the 3M directions name (often a suede or microfiber applicator), several clean, unused microfiber towels reserved for glass, a pH-neutral wash, a glass-safe cleaner or isopropyl panel wipe if the label calls for it, and painter’s tape if the directions warn against product on rubber, black ceramic frit, or paint. Replace worn wiper blades after the coat has cured if the old blades were tearing or smearing; dragging a damaged blade across a fresh coat can streak it.
If the vehicle has a forward camera, rain sensor, or other optical device behind the windshield, keep the exterior in that viewing area optically clean and free of high spots. Whether a given 3M SKU is approved over that zone is a manufacturer and vehicle-maker question. If the label is silent and the vehicle is under warranty or used for ADAS-dependent driving, have a dealer or certified glass shop apply it or skip that patch.
Prep the windshield
Wash the exterior glass with a pH-neutral soap. Rinse grit out of the cowl and wiper rest so it does not get wiped back onto the glass. Lift the wiper arms off the glass and hold them with the service clip or a soft prop so they cannot drop. Remove old rain-repellent, wax, and oily film. Residue from earlier water-spot removers, silicone dressings, and some rain-X-type products can keep a new coat from bonding. Use only a glass-prep or polish the 3M directions allow. If the label does not name a stripper, stop and check that SKU’s data sheet rather than guessing a solvent. Decontaminate bonded traffic film if the glass still feels rough after washing. Fine glass polish can restore optical clarity on light etching; deep wiper tracks and sandblast pitting will still show through a coat and may need professional polishing or glass replacement. Wipe the entire exterior face with a clean towel and the final wipe the label specifies, often an isopropyl blend, until the towel picks up no color and the glass squeaks. Fingerprints and leftover polish oils are a common cause of fish-eyes and patchy beading. Tape along the A-pillars, cowl plastic, and wiper arms if the product can stain or if you tend to over-wipe the edges. Do not tape over the glass you intend to coat.
Completion of prep: in raking light the glass should look uniformly clear, with no haze islands, no oily rainbow, and no grit under a dry fingertip in a glove. If you still see water spots that will not wipe off, those mineral deposits will be locked under the coat.
Apply and level the coat
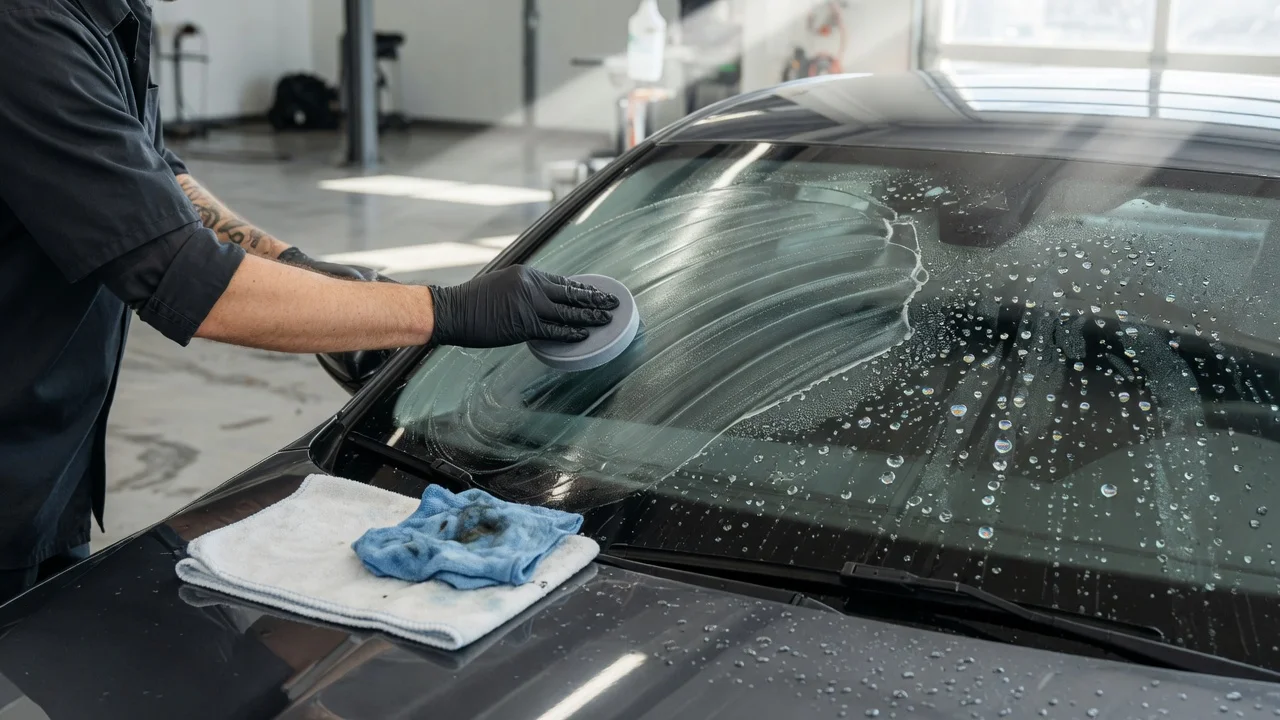
Shake or invert the bottle only as the label says. Some glass coats are ready to use; others need mixing. Do not thin the product. Load a small amount onto the named applicator. A windshield is coated in a thin, even film. Extra liquid does not add durability; it leaves high spots that smear in rain and at night. Work one manageable panel at a time, typically the driver’s half then the passenger half, or top band then bottom band, so you can level before the product flashes. Keep a wet edge. Stay off the interior and off painted bodywork. Spread in overlapping straight strokes, then cross-hatch if the directions call for it, including the frit band if that SKU is allowed there. Do not pour product into the camera or rain-sensor patch unless the label explicitly allows it. When the label’s flash or haze cue appears, buff immediately with a clean, dry microfiber using light pressure until the glass is optically clear. Flip or replace the towel as soon as it drags. A late buff on a coating that has already locked up can leave a cloudy patch that only comes off with polish. Inspect from inside the cabin and from outside, including low sun angle. Re-level any rainbow, streak, or dull island while the product is still within its stated rework window. A second coat is used only if that SKU lists a recoat time; stacking unrelated ceramic products on the same day is not a 3M procedure. Leave wipers raised until the stated dry-to-touch or wiper-safe time has passed. Do not run the washer or drive through a car wash during the wet-cure window printed on the package.
Specific milliliters per windshield, minutes of dwell, ambient temperature and humidity limits, and hours before rain are missing here because they belong to the 3M SKU in hand. If those figures are not on the bottle or the matching data sheet, do not apply the product.
Check the job and aftercare
The coat is complete when the exterior is free of haze and high spots, there is no oily smear in the wiper sweep, and a light water mist beads and sheets instead of wetting out in a continuous sheet. Sit in the driver’s seat and look through the glass at a distant high-contrast edge; you should not see smearing, rainbow, or a dull band. At night, confirm there is no extra bloom around lights before you rely on the windshield on an unlit road.
For the first washes, use a pH-neutral soap and avoid abrasive glass polishes, which strip hydrophobic films. Reapply only when beading falls off in the wiper sweep, and only after repeating the full decontamination, not by wiping fresh coat over dirty glass. If beading is patchy from day one, the usual causes are leftover old repellent, applying in sun, or buffing too late.
When to stop and use a shop
Stop and have a professional handle the glass if the windshield is cracked or the inner layer is milky, if wiper parks have deep sandblast etching you cannot polish out, if an ADAS camera or rain sensor sits in the area you would coat and the 3M sheet does not address it, or if a previous coating has cured into a cloudy film you cannot remove with the allowed prep. Those conditions need glass correction, coating removal, or replacement, not another wipe-on layer.