Windshield Washer Fluid Leaking: Find the Source and Plan the Repair
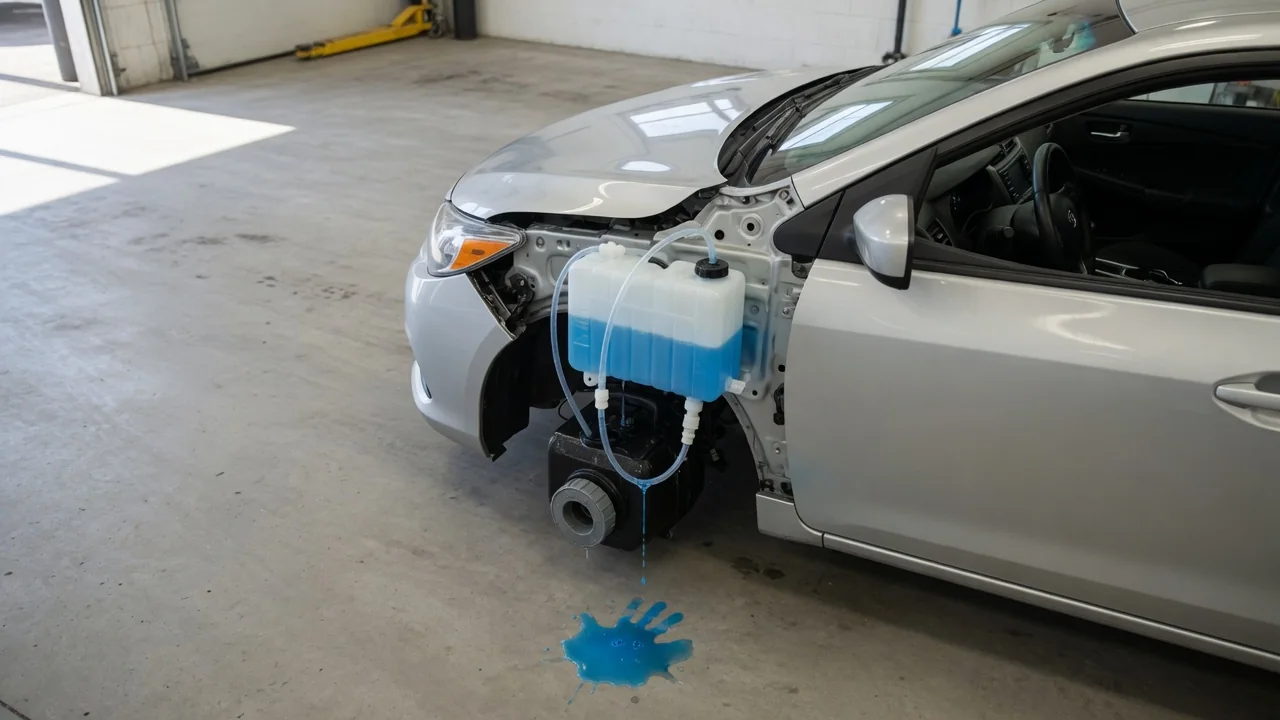
A colored puddle under a parked car and a washer tank that keeps running low usually point to a leak somewhere in the windshield washer system. Sort out those clues before you replace any parts. This guide covers how to confirm the fluid and find the reservoir. It then explains how to check the pump seal, hoses and connectors, choose between repair and replacement, and confirm that the fix holds.
Identify the Puddle Before Assuming It Is Washer Fluid
Washer fluid comes in blue, pink, orange, green and clear formulas, so color alone can't tell you which system is dripping. Coolant, some transmission fluids and even condensation mixed with road grime can look similar on pavement. A pattern of clues is stronger evidence. Watch for a washer level that drops between fill-ups, fluid trails near the front bumper or fender liner, and spray that weakens or stops. Any one of these can have another cause, but when several show up together, a washer leak is much more likely.
Check the car while it's parked and cooled down. Use a flashlight, and slide a clean piece of cardboard under the drip area to catch fresh drops so you can see their color and where they land. Don't touch, taste or deliberately sniff an unknown fluid. Many washer fluids contain alcohols that are harmful if swallowed, and other automotive fluids are toxic too. Have the vehicle checked before driving if you can't identify the leak, a warning light or temperature concern appears, or the windshield can't be cleaned well enough to see clearly.
Locate the Reservoir and Record When Fluid Escapes
The filler cap is usually marked with a symbol showing a windshield and spray. If you can't spot it under the hood, the owner's manual shows where it is. Often the cap only gives you the filler neck. The reservoir for windshield wiper fluid itself may sit low behind a headlight, inside a fender or behind the bumper cover. The tank is sometimes called a wiper fluid tank or washer water tank. It simply holds fluid until the electric washer pump draws it in and pushes it to the nozzles.
The tank, the pump seal and the lower connections always hold fluid. That means a leak can happen while the car sits parked, even if you never use the washers. To track it, mark the starting level with a line or a photo. Look for wet areas you can see without removing anything, and note whether drips appear overnight, only after you use the washers, or while driving. Underbody panels and splash shields can carry fluid several inches before it drips, so the puddle's position can be misleading.
Check Accessible Pump and Seal Areas for Fresh Wetness
On many vehicles, the washer pump fits into an opening near the bottom of the reservoir, held in place and sealed by a rubber grommet. Other vehicles mount the pump differently or use separate front and rear pumps. When the seal sits below the fluid line, the stored fluid presses on it all the time. With the engine off and cool, look at whatever part of the pump you can see from above or through the wheel well. Check for fresh wetness, drips on the wiring connector, or residue around the grommet without removing any covers.
If the reservoir has enough fluid and everyone is clear of the wiper arms, briefly activate the washers. Some leaks appear only when the pump pressurizes its outlet. Stop right away if the tank runs dry, because running a pump without fluid can damage it. A noisy pump, weak spray or damp area near the pump still doesn't prove which part failed, since fluid may be running down from higher up. Leaks you can't see and suspected electrical faults call for professional testing.
Find Leaking Hoses and Choose Suitable Connectors
Washer tubing runs from the pump to the nozzles, often held by clips along the fender, cowl or underside of the hood. Inspect the sections you can reach easily. Look for splits, cracked ends, joints that have slipped apart, spots where tubing rubs against a bracket, and connectors that are wet on the outside. Keep your hands away from the hot engine, the cooling fan and the wiper linkage. Running the washers briefly while a helper watches can show fluid escaping at a particular joint. Weak spray alone could also mean clogged nozzles or a worn pump.
Hose repair kits and replacement tubing have to match your vehicle's tubing diameter, material and connector style, including any check valves or T-fittings in the system. No single kit fits every car. If the tubing is still flexible and the damage is on a section you can reach, a proper inline connector may fix it. Tubing that is brittle, kinked or worn through from rubbing is better replaced and clipped back along its original route. If the line runs through hood hinges, body panels or a rear liftgate, a professional repair is usually safer.
Determine Whether the Reservoir or Its Attachments Need Repair
Before ordering a new tank, find exactly where the wetness starts. Fluid beading along a molded seam, weeping from a crack in the tank, seeping around the filler neck joint, pooling at the pump grommet, or dripping from an attached fitting each points to a different repair. A minor collision or road debris can crack the plastic. Weak or diluted fluid can freeze and split a tank or its seams. Either is possible, but don't blame one unless the visible damage matches where the fluid is coming from.
Whether a reservoir can be repaired depends on the type of plastic, where the damage is, and how easy it is to reach. Glue, tape and sealant rarely hold up against constant fluid contact and vibration. If you replace the tank, confirm the part matches your vehicle and its equipment, such as headlamp washers or a rear wiper. Also decide whether the pump, grommet, level sensor or filler neck should be replaced at the same time. Follow the procedure for your specific vehicle, and leave jobs that require lifting the car or removing body panels to a shop with proper equipment.
Verify the Repair and Restore Reliable Washer Spray
After the repair, refill with washer fluid rated for the temperatures the car will face, especially if freezing may have caused the damage. Stop at the fill mark instead of filling the neck to the top. If the level keeps dropping, don't keep refilling an active leak, which just puts more fluid on the ground. Run the washers briefly, then check the repaired connections you can reach for seepage. Leave the car parked overnight, then look for fresh drips on the cardboard and compare the fluid level with your earlier mark.
Test both the front and rear washers if your car has both, and make sure the spray is even and reaches the glass. If spray is still poor after the leak is fixed, the cause may be a clogged nozzle, a kinked line, a failing pump or an electrical problem that needs more diagnosis. Have a professional take over if fluid loss continues, you can't reach the wet area, or the spray stays unreliable. Wipe up spills promptly and store washer fluid where children and pets can't reach it, because it can be harmful if swallowed.