Wheel Bearing and Hub Assembly Replacement: Process, Parts, and Torque
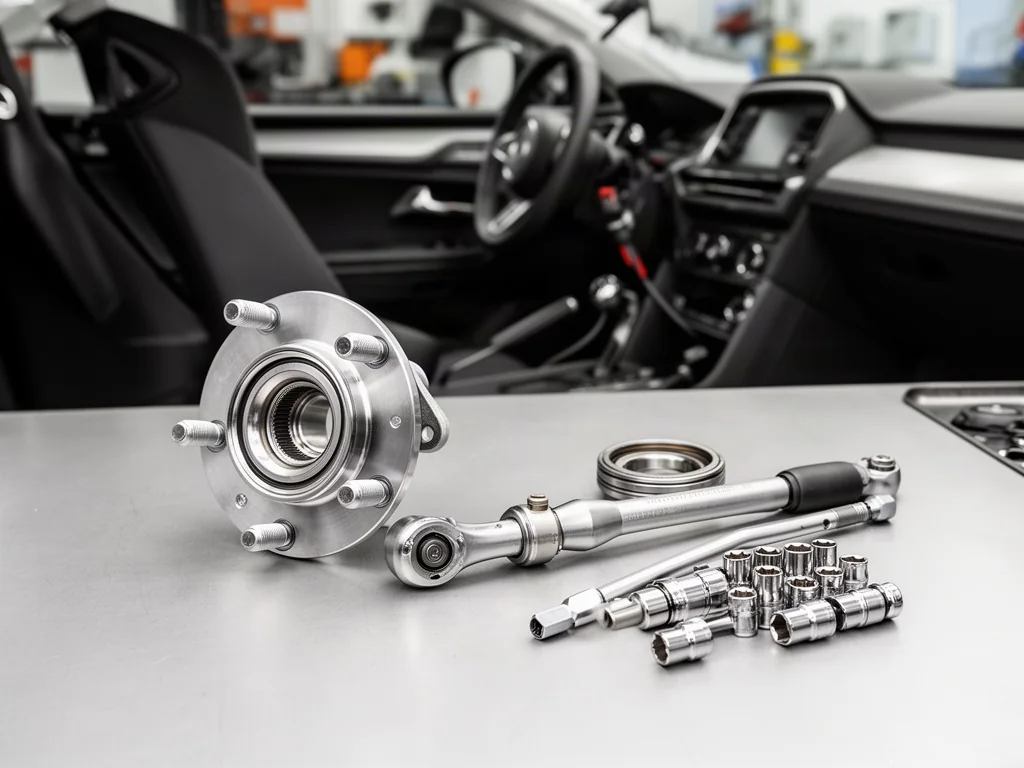
Removing a wheel bearing or bolt-on hub assembly can be anything from a fairly simple bolt-on swap to a job that needs a hydraulic press, depending on the vehicle. This guide explains how to confirm the problem, identify which design your car uses, and check what a replacement kit actually contains. It also covers why torque, fastener and sensor details must come from vehicle-specific service information rather than rules of thumb.
Recognize Symptoms That Need a Bearing Diagnosis
A humming or growling noise that rises with road speed is the classic complaint that sends drivers looking for a wheel bearing repair, but the sound alone does not prove the bearing has failed. Cupped or unevenly worn tires, a damaged CV joint, a dragging brake or loose suspension parts can produce similar noise, vibration or play. Treat these symptoms as a reason to inspect, not as a diagnosis. A qualified technician can check for roughness and looseness at the hub and rule out other causes before any parts are ordered.
During ordinary driving, note when the sound first appears, whether it follows vehicle speed rather than engine speed, and whether it changes on different road surfaces. There is no need to swerve or weave to provoke it. Doing so adds risk without improving the diagnosis. Noise travels through the body and subframe, so a sound that seems to come from the back may start at the front. Sealed bearings generally cannot be repaired once damaged and are replaced instead. If you notice severe grinding, wheel wobble or unstable handling, pull over safely and arrange a professional assessment.
Identify the Bearing Design and Replacement Scope
Before buying anything, pin down the exact vehicle: model year, engine, drivetrain, axle position and any trim-level differences such as brake size or ABS setup. Those details determine whether that wheel uses a bolt-on hub assembly or a bearing pressed into the steering knuckle, and they point to the correct service procedure. Two versions of the same model can differ. Front-wheel-drive, all-wheel-drive and rear-wheel-drive layouts often handle the front hub differently, so a general assumption about your car is no substitute for confirming it.
A bolt-on hub assembly combines the hub, bearing and often the sensor ring into one service unit that bolts to the knuckle. That avoids pressing, but it still means disturbing the brakes, the axle nut and the hub bolts, all of which are safety-critical. A separate pressed bearing requires specified press tooling and controlled support of the knuckle and bearing race, so it is usually shop work. Rear wheel bearings are a separate case. Rear hubs, solid-axle bearings and retaining arrangements vary widely, so never assume that front procedures apply at the rear.
Check Replacement Parts, Kit Contents, and Service Information
Kit contents vary more than most buyers expect. One box may hold only a bare bearing, while another contains a complete hub assembly. Seals, retaining rings, a new axle nut or hub bolts may be included or sold separately. Read the listing and the part documentation carefully, then verify fitment against your exact vehicle details in the applicable parts information. Pay particular attention to wheel speed sensor provisions, because some bearings carry a magnetic encoder or an integrated sensor that must match the vehicle's ABS design.
Gather the service information before any tools come out. It should list the required special tools, which fasteners are single-use, the torque and any angle-tightening sequence, and inspection criteria for the knuckle, hub mounting surface and related parts. Owning a torque wrench does not make someone ready for this repair. Proper lifting and support equipment, the specified tooling, and experience with brake and suspension work all have to meet what the procedure demands. If any of those is missing, a professional shop is the safer route.
Understand What Bearing Removal Involves
Removing a wheel bearing follows a general pattern even though the details differ. The work area is prepared, the hub is accessed, nearby parts are protected, and the bearing or hub comes out by the method the manufacturer prescribes. Depending on the vehicle, that can mean removing the brake caliper and rotor, freeing the drive axle from the hub, and disconnecting or unclipping wheel speed sensor wiring. Sometimes suspension joints must also be separated to gain clearance or to remove the knuckle entirely.
Corrosion is what turns a routine job into a long one. Axle splines can seize in the hub, hub assemblies can rust solid to the steering knuckle, and rust scale can damage a mounting surface badly enough that it needs professional cleanup or replacement parts. These situations often call for pullers, presses or heat, which should stay in a shop. For that reason, this overview deliberately leaves out lifting steps, brake disassembly, axle nut loosening, hammering and press operation. Those belong to vehicle-specific service information and qualified personnel.
Understand Installation and Vehicle-Specific Torque Requirements
Installation starts with inspecting the knuckle bore or hub mounting surface for rust, burrs or damage. Next, confirm the new part is correct and oriented as specified before securing it by the prescribed procedure. Dirt trapped under a flange, a hub that is not fully seated, or pressing force applied through the wrong race can damage a new bearing before it has turned a mile. Pressed bearings and hub installations require the specified supports and tooling. Where applicable, confirm the sensor or encoder orientation, reconnect any affected wiring and follow its original routing.
Torque is where guesswork does the most harm. The axle nut, hub bolts, brake caliper and bracket fasteners, and wheel fasteners each have their own specification, and some require torque plus an additional angle. There is no universal value to borrow from another car. The applicable procedure also decides whether a fastener may be reused, whether threads should be lubricated or dry, the tightening order, and whether the vehicle's weight should be on the wheels during final tightening. No single rule about tightening on the ground or in the air fits every design.
Check the Completed Repair and Address Persistent Symptoms
Before the vehicle goes back into service, the repairer should confirm that every disturbed fastener was tightened to specification. The brake pedal should be firm and the brakes should work normally, the wheel must be secure, and the sensor wiring should be connected and clear of moving parts. The mistakes behind most repeat repairs are preventable: fitting a part that does not match the vehicle, reusing a single-use axle nut or bolt, guessing at torque, or damaging the bearing, seal or encoder during installation.
After start-up, check the dashboard for an ABS or traction-control warning. A lit warning needs diagnosis. It can point to a disconnected or damaged connector, a pinched wire, debris on the sensor, an encoder installed the wrong way around, or an unrelated fault. Any stored code is evidence to interpret, not proof that the new bearing is defective. If noise, vibration, looseness or abnormal braking continues, have the vehicle professionally reassessed rather than driving on to see whether the problem settles.