Volvo PCV Valve Replacement: S60, XC60 and XC90
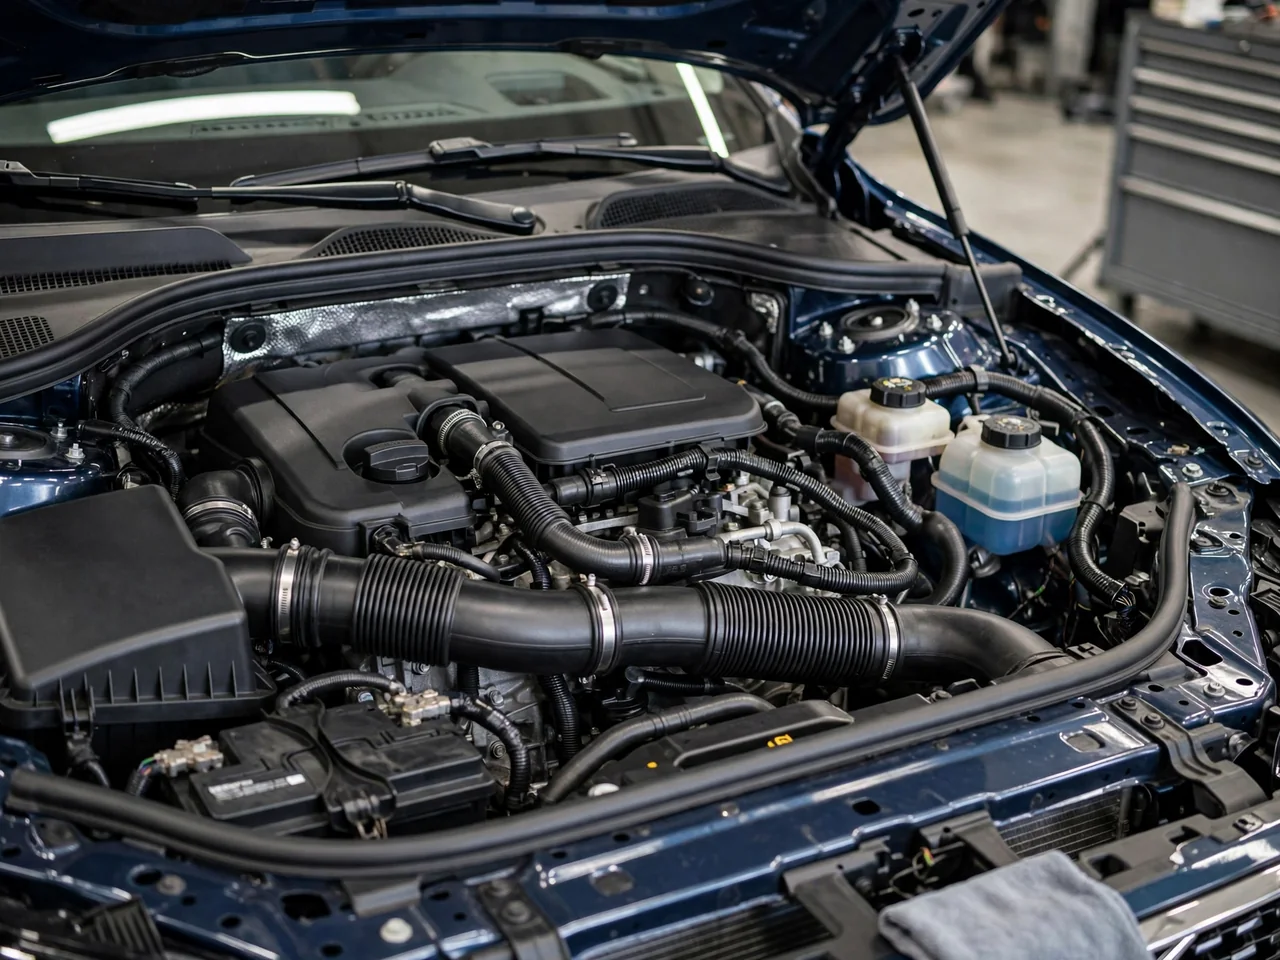
Volvo owners often first hear about a PCV valve when their S60, XC60, or XC90 shows signs of oil leaks, whistling, or inconsistent idle. Positive crankcase ventilation manages pressure and routes gases back to the intake, but the term “PCV valve” can mean a small check valve, a diaphragm, or an entire oil separator assembly depending on the engine. Correct replacement starts with identifying the exact model year, engine designation, and VIN-based parts information. Without that step, even experienced Volvo service planning can go wrong.
Identify the Volvo Engine and Its PCV Assembly
Positive crankcase ventilation works by pulling combustion byproducts from the crankcase into the intake tract, where they are burned again. The airflow is controlled to prevent a vacuum leak and to keep crankcase pressure within a narrow range. On many Volvo engines the piece called a PCV valve is only one part of a larger breather or oil separator assembly, and that assembly often differs between five-cylinder, six-cylinder, and newer direct-injection engines.
Service information must be tied to the vehicle identification number because the same S60, XC60, or XC90 nameplate can use several engine families across model years. A verified diagram confirms whether the ventilation system has a replaceable diaphragm, a single-use oil separator box, or external hoses that must be inspected separately. Guessing at a location invites damage to brittle plastic or nearby wiring, so VIN-based parts lookup is the only reliable starting point.
Symptoms That Warrant a Crankcase Ventilation Check
A whistling sound that changes with engine load, a rough or hunting idle, fresh oil residue near the valve cover, or higher oil consumption can all point to a crankcase ventilation fault. However, each symptom has multiple possible causes. A split vacuum hose may whistle, a failing coil can cause rough idle, and a leaking cam cover can mimic ventilation-related oil loss. Restricted ventilation tends to increase crankcase pressure and push oil out, while a failed regulating diaphragm may pull too much vacuum and create a different set of symptoms.
An owner can note when symptoms appear and visually check accessible hoses with the engine off and cool, but oil-cap behavior at idle is not a standalone test. Removing a cap causes deliberate air entry and changes the signal for many engines. A mechanic should use a crankcase pressure gauge, vacuum measurement, or smoke leak test to separate a ventilation restriction from worn seals. Heavy smoke, an oil-pressure warning light, or a large oil puddle means the vehicle should be stopped and towed rather than driven further.
Volvo S60 PCV Location and Replacement Scope
The S60 has been built with naturally aspirated and turbocharged four-, five-, and six-cylinder engines, so the first step is to match the VIN to the exact engine designation. Some engines place the oil separator and pressure-regulating valve on the front of the block, while others hide the assembly under the intake manifold or integrate the diaphragm into the valve cover. Only an engine-specific service diagram can establish the breather assembly location, connecting hose routing, and access requirements.
Replacement scope follows from what the verified configuration uses. A separately replaceable PCV valve or diaphragm is a modest repair, but many Volvo breather assemblies are sold only with the oil separator housing. A repair estimate should also include inspection of all accessible hoses, vacuum nipples, and nearby seals, because a hardened breather hose or leaking cam seal can cause the same symptoms and will be most cost-effective to address during the same disassembly.
Volvo XC60 PCV Location and Service Planning
Model year and engine identification are the necessary starting point for any XC60 ventilation repair. A 3.0-liter six-cylinder, a 2.0-liter four-cylinder, and a 2.5-liter five-cylinder each route crankcase gases differently and package the oil separator in a different position. Verified parts diagrams will show whether the pressure-regulating valve is sold separately or comes only as part of the separator housing, and that determines how the job is quoted.
Component access can change the labor estimate significantly. On some XC60 configurations the breather assembly is visible and reachable after removing a few covers, while others require moving the intake manifold, fuel rail, or coolant pipes. If the workshop manual calls for substantial disassembly or if the pressure fault is not yet proven with a gauge or smoke test, the professional boundary is clear: stop and verify the diagnosis before replacing parts.
Volvo XC90 PCV Components and Replacement Needs
An XC90 owner asking for a PCV valve should first confirm which engine is actually fitted and what its ventilation assembly is called in the service documentation. The V8, inline six, and later four-cylinder engines use entirely different breather layouts, and the term PCV may refer to a small diaphragm, an internal passage in the valve cover, or the oil separator housing itself. A universal XC90 location does not exist, so parts selection must be engine-specific.
Diagnosis before replacement matters because symptoms can be caused by a restriction, an intake leak, or a faulty regulator. A technician should trace the complaint to a confirmed pressure or flow problem, then inspect every hose and seal connected to the ventilation path. The owner should ask what pressure or vacuum readings were taken, what the smoke test showed, and whether existing oil leaks will be resealed during the same repair. That discussion defines the true scope of work.
What a Volvo PCV Replacement Should Include
A complete service begins with confirming the fault, then identifying the correct engine-specific parts, completing the repair using the approved procedure, and finally verifying that crankcase pressure and airflow are in specification. An estimate should clearly list the affected assembly, any replacement hoses or seals, the diagnostic time already spent, and the labor required to reach the components. Engine configuration and design drive cost; an integrated valve cover or hidden oil separator can require hours more labor than a simple external PCV valve.
After the repair, the technician should recheck crankcase pressure, look for air or oil leaks, and reproduce the original symptom conditions to confirm they are gone. If the complaint remains, the diagnosis was incomplete. Replacing ventilation parts does not automatically repair a seal that has already been deformed by high pressure, and a persistent oil leak may require separate resealing work. The final step is always proof through measurement, not assumption.