Tire Bead Sealer: When It Can Help With a Bead Leak
The Short Answer
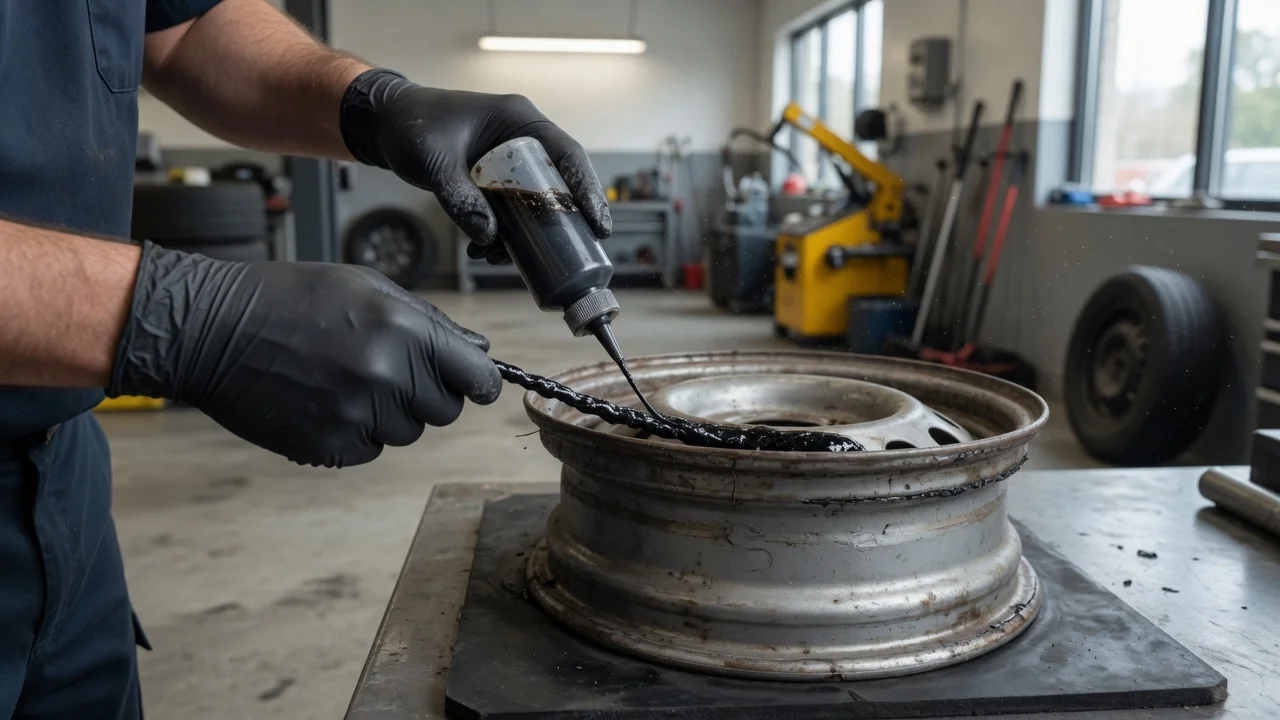
Bead sealer can help when a tire loses air slowly between the tire bead and the wheel because the wheel's sealing surface has minor roughness, light corrosion or small surface pits. It is applied to the bead seat area while the tire is off the wheel, and it fills those small imperfections so the bead can seal again. It is not a fix for a bent or cracked wheel, a damaged or torn tire bead, heavy corrosion that has eaten away the bead seat, or a leak that is actually coming from somewhere else, such as a puncture or the valve stem.
In practice, bead sealer is a shop-style repair material used during tire mounting. It is not a roadside product you add through the valve, and it does not replace cleaning and inspecting the wheel.
Terms That Are Easy to Mix Up
Tire bead: the reinforced inner edge of the tire that presses against the wheel to hold air. Bead seat: the machined surface on the wheel where the tire bead rests and seals. Bead leak: an air leak between the tire bead and the wheel's bead seat, as opposed to a leak through the tire tread, sidewall, valve stem or wheel itself. Bead sealer: a brush-on sealing compound applied to the bead seat (and sometimes the tire bead) during mounting to seal minor surface flaws. Bead lubricant or mounting paste: a slippery compound used to help the tire slide onto the wheel and seat evenly. It is a mounting aid, not a sealer. Tire sealant or inflator-sealant: a liquid injected inside the tire, usually through the valve, intended mainly for small tread punctures. It is a different product with a different purpose. TPMS (tire pressure monitoring system): the system that warns of low pressure. A TPMS warning tells you pressure is low but does not identify where the air is escaping.
Confirm It Is Really a Bead Leak
Bead sealer only makes sense once the leak has been traced to the bead area. The usual method is to inflate the tire to the vehicle's specified pressure, then spray or brush soapy water around the joint where the tire meets the wheel on both sides, as well as over the tread, sidewalls and valve stem. Steady bubbling along the rim edge points to a bead leak. Bubbles elsewhere point to a different problem that bead sealer will not solve.
If the wheel is removed from the vehicle, checking the inner side of the bead is much easier. A slow leak can also come from a porous or cracked wheel, which may look like a bead leak at first glance, so the location of the bubbles matters.
When Bead Sealer Is a Reasonable Choice
The wheel's bead seat has light corrosion or oxidation that has been cleaned back to a sound surface but is still slightly uneven. There are minor scratches or small pits on the bead seat that do not affect the wheel's shape or strength. The tire bead itself is intact, with no cuts, tears, exposed cords or deformation. The wheel is straight and free of cracks.
When It Will Not Fix the Problem
The wheel is bent, cracked or has a damaged flange, for example from a pothole or curb impact. Corrosion is severe enough that material is missing from the bead seat or the surface flakes after cleaning. The tire bead is damaged, which generally means the tire needs replacement rather than sealing. The leak is from a puncture, the valve stem, the valve core, a TPMS sensor seal or a porous wheel. The tire was mounted incorrectly or the bead never fully seated; this calls for remounting, not sealing.
Using sealer to cover one of these conditions can hide a problem that affects safety. A damaged wheel or tire should be inspected and repaired or replaced as appropriate.
How a Bead Leak Is Typically Repaired
Deflate the tire and break the bead, then remove the tire from the wheel. Clean the bead seat thoroughly, typically with a wire brush or abrasive pad, until loose corrosion, old rubber residue and debris are removed. Inspect the bead seat, wheel and tire bead for damage that sealer cannot address. Apply bead sealer in a thin, even coat to the bead seat according to the product directions. Mount the tire, using mounting lubricant where appropriate, and inflate to seat the bead following safe seating practice. Set the pressure to the vehicle's specification, recheck with soapy water and balance the wheel if it was disturbed.
Because the tire must be dismounted, this work is normally done with a tire changer. Seating a bead involves high pressure and can be dangerous if the tire or wheel is damaged or the bead releases suddenly, so many owners have a tire shop perform it.
Vehicle and Wheel Considerations
Corrosion-related bead leaks are often discussed in connection with alloy wheels, but whether a given wheel is prone to them depends on its material, finish, age and operating environment, such as exposure to road salt. Some wheels have coatings or finishes that call for specific handling, and wheels fitted with TPMS sensors need care during dismounting and remounting. Check the wheel or vehicle manufacturer's guidance for your specific model year and wheel type where it is available.
Information Gaps to Keep in Mind
No product-specific data was available for this guide, so it does not state drying or cure times, compatibility with particular wheel finishes, temperature limits or how long a sealed bead can be expected to last. Those details vary by product and should be taken from the manufacturer's label and instructions. If the leak returns after a careful clean and reseal, the wheel or tire likely has a problem that sealer cannot fix and should be professionally inspected.