Rubber Sway Bar Bushings: Fitment and Buying Guide
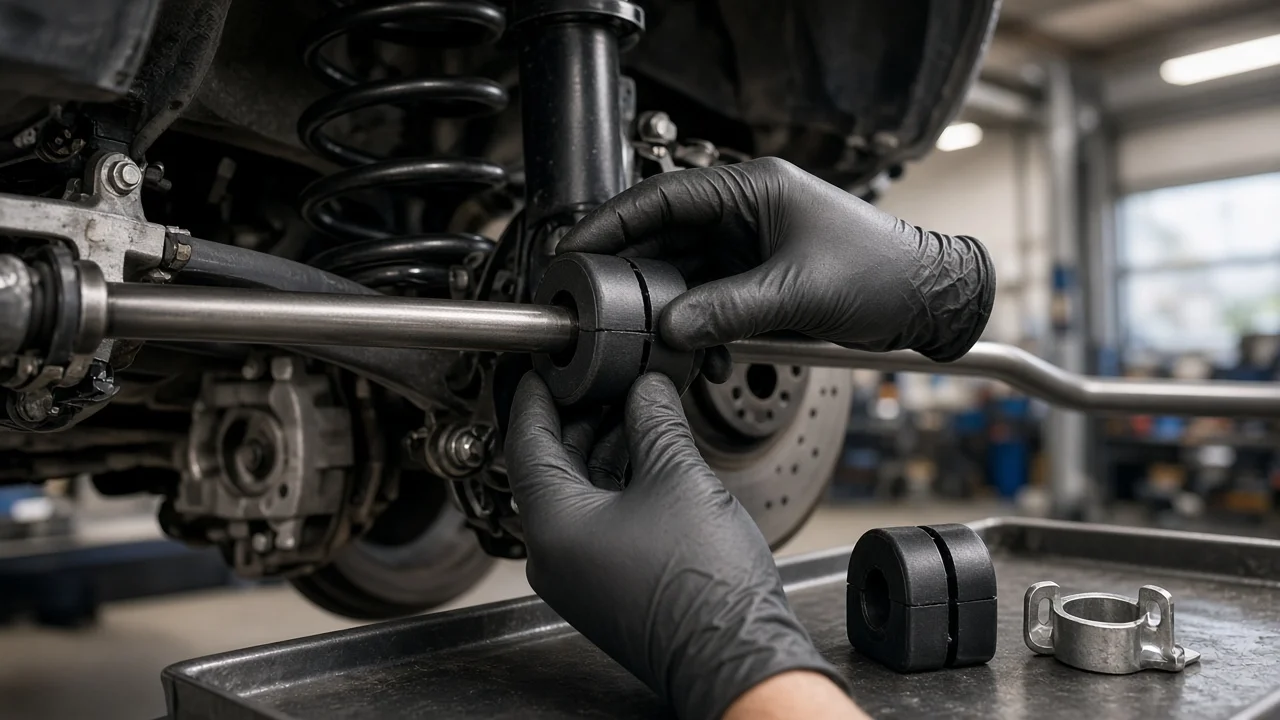
Rubber sway bar bushings hold the stabilizer bar to the chassis or subframe. They let the bar twist and pivot while isolating noise and vibration from the cabin. When the rubber hardens, cracks or wears oval, the bar can shift in its mounts and clunk or squeak over bumps. Choosing a replacement is mostly a fitment exercise. The correct inner diameter, outer shape and bracket interface matter far more than branding. This guide covers how to confirm compatibility, which features actually change the decision, and what a bushing replacement can and cannot fix.
Define the job the product must do
Start by confirming that the bushings are the real problem. Typical signs include a knock or clunk over uneven pavement, a squeak at low speed or during body roll, and visible gaps between the bar and the bushing. Cracked, torn or swollen rubber is another sign, as is a bar that moves inside its bracket when you pry it lightly. End links, strut mounts and control arm bushings can make similar noises. A proper inspection of the whole sway bar system before ordering parts saves you from replacing the wrong component. For a daily-driven vehicle where comfort and quiet operation matter, rubber is usually the choice because it matches the original design intent.
Next, note the practical constraints. Decide whether you need front bushings, rear bushings or both, and confirm that your vehicle actually has a rear bar. Review the service history. If a previous owner installed an aftermarket sway bar, its diameter may differ from the factory part, and original-equipment bushings will not fit. Also consider your operating conditions. Road salt, oil or fluid leaks near the bar, rough roads and regular towing all affect how quickly rubber deteriorates and how carefully you should inspect it. Finally, be honest about your tools and workspace, because access varies widely between vehicles.
Check compatibility
Fitment depends on the exact vehicle configuration, not just the make and model. Bar diameter can change with model year, trim level, drivetrain, engine option and suspension package. Front and rear bars on the same vehicle are often different sizes. The most reliable references are a catalog lookup based on your VIN or the original part number from the manufacturer's service information. Treat generic size charts and broad vehicle fitment lists as starting points that still need confirmation.
Then check the physical interfaces. The bushing's inner diameter must match the bar where the bushing sits, and its outer profile must seat correctly in the bracket. Some bushings are split so they can slip over the bar without removing it; others are solid and require more disassembly. Certain factory designs bond the bushing to the bar or integrate it with the bracket, which can mean replacing a larger assembly. If you are unsure, clean a section of the bar next to the bushing location and measure it with calipers. Do not measure a worn or corroded spot. Compare that figure with the listing, and inspect the brackets for corrosion or distortion, since a damaged bracket will not clamp a new bushing evenly.
Features that affect the choice
The main trade-off is rubber versus polyurethane. Rubber offers more compliance, filters noise and vibration well, and generally does not need periodic greasing. Polyurethane is firmer and can make the bar feel more immediate, but it tends to transmit more noise. It can also squeak if it is not lubricated correctly, and it may need re-greasing over time. If the goal is to restore factory-like ride quality, rubber is the logical match. If you want a firmer feel and accept more maintenance and noise, polyurethane is a separate decision outside the scope of a like-for-like repair.
Within rubber options, look at construction details. Some bushings include a low-friction inner liner or come pre-lubricated. Others are designed to be installed dry or with a specific lubricant. Follow the supplied instructions, because petroleum-based grease can degrade natural rubber. Labels such as heavy-duty, premium or upgraded are marketing terms unless backed by stated material, dimensions and fitment data. Useful evidence includes a published inner diameter, a cross-reference to the original part number, a clear front or rear designation, a list of included hardware and written warranty terms.
Limitations and ownership costs
Installation usually means raising the vehicle safely, unbolting the bushing brackets and sliding the old bushings off. On some vehicles you may need to remove splash shields, exhaust components or loosen a subframe for access. Check the service information before starting. Tighten bracket bolts to the manufacturer specifications. Some procedures require final tightening with the suspension at normal ride height so the rubber is not preloaded in a twisted position. Replace bushings on both sides of the bar at the same time. Budget for seized or corroded fasteners, and buy new bolts if the service information calls for them. Keep penetrating oil away from the new rubber.
New bushings will not cure worn end links, tired struts, loose ball joints or other suspension faults. Replacing bushings alone also does not correct alignment angles. Rubber ages with heat, ozone exposure and fluid contamination, but there is no universal replacement interval. Follow your vehicle's maintenance schedule and inspect the bushings at routine services, especially under harsh operating conditions. Repairing nearby oil or power steering leaks is part of the ownership cost, because contaminated rubber can soften and fail early.
Build a practical shortlist
Narrow your options with a simple comparison. Keep a part only if it meets all of these conditions: its fit for your exact configuration is confirmed by VIN lookup or original part number; it is designated for the correct front or rear position; its inner diameter matches your measured bar; and its outer shape suits your brackets. Then compare the remaining candidates on the details that affect installation and long-term use. These include stated material and liner type, lubrication guidance, included brackets or hardware, whether the package contains a pair and the return policy if fitment turns out to be wrong.
When two listings conflict, trust the original part number and your own caliper measurement over a generic description. Prefer sellers whose documentation is clear and whose warranty terms are written down, rather than products ranked by vague claims. After installation, record the date, mileage and part number in your service history. That record makes later inspection and any future replacement easier and more accurate.