PCV Valve Grommet, Gasket, and Seal: Leak Checks and Replacement
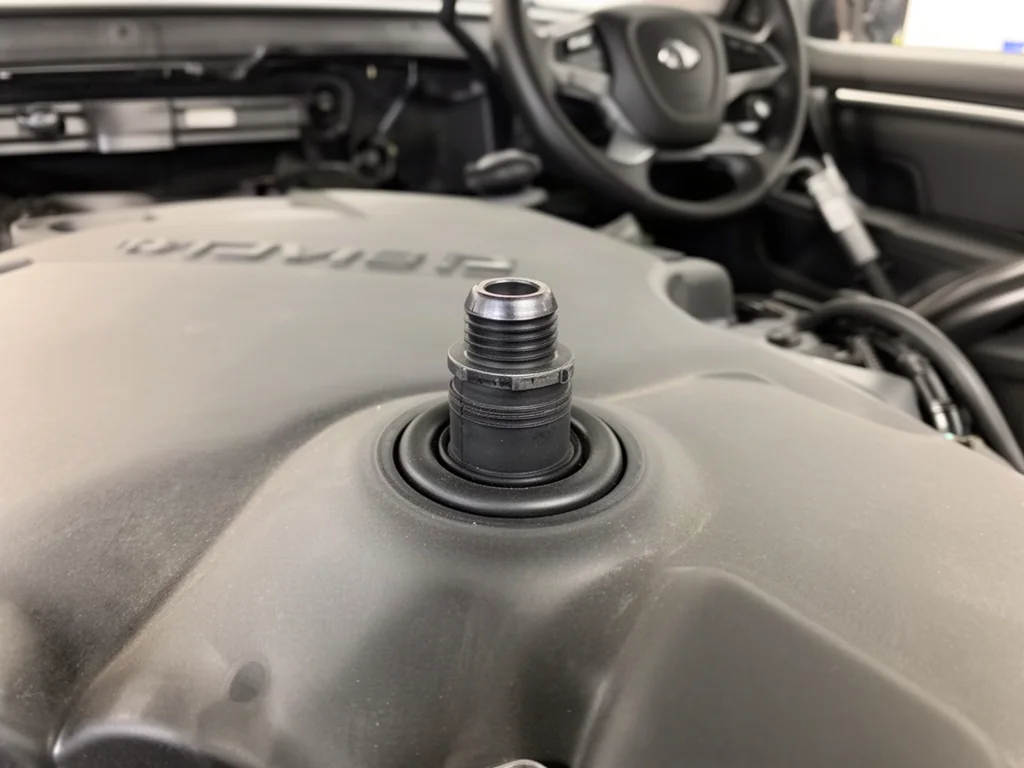
A PCV valve and grommet, gasket, or seal close the crankcase ventilation connection. Rubber hardening at that joint can allow oil seepage and a vacuum leak even when the valve still works. The valve and hose can remain in place while the sealing parts are inspected and replaced. Confirm the actual PCV valve grommet, PCV valve gasket, or PCV valve seal from vehicle-specific service information before disturbing the joint.
Where the PCV Grommet, Gasket, or Seal Fits
On many engines the PCV valve sits in a valve cover opening or a dedicated crankcase ventilation port, and a separate seal closes that connection. A PCV valve grommet typically is a rubber insert that grips both the valve body and the opening. A PCV valve gasket is a flat sealing face between two machined or stamped surfaces. An O-ring or similar PCV valve seal seats in a groove and compresses around the valve stem or housing. Those forms are not interchangeable by name alone.
Vehicle-specific service information identifies which arrangement is used and whether the sealing component is sold separately from the valve. Some designs press the valve through one or more PCV valve grommets in the cover; others clamp a gasket under a housing; still others rely on an O-ring that stays with a removable fitting. The repair itself is the sealing component, not a full valve or hose swap. The valve or hose may need to be lifted only far enough for access, then returned as specified without treating those parts as the repair.
Why PCV Sealing Components Harden or Lose Their Fit
Heat cycles around the valve cover, age, and continuous exposure to engine oil change how elastomers behave. Rubber hardening is common: the material loses flexibility, shrinks slightly, or takes a permanent set so it no longer follows the sealing surface. Oil can swell some compounds, then leave them brittle after repeated hot-and-cold cycles. There is no universal service life for a PCV valve grommet or gasket, because temperature, oil chemistry, and how the part was originally seated all vary by engine and use.
A seal can also lose contact through cracking, flattening from long compression, deformation of the lip or bead, or nicks left by previous handling. Once the PCV valve seal no longer fills the opening, unmetered air can enter and oil mist can escape. Oil at that joint is not always only a local sealing failure. Abnormal crankcase pressure from a restricted ventilation path, a stuck valve, or other engine issues can force oil past a still-serviceable grommet, so replacing the seal alone may leave the underlying problem unresolved.
Symptoms and Safe Checks Around the Sealing Area
With the engine off and cool, look for localized oil residue around the PCV valve and grommet, visible cracks in the rubber, or a seal that has obviously lifted, rolled, or dropped out of the valve cover opening. Those observations justify closer inspection of the sealing surface, not an immediate conclusion that the valve has failed. Hissing, a rough idle, or mixture-related diagnostic findings can accompany a vacuum leak on some crankcase ventilation layouts, but they cannot identify this particular seal as the cause.
Trace visible residue cautiously. Oil seepage can travel along the cover, hose routing, and nearby fasteners, so a wet grommet may be collecting oil from another leak rather than producing it. Do not use flammable spray tests to hunt for a vacuum leak, and keep hands and tools away from moving engine parts if any confirmation is later done with the engine running. When the source is uncertain, professional smoke, vacuum, or crankcase-pressure testing is the safer way to separate a PCV valve gasket or seal leak from adjacent faults.
Choose the Correct Seal and Confirm the Repair Method
PCV valve grommet replacement starts with identifying the engine, not guessing from appearance. Use the vehicle's engine identification, parts catalog, and service procedure to establish whether the connection uses a grommet, a PCV valve gasket, an O-ring, or another PCV valve seal, and to confirm the correct diameter, height, and material family. Similar-looking covers can use different sealing forms. Installing the wrong shape leaves a gap at the sealing surface even if the valve appears seated.
Confirm that the sealing component is separately serviceable before planning the job. Some assemblies replace only as a valve-and-grommet unit, and forcing a generic grommet onto a one-piece design can damage the valve cover opening. Improvised sealant, tape, or adhesive is not a substitute for the specified part used to seal the PCV valve; those materials can be drawn into the crankcase ventilation path or fail under oil and heat. Use sealant only when the service procedure calls for it, and then only in the amount and location described.
Replace the Seal Without Damaging the Mounting Opening
Prepare with the engine off and cool, enough clearance to reach the connection without straining nearby components, and dirt wiped from around the opening before the seal is disturbed. Careful removal follows the service procedure: ease the PCV valve out only as far as needed for access, then extract the grommet, gasket, or O-ring without prying against the thin edge of the valve cover opening. Protect the sealing surface, keep hardened rubber fragments from falling into the engine, and work slowly so the opening is not enlarged or scored.
Inspect the opening and mating surfaces for nicks, warpage you can see, leftover rubber, or a cracked mounting area. Install the correct seal using only the lubrication and seating method specified; extra oil or grease can attract dirt or wash into the crankcase. Seat it evenly so the PCV valve and grommet share a continuous contact path. Stop and seek professional help if the mounting area is cracked, fragments have disappeared into the cover, or attached plastic or rubber parts are too brittle to handle without breaking.
Verify Seating and Investigate Any Returning Leak
Before operating the vehicle, confirm that the seal sits evenly all around the opening and that the PCV valve is secured as specified, whether that means a press fit in the grommet, a clip, or a threaded housing over a gasket. An uneven lip, a rolled O-ring, or a valve that rocks in the opening means the joint is not ready. Recheck that no debris remains on the sealing surface and that the hose connection, if disturbed for access, is fully reattached without using it to pull the valve into place.
After normal use, look for fresh oil residue only with the engine shut down and cool. A light film that does not grow may be leftover cleaner; a new wet trail at the PCV valve seal suggests the grommet is not seated or crankcase pressure is still high. If symptoms persist, the seal dislodges, or oil leakage returns, professional intake-leak or crankcase-pressure testing is the next step. A dry connection does not by itself prove the entire crankcase ventilation system functions correctly, because restrictions and valve faults can exist without wetting that joint.