How to Change a PCV Valve: General Step-by-Step Guide
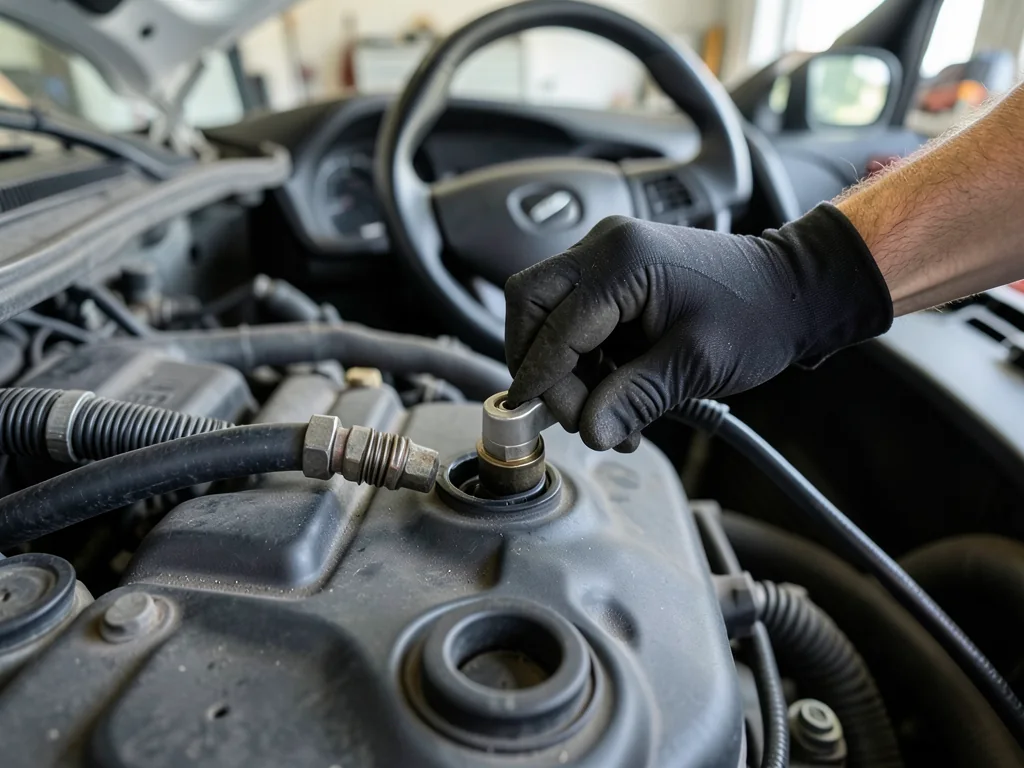
Changing a PCV valve is one of the more approachable jobs under the hood, but the details vary from engine to engine. This guide covers the general process: understanding what the valve does, gathering the right parts, finding it on common layouts, swapping it cleanly, and confirming the repair holds. For your exact vehicle, use these steps alongside a model-specific guide or service information.
What the PCV Valve Does and Why It Gets Replaced
Every running engine pushes a small amount of combustion gas past the piston rings into the crankcase. These blow-by gases carry fuel vapor and moisture. If they stayed trapped, they would build crankcase pressure and contaminate the oil. The positive crankcase ventilation system uses intake manifold vacuum to draw those vapors back into the engine so they can be burned. The PCV valve sits in that path as a one-way check valve. It meters flow based on vacuum and closes to block reverse flow, such as during a backfire.
Owners usually start looking at the valve after noticing a rough idle, oil residue around gaskets or inside the air intake, a whistling noise, or an old valve that no longer rattles when shaken. Those clues are worth taking seriously, but vacuum leaks, worn seals and ignition problems can cause the same symptoms, so inspect or test the valve before blaming it. Replacement timing also varies by manufacturer. Your owner's manual or service documentation is the reference, not a universal mileage number.
Tools, Parts and Safety Prep Before You Start
Most jobs need only basic tools. Pliers handle spring-type hose clamps, and a screwdriver takes care of worm-gear clamps and trim fasteners. If the valve threads in, you'll also need a small socket set or wrench. Keep a shop rag nearby to wipe oily fittings. A hose pick helps with stubborn connections, and a flashlight helps with valves tucked behind other components. Buy the replacement valve by engine and model year, since similar-looking valves can flow differently. Grommets and short hoses are often sold separately, and having them on hand saves a second trip.
Work on a cool engine, since the valve cover and manifold stay hot long after shutdown. Park on level ground with the parking brake set. Keep open flames and sparks away because crankcase vapors contain fuel. Be careful with small parts near open intake ports, because a dropped clip or grommet fragment can be drawn into the engine. Before disconnecting anything, photograph the hose routing and clamp positions from several angles. Those pictures make reassembly easy and help catch a hose that was routed around a bracket for a reason.
Locating the PCV Valve on Common Engine Layouts
On many engines the valve is pressed into a rubber grommet on the valve cover, with a hose running from its top. Others use a valve threaded into the valve cover or intake manifold. Some newer designs build the PCV function into an oil separator mounted on the block or cover. A few integrate it into the valve cover itself, which means replacing the whole assembly rather than a small part. That changes the scope of the job considerably, so identify your layout before buying parts.
If the valve isn't obvious, find the hose connection on the intake manifold or near the throttle body and trace it back toward the valve cover. The valve is typically at one end of that line. You may need to remove a plastic engine cover or a section of intake ducting to see it. If the routing is unclear or several hoses look alike, check a model-specific guide or the service manual rather than guessing, because a general guide can't cover every engine design.
Removing the Old Valve, Hose and Grommet
Release the clamp first. Squeeze a spring clamp with pliers and slide it back along the hose, or loosen a worm-gear clamp with a screwdriver. Twist the hose gently to break the seal, then pull it straight off. Older PCV hoses often harden, so don't pry with a screwdriver tip or yank at an angle, which can tear the rubber or snap a plastic fitting. A grommet-mounted valve usually pulls straight out with a gentle rocking motion. A threaded valve unscrews with the correct socket or wrench.
With the valve out, inspect the grommet closely. Cracks, hardening or a loose fit mean it no longer seals. A leaking grommet lets unmetered air into the system and causes the same rough idle and whistling as a bad valve, so replace it if in doubt. Check the hose too: flex it and look for surface cracks, soft or swollen spots and signs of collapse. Look inside for oily sludge, which can restrict flow. Replace a degraded hose instead of reusing it with a new valve.
Installing the New Valve and Reconnecting Everything
The valve only works in one direction, so orientation matters. Match the new valve to the old one. Most are marked with an arrow showing flow toward the intake, and the end with the spring-loaded pintle should face the same way it did before. Push a grommet-mounted valve in until it is fully seated so vibration or pressure can't pop it loose. Start a threaded valve by hand, then snug it firmly without overtightening, since plastic and aluminum threads strip easily.
Slide the hose fully onto the valve fitting, past any barb or ridge, so engine movement can't work it off. Return the clamp to its original position just behind the barb rather than leaving it loose on the hose. Compare the routing against your photos. Make sure the hose isn't kinked, rubbing a sharp edge or resting against exhaust components. Finally, reinstall any engine covers, intake ducting or fasteners you removed for access, and confirm the air intake connections are tight.
Checking Your Work After the Swap
Start the engine and let it idle while you listen near the valve, grommet and hose ends. A new hiss or whistle that wasn't there before usually points to a vacuum leak from an unseated grommet or a hose that isn't fully pushed on. Watch idle quality over the first few minutes and during the next few days of driving. A check engine light soon after the job may mean a loose connection is letting in unmetered air, which can set a lean or evaporative code.
After a short drive, let the engine cool and recheck the hose, clamp and valve, since heat and vibration can loosen a connection that was only partly seated. A stored code is evidence to interpret, not proof of a specific failure, so confirm what it means for your vehicle. If a rough idle, noticeable oil consumption or codes continue after a correct replacement, the valve probably wasn't the only problem, and professional diagnosis is the sensible next step.