Mitsubishi Outlander EGR Valve: Problems, Symptoms and Replacement
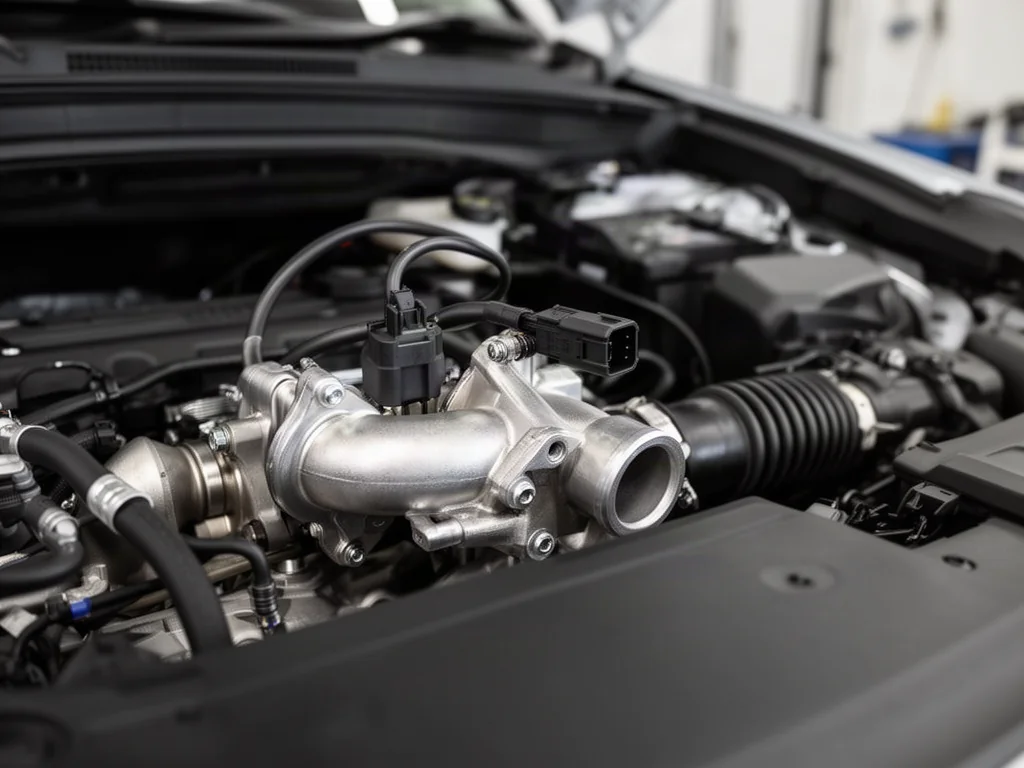
Exhaust gas recirculation (EGR) problems on a Mitsubishi Outlander can create confusing driveability complaints, from a rough idle to an illuminated check engine light. Because the EGR valve is a key emissions-control component, its behavior directly affects combustion stability and on-road performance. Understanding how this valve operates, the symptoms it produces when it fails, and what replacement involves helps Outlander owners make sensible diagnostic and repair choices instead of guessing at the cause.
What the EGR Valve Does on a Mitsubishi Engine
The EGR valve allows a measured portion of exhaust gas to flow back into the intake manifold during specific engine conditions. This dilutes the incoming air-fuel mixture and lowers peak combustion temperatures. Since high temperatures promote the formation of nitrogen oxides, or NOx emissions, recirculation is an effective way to reduce tailpipe pollutants without fundamentally changing how the engine produces power.
Older engines often used vacuum-operated EGR valves that opened in response to intake manifold vacuum. Many newer Mitsubishi engines use an electronically controlled valve with an integrated position sensor so the engine control module can command precise opening. Whether an Outlander has a vacuum or electronic valve depends on the specific engine, model year, and emissions package. Carbon deposits from the recirculated exhaust gas are the usual reason a valve becomes sticky or slow to respond.
Common Symptoms of a Failing EGR Valve on the Mitsubishi Outlander
A valve that is stuck open lets exhaust enter the intake at idle and low load, where the engine cannot tolerate much dilution. The result is often a rough idle, an unstable idle speed, hesitation when accelerating from a stop, or even stalling at low speed. The engine may also feel as though it is misfiring because the air-fuel mixture has been disturbed by the unwanted flow of inert gas.
If the valve is stuck closed or the EGR passage is restricted, no exhaust reaches the intake. Combustion temperatures remain higher than intended under load, which can cause pinging, knocking, or elevated NOx emissions. On some engines the difference is barely noticeable, while on others it may trigger a check engine light. Because vacuum leaks, sensor faults, ignition problems, and clogged intake passages can mimic these same symptoms, they do not prove the valve is faulty.
Reading EGR-Related Trouble Codes and Warning Lights
Generic OBD-II trouble codes related to the EGR system, such as those indicating a circuit malfunction or insufficient flow, point to a problem in the EGR circuit but do not identify the failed part. The valve itself, its wiring, the control solenoid, a blocked passage, or a faulty position sensor could all produce the same code. Manufacturer-specific codes require the exact service information for that engine and model year before they can be interpreted reliably.
Before clearing any codes, it is useful to record the freeze-frame data and note the driving conditions when the light came on. This snapshot shows engine speed, load, temperature, and other values at the moment the fault was detected. Clearing codes without performing a repair only hides the symptom and can leave the vehicle unable to pass an emissions inspection because the readiness monitors have been reset.
Safe Checks at Home and When Professional Testing Is Needed
With the engine off and cool, a visual inspection can reveal obviously cracked, disconnected, or collapsed vacuum hoses near the EGR valve. Noting the idle quality, listening for unusual noises, and recording when hesitation occurs are all safe observations that help a technician. However, without a scan tool that shows commanded versus actual valve position or flow data, these observations can only narrow the possible causes.
A technician will typically test the valve's operation, check the electrical circuit if it is electronically controlled, inspect for passage blockage, and review related sensor data. If the check engine light is flashing, or the vehicle has severe hesitation or stalling, continued driving is not advisable. Those symptoms indicate a condition that could damage the catalytic converter or leave the vehicle unsafe in traffic, so professional diagnosis is the right next step.
Choosing the Right EGR Valve for Your Mitsubishi Outlander
The exact replacement valve depends on the engine code, model year, fuel type, and the emissions standards for the market where the Outlander was sold. Because the same model name can cover several engines, the VIN is the most reliable way to identify the correct part. Relying on the model name alone can lead to ordering a valve that does not match the engine's EGR system.
Genuine manufacturer parts are built to the original specifications, while aftermarket replacements may vary in materials, calibration, and the included position sensor. It is also important to check the service information for the gasket, connectors, and any related pipes or coolers that should be replaced or inspected at the same time. Since EGR symptoms often have other causes, confirming the diagnosis before buying a valve avoids spending money on an unnecessary part.
What EGR Valve Replacement on the Outlander Involves
Replacement generally involves gaining access to the valve, disconnecting the electrical and vacuum connections, removing the fasteners, and cleaning the mating surfaces before installing the new valve with a fresh gasket. The difficulty of access depends heavily on the engine layout. On some Outlanders the valve is easy to reach, while on others it may be buried behind other components, making the job much more involved.
If the old valve was heavily carboned, cleaning the EGR passage in the intake manifold is sometimes recommended so the new valve can flow properly. After installation, a shop may clear any stored codes, perform a relearn or adaptation procedure if the vehicle requires it, and road-test the car to confirm normal operation. Professional installation is the sensible choice when access is difficult, special tools are needed, or the original diagnosis is uncertain.