How to Test and Inspect a PCV Valve
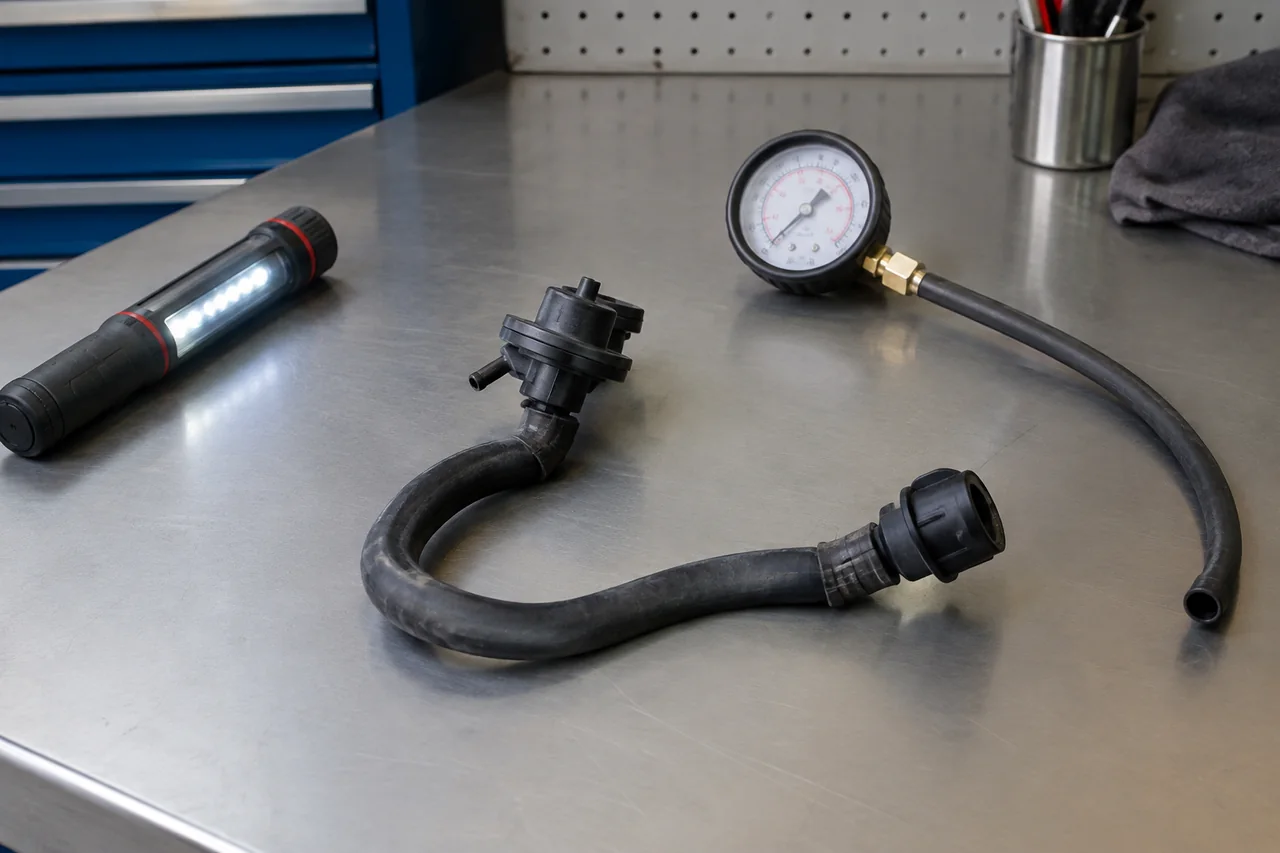
Testing a PCV valve starts with the vehicle's positive crankcase ventilation layout. How you test a PCV valve depends on whether the engine uses a removable valve, a fixed orifice, or an integrated PCV diaphragm. Oil-change inspection, suction checks without full removal, a shake test on some valves, and a vacuum gauge or PCV valve tester all help, but each result needs design-specific interpretation rather than a universal pass or fail.
Identify the PCV Design Before Choosing a Test
Positive crankcase ventilation meters blow-by gases out of the crankcase into the intake so they can be burned rather than vented. A PCV valve test is never only about the valve, because the complete path includes the fresh-air inlet, any oil separator, the ventilation hose, and the connection that sees intake vacuum. Restricted or collapsed hoses can change crankcase pressure even when the valve still moves. Map that airflow path from service information so later observations belong to the system rather than standing alone.
How to test a PCV valve also depends on hardware. Some engines use a separate spring-and-plunger valve, others a calibrated orifice, and still others an integrated diaphragm assembly in a valve cover or separator housing. Rattle, suction at a hose, or a crankcase-pressure reading only make sense after that design is identified in applicable service information. This article covers inspection and testing PCV valve operation, including how to test a PCV valve without removing it when that is appropriate. It does not describe replacement procedures.
Inspect Accessible PCV Components at an Oil Change
With the engine off and cool, inspect a PCV valve and its nearby plumbing only where you can see and reach it without crawling under an unsupported vehicle or stretching across hot, tight components. Look along the ventilation hose for cracks, softening, collapsed sections, and oil-soaked spots. Check that fittings seat fully and that clamps or quick-connects are not loose. Visible oil at a grommet, cover, or hose end is worth noting, because a leak can unmeter air into the crankcase or the intake.
An oil film or light varnish on a valve, separator, or hose does not by itself prove the PCV valve has failed. Many systems carry a small amount of oil vapor by design, and deposits can form while metered airflow is still within the intended range. An oil change is a practical time for this inspection because covers and hoses are already in view, yet any required interval still comes from the vehicle's maintenance guidance rather than from a generic schedule. Document what you see so later PCV valve testing has a baseline.
Check the PCV System Without Removing the Valve
People often ask how to test a PCV valve without removing it. An external check can confirm that hoses are connected, that a specified port shows suction, and that nothing obvious is disconnected, but it cannot prove the internal pintle, orifice, or PCV diaphragm is metering correctly. A vacuum or finger test, where service information calls for it, checks for intake vacuum at a defined location with the engine running under the stated conditions. Feeling pull at a hose only shows that vacuum is present there, not that flow is correctly limited.
Leaving the valve in place may still mean loosening a ventilation hose to reach the test point, so this is not a universal no-disassembly procedure. Opening that connection can change idle quality, lean the mixture, or raise crankcase pressure while the hose is off, which is why the check belongs in an applicable service procedure with safe access. If the connection sits near belts, fans, or hot manifolds, or if you cannot reach it without supporting the vehicle, stop and have a technician perform the running-engine portion of PCV valve testing.
Understand What the PCV Shake Test Can Tell You
The familiar shake test applies only to certain removable valves that contain a spring and a moving plunger. If that valve is already off the engine and cool, hold it and shake it gently while listening for the internal element to travel. A rattle indicates that the plunger is not seized in that moment, which is useful information after the part has been removed for another reason. It is not a complete PCV valve test, and this article does not describe how to take the valve out.
Hearing movement does not confirm sealing, correct spring rate, or metered airflow once intake vacuum and crankcase pressure are acting on the valve. A quiet valve is also not a universal failure: orifice-style units and many integrated PCV diaphragm assemblies have no rattling part, so silence is expected. Testing a PCV valve by shake alone therefore answers a narrow question about free movement in one design family. Combine it with hose inspection and, when specified, vacuum or pressure measurements rather than treating rattle as a pass or silence as a fail.
Choose Tools for Vacuum and Crankcase Pressure Testing
A product sold as a PCV valve tester is helpful only when its fittings and measurement method match the test the manufacturer actually specifies. Some testers look for suction, some try to show flow, and some are little more than adapters for a vacuum gauge. If the service procedure calls for a vacuum gauge or a hand vacuum pump at a defined port, use that setup and compare the reading to the published specification for that engine, not to a generic hold-vacuum rule copied from another vehicle.
Low crankcase pressure is a small signal. Measuring it often needs a manometer sensitive enough for the expected range, the correct adapter at a dipstick tube or specified port, and the idle or loaded conditions listed in service information. Smoke testing and any check that applies pressure to the crankcase or ventilation path belong with trained technicians using regulated equipment, because excess pressure can damage seals. Interpret every vacuum or pressure number against the applicable specification. There is no universal threshold that proves a PCV valve is good or bad on every engine.
Interpret Results and Know When Testing Needs a Technician
Rough idle, a whistle, oil leakage, or higher oil consumption can justify a closer look at positive crankcase ventilation, yet none of those symptoms names the PCV valve as the failed part. An obstructed ventilation hose, a blocked fresh-air path, a faulty oil separator, or high engine blow-by can produce the same crankcase pressure change you hoped the valve test would isolate. Treat informal suction, rattle, and visual oil as clues. Record what you saw, the symptoms, engine temperature, and any gauge readings so a technician can place them in context.
Conflicting results, an inaccessible integrated assembly, or crankcase pressure that does not match the specified range are reasons to stop informal testing and seek diagnosis. How do you test a PCV valve in those cases? You confirm the whole path under controlled conditions rather than assuming the valve failed from one check. Keep the next step focused on identifying the actual restriction or leak. Do not convert a single shake, finger, or tester result into a replacement decision; the goal of PCV valve testing is evidence that a technician can verify against the vehicle's procedure.