How to Remove a Parking Brake Cable Connector
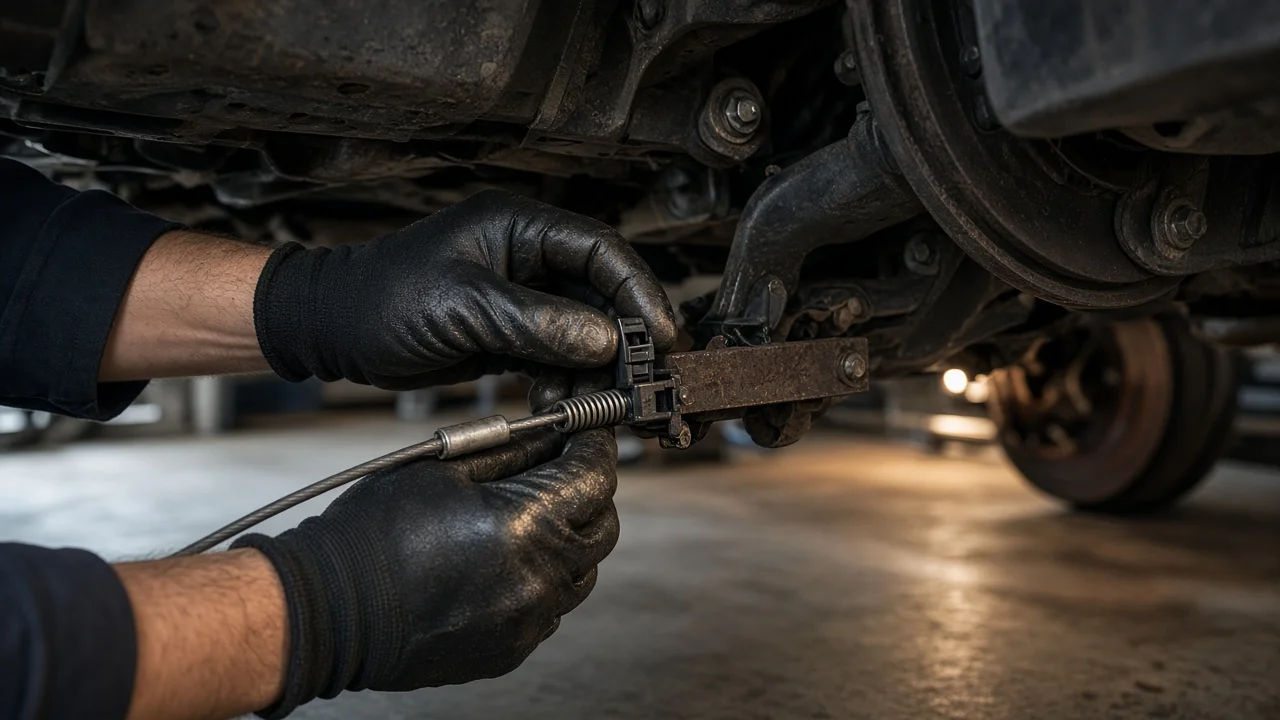
A parking brake cable runs from the hand lever or foot pedal to an equalizer under the car, then on to the rear brakes. Joiners, end fittings and retaining clips hold it together along the way. You usually have to release one of these connectors before replacing a stretched or seized cable, servicing the rear brakes or freeing a brake that will not let go. The exact method varies by model, so use the service information for your vehicle alongside the general steps below.
Confirm the part and repair scope
Start by identifying which connector you need to release. Most mechanical systems have up to four kinds of connection. The front cable attaches to an equalizer or adjuster. The front and rear cables often join with a barrel coupler near the middle of the car. Each rear cable ends in a fitting that hooks into a lever on the caliper or on the drum brake shoe. Finally, the cable housing is held in brackets by spring-finger retainers or clips. Left and right rear cables often differ in length and routing, so check vehicle fitment by side and by brake type, including drum-in-hat designs, before ordering anything.
Make sure the cable is actually the problem. A parking brake that holds poorly can be caused by poor adjustment, worn rear shoes or pads, friction material contaminated by a leak, or a seized lever mechanism in the caliper. A frayed, kinked or corroded cable, a cracked housing, or a cable that will not return when released does justify replacement. If your vehicle has an electronic parking brake, the connector at the caliper is electrical. Those calipers normally have to be put into a maintenance mode with a scan tool before you service them, or the actuator can be damaged. That work is outside the mechanical procedure described here.
Prepare tools and safe access
Gather wheel chocks, a jack and rated jack stands, a lug wrench, pliers, a flat screwdriver, penetrating oil and a good light. You will also need a box-end wrench or small hose clamp that fits over the cable retainer fingers. Some vehicles need trim tools to remove the center console and reach the lever adjuster. Park on level ground, put the transmission in Park or in gear, and chock the front wheels before you release the parking brake. Raise the rear of the car and support it on stands at the specified lift points. Never work under a vehicle held only by a jack. Then release the parking brake fully.
Read the service procedure for your model before loosening anything. It tells you where the adjuster is, whether a self-adjusting mechanism has to be locked, and in what order the rear brakes must be adjusted. Inexperienced owners should leave the job to a professional in several cases. These include drum brakes where the cable end sits behind the shoes and springs, jobs that require removing a caliper, any electronic parking brake, and fasteners so seized that heat would be needed near fuel or brake lines.
Remove without avoidable damage
First create slack, because a tensioned cable will not come out of its fittings. On most cars you loosen the adjusting nut at the equalizer underneath or at the lever inside the cabin. Note how far the threads extend before you start, so you have a reference later. Some self-adjusting pedal and lever assemblies have a spring that must be locked with a pin or tool before you disconnect the cable. If you skip that step, the spring can unwind suddenly. Take photos of the cable routing and clip positions before you remove anything, especially where the cable passes near suspension parts and the exhaust.
Once the cable is slack, disconnect the end fitting. On rear calipers with an integral parking brake, pull the caliper lever forward against its spring and slide the barrel end out of the slot. On drum brakes, the cable usually hooks to a lever on the rear shoe. You may need to remove the drum and draw the cable spring back with pliers to free it. A barrel coupler between two cables separates by sliding one cable end sideways out of the open slot. Do not pull on the cable strands themselves, and do not pry against brake lines or ABS sensor wiring.
To free the housing from a bracket, slide a box-end wrench of the right size, or a hose clamp, over the retainer so all the spring fingers fold in at once. Then push the housing out through the hole. Squeezing the fingers one at a time with pliers usually breaks them or bends the bracket. Soak rusted retainers with penetrating oil and give it time to work. Avoid sharp bends in the cable as you pull it free. If you removed rotors or drums for access, inspect them and the pads or shoes against the wear limits in the service information before reassembly.
Install and restore the system
Route the new or reused cable exactly as the original ran, through every bracket and clip, and keep it clear of the exhaust and moving suspension parts. Confirm the correct cable is on the correct side. Push each housing retainer into its bracket until the fingers snap out and lock. Seat each end fitting fully in its lever slot or coupler, then check that the lever returns to its stop. If you locked a self-adjusting mechanism, remove the locking pin only after all connections are made.
Adjust the system in the order your service information specifies. Many rear disc systems require you to pump the brake pedal first so the caliper pistons and parking mechanism take up their normal position. Drum systems often need the shoes adjusted before the cable. Then tighten the cable adjuster until lever or pedal travel matches the specified range. Overtightening keeps the rear brakes partly applied, which causes drag and heat. Refit the wheels and torque the lug nuts to specification. Cable work does not normally open the hydraulic system, but if a caliper was moved, check that no hose is twisted and the brake fluid level is correct.
Check the completed work
With the rear wheels still raised, apply the parking brake and confirm that both wheels resist turning about equally. Release it and confirm that both spin freely and that the caliper or shoe levers return fully. Check that lever or pedal travel stays within the specified range and that the warning light goes out when the brake is released. After lowering the car, test the parking brake on a gentle, safe incline with someone nearby. Then drive slowly in a clear area and listen for drag or grinding.
Some signs mean you need further diagnosis. Watch for excessive lever travel, a warning light that stays on, a rear wheel that runs hot or smells burnt, uneven holding from side to side, or a cable that does not return. These can point to a seized caliper mechanism, out-of-adjustment shoes, or friction material contaminated by a leaking wheel cylinder or axle seal. If the brake pedal feels soft, sinks or changes after the repair, stop driving the vehicle and have the braking system inspected professionally.