How to Install and Wire Car Tweeters
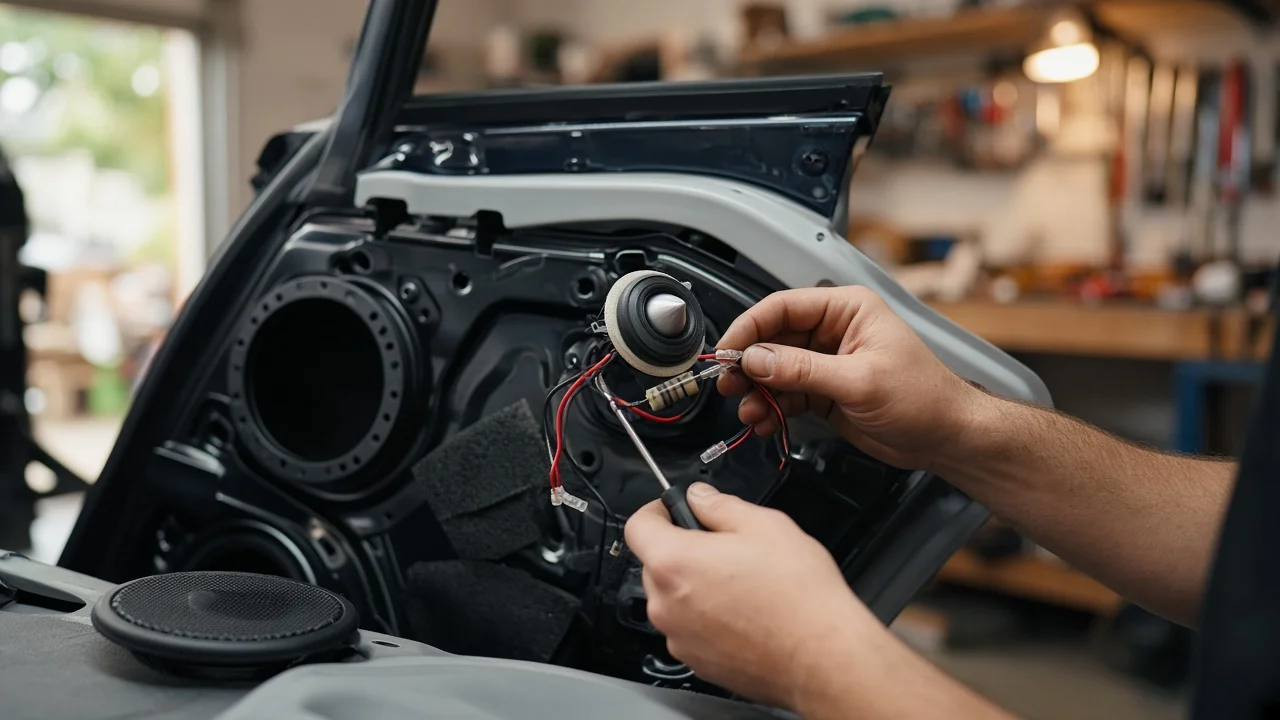
Car tweeters reproduce the highest audible frequencies, where cymbal shimmer, string attack, and vocal consonants live. Installing a separate pair is one of the most effective ways to add clarity and stage height to a factory or aftermarket system, but the result depends heavily on correct speaker wiring and placement. A car audio tweeter installation is not simply about bolting a small driver into a panel. The crossover point, mounting angle, and interaction with the midrange driver determine whether the tweeter sounds focused or harsh. Understanding how these components connect to the head unit and existing speaker wiring through a passive crossover or inline capacitor prevents phasing errors and damage. This guide explains the essential wiring choices and a safe, logical installation sequence. The following sections cover the direct answer and the practical how-to procedure.
Direct answer
A car tweeter should almost never be wired directly to full-range amplifier output. It needs a high-pass filter, usually the passive crossover supplied in a component set or an inline bass-blocking capacitor, so only high frequencies reach the delicate voice coil. The common method taps the tweeter wiring from the head unit’s front speaker outputs through the crossover, then runs separate positive and negative conductors to each tweeter. Wiring two tweeters in parallel with full-range speakers without a filter can lower impedance and overheat the audio source. The essential answer is that safe car audio tweeter installation requires a filtered signal path, correct polarity, and a mounting location that preserves stereo imaging.
Where that filtered signal comes from changes the car audio tweeter wiring diagram. In a component system, one crossover input connects to the head unit or amplifier channel, and the crossover splits output between midrange and tweeter. If you are adding tweeters to existing coaxials, a simple first-order capacitor network may be used, but the capacitor value must suit the tweeter impedance and desired crossover slope. Polarity matters because a reversed tweeter can cancel certain frequencies with the midrange at the crossover point, making the sound thin or diffuse. Always match the marked positive and negative leads at every connection, and confirm the vehicle’s speaker wires with a multimeter or vehicle-specific wiring reference before cutting.
How to proceed
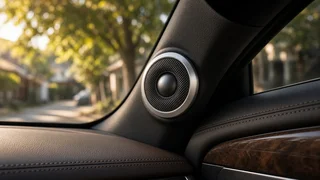
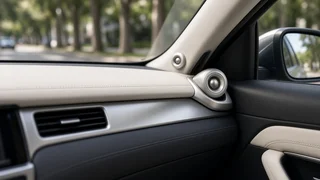
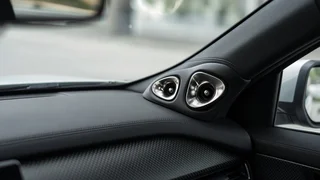
Begin by disconnecting the negative battery cable and gathering the tweeters, crossover networks or capacitors, speaker wire, crimp connectors, heat-shrink tubing, panel tools, and mounting hardware. Identify the head unit or amplifier front output wires and confirm polarity at the connector. Route new speaker wiring through factory grommets, not through a door hinge path, and secure it away from sharp metal. If the tweeter mounts in a sail panel, A-pillar, or door upper area, test the location temporarily with the audio source playing before making holes. This lets you hear whether the chosen angle places the treble stage too close or too bright. Mark the cutout only after you are satisfied with the aim.
Wire the crossover or capacitor in a location that stays dry and accessible, then connect the input side to the correct front channel from the head unit or amp. Connect the tweeter terminals to the high-frequency output, observing positive and negative markings. Use crimped terminals or solder and heat-shrink, and avoid twisting bare wire that can corrode or short against metal. Before refitting panels, restore battery power at low volume and play familiar music with tone controls flat. Listen to each tweeter separately using balance and fade, then both together; if the sound is weak, phase appears reversed, or the tweeter distorts, recheck the car audio tweeter wiring diagram and polarity before finishing the installation.