How to Check an EVAP System for Leaks at Home, With or Without a Smoke Machine
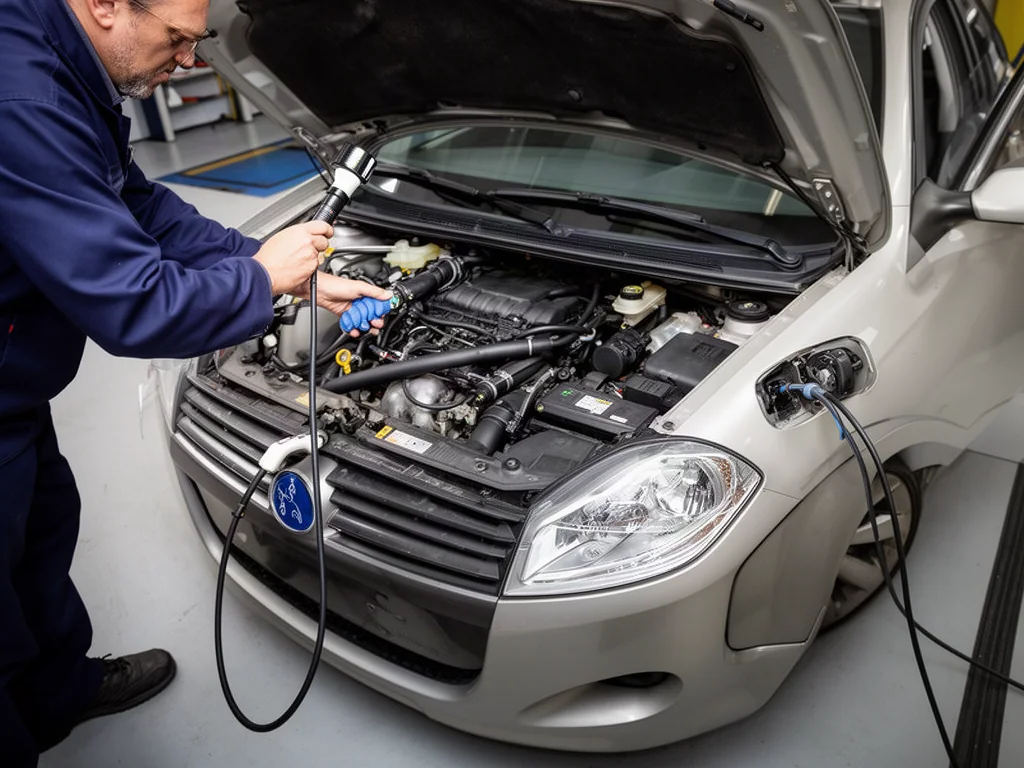
When the check engine light points to the evaporative emissions (EVAP) system, drivers often wonder how to check the EVAP system without a smoke machine. These systems capture fuel vapor and route it back to the engine, so a leak can trigger faults, fuel smells, or failed emissions tests. A home EVAP system check can include visual inspection, fuel cap examination, and scan tool review. This guide explains safe DIY methods, what each check can and cannot reveal, and when a professional EVAP smoke test is the right next step.
Understand What an EVAP Check Can Establish
The EVAP system stops fuel vapors from escaping the tank by storing them in a charcoal canister and later feeding them into the engine through a purge valve. A leak anywhere—from a cracked hose to a bad fuel cap seal—can upset the system. When the engine computer runs an EVAP system check, it may detect that the system cannot hold a specified pressure or vacuum, setting a diagnostic trouble code. Before condemning any component, understand that a leak code points to a pressure integrity problem, not necessarily a broken part.
Investigate an EVAP issue if you see an emissions warning, retrieve an EVAP-related code, or notice a fuel odor near the rear of the vehicle. These observations only indicate a possible leak; they do not identify a failed purge or vent valve, a damaged charcoal canister, or a faulty fuel tank pressure sensor. Some codes are vehicle-specific, so consult the service information for your model to understand code definitions and test procedures. Always start with the engine off and cool, in a ventilated area, with no smoking, flames, sparks, or hot work nearby. If you smell strong fuel or see liquid fuel, stop home checks immediately and arrange professional help.
Inspect Accessible EVAP Components Without a Smoke Machine
A careful visual inspection is the first step when learning how to check the EVAP system without a smoke machine. Use a flashlight to examine accessible vapor hoses, connectors, and the visible parts of the charcoal canister for cracks, disconnections, abrasion, rodent damage, or physical impact. Pay attention to lines running from the fuel tank to the canister and from the canister to the purge valve under the hood. A slight pull or twist on a hose can reveal a loose clamp, but avoid forcing brittle plastic or rubber parts.
Before examining anything, review the vehicle’s component diagram to distinguish vapor lines from fuel supply lines. The EVAP system carries vapors, not liquid fuel, but some lines run close to fuel lines. Limit the inspection to areas you can reach safely with the vehicle on the ground; never crawl under a vehicle supported only by a jack, and do not open fuel lines or disconnect fittings. A clean visual inspection can find obvious damage, but it cannot rule out a small leak, a hidden defect behind a body panel, or a purge or vent valve that fails to seal internally. Those faults require functional testing.
Check the Fuel Cap and Filler Opening
For vehicles with a removable fuel cap, remove the cap and inspect the seal and the accessible sealing surface on the filler neck for damage, debris, or cracking. The cap seal should be pliable, not hard or misshapen. Clean the sealing surfaces with a soft cloth if needed, following the owner’s manual for any approved cleaners. Look for fine cracks in the cap body or worn threads. Reinstall the cap according to the vehicle’s instructions—tighten it until it is secure, but do not force extra turns beyond the design. A specified number of clicks is not universal.
Capless systems rely on spring-loaded doors and a secondary seal; inspect only the accessible filler area for obvious debris or damage. Do not pry open the flaps or insert tools to simulate a cap. Even if the cap or filler looks perfect and feels tight, appearance cannot prove pressure integrity. The fuel cap can pass a visual check yet still leak under the slight vacuum or pressure used by the EVAP system. Also, after correcting a loose cap or other issue, the warning light may remain on until the vehicle completes its diagnostic checks; clearing the code manually does not immediately confirm the repair.
Use Scan Data to Guide the Next Check
A scan tool provides evidence to guide the next step in an EVAP system check. Before clearing anything, record stored and pending diagnostic trouble codes, freeze-frame data, and readiness monitor status. Freeze-frame data captures operating conditions when the fault was detected, which can help a technician later. Readiness status shows whether the EVAP monitor has completed since the last memory clear; an incomplete monitor simply means the system has not yet run its full self-test under the required driving conditions, not that a leak exists.
Leak-related codes—such as small or large leak detected—describe a condition the computer observed; they do not automatically establish that a hose, cap, canister, or valve needs replacement. For example, a large leak code could come from a loose fuel cap, but it could also indicate a disconnected vapor line or a faulty vent valve that stays open. Fuel tank pressure data and commanded valve tests require the correct factory scan tool or equivalent, the service procedure for your vehicle, and careful interpretation. Do not attempt to command valves or draw universal conclusions from a single pressure reading without proper training and documentation.
Know the Requirements for an At-Home EVAP Smoke Test
An EVAP smoke test is used by professionals to locate leaks that visual checks and scan data cannot find. The principle is to introduce a controlled test medium—usually a non-flammable smoke vapor—into the EVAP system at a low, specified pressure. The technician then watches for smoke escaping from a crack, loose connection, or damaged component. However, at-home smoke testing requires equipment explicitly approved for EVAP use, the correct inert gas supply and leak-detection fluid, and the vehicle’s exact connection, isolation, and pressure procedure from service information.
Never use a homemade smoke generator, cigarettes or vaping devices, an open flame, or direct shop-air pressurization. Fuel vapor and excessive pressure create serious fire, explosion, or component damage risks. Too much pressure can blow seals or damage the charcoal canister. Also, smoke at an intentionally open vent valve can be expected during certain test stages, while an incorrectly configured system will produce misleading results. Without suitable equipment and service information, do not attempt a home EVAP smoke test. This section’s purpose is conceptual; always direct readers without proper tools to professional testing.
Arrange Professional Testing and Confirm the Repair
When basic checks reveal nothing, a code returns after clearing, access under the vehicle is unsafe, or a fuel odor persists, arrange professional diagnosis. A qualified shop can perform a controlled EVAP smoke test, closed-valve sealing tests, electrical checks on the purge and vent valves, and pressure-sensor evaluation using the vehicle-specific service procedure. These tests often must happen together because a leak can be caused by a mechanical defect, an electrical fault that holds a valve open, or a sensor that misreads system pressure.
Bring recorded codes, freeze-frame data, symptoms, and notes about when the warning appeared—these details help the technician narrow the fault without repeating tests. After a repair, confirmation requires the applicable leak check and completion of the vehicle’s diagnostic monitor. Clearing codes alone does not verify a repair. Do not expect a fixed drive distance, time, or fuel level to complete the EVAP monitor; many systems require a cold start, a specific fuel level range, and a certain driving pattern. Follow the manufacturer’s monitor completion procedure for your vehicle before assuming the EVAP system is fixed.