How to Check a PCV Valve: Safe Home Checks and Test Limits
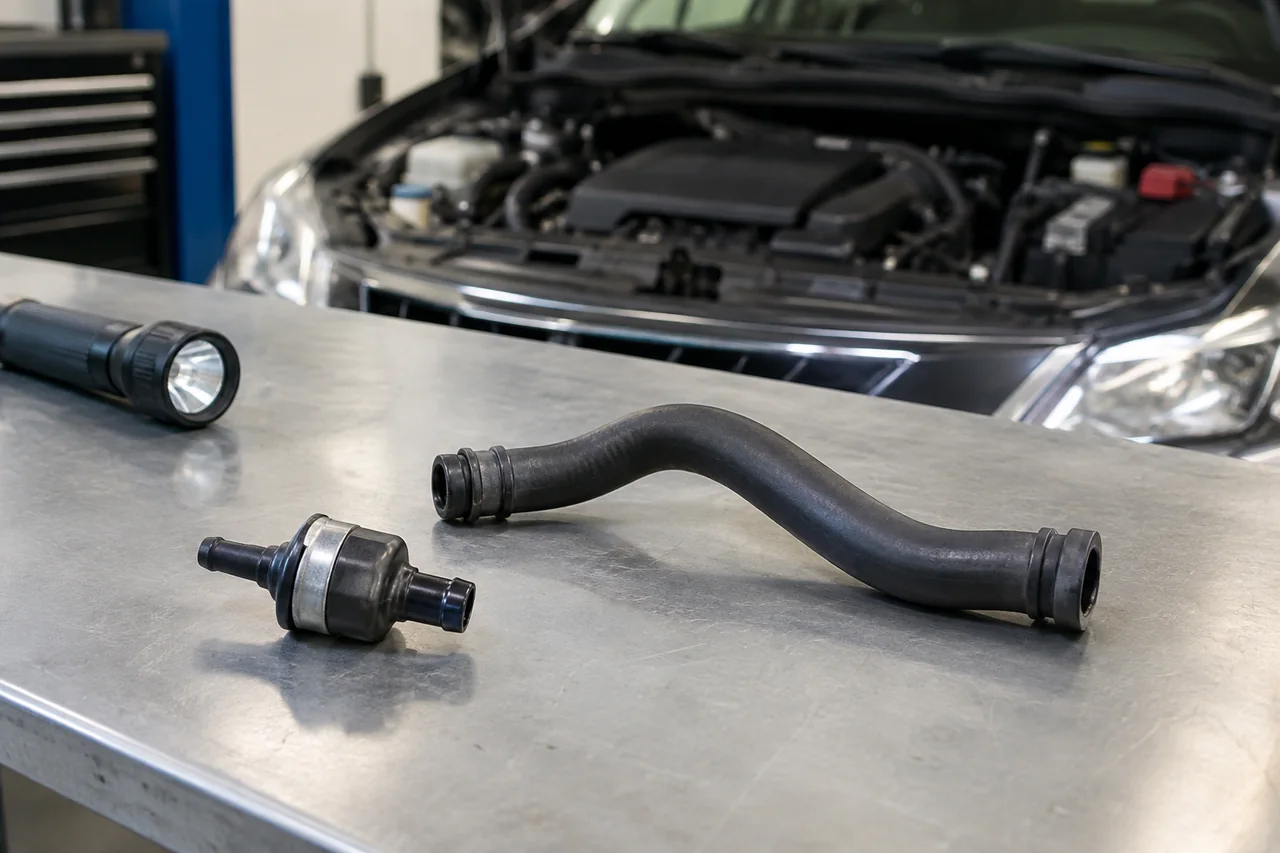
Knowing how to check a PCV valve starts with understanding that positive crankcase ventilation is a metering circuit, not a single universal part. A home PCV valve check can inspect hoses, confirm a removable valve rattles, and note idle vacuum clues, but those observations only limit the possibilities. How to check the PCV valve still depends on its design, and a PCV check valve label does not prove the part has failed.
Identify Your PCV System Before Choosing a Check
Positive crankcase ventilation pulls blow-by gases from the crankcase into the intake so they can be burned instead of venting to the atmosphere. Controlled flow matters because too much flow acts like a vacuum leak at the intake, while too little flow lets crankcase pressure rise and can push oil past seals. The circuit may use a removable metering valve, a fixed orifice, a diaphragm assembly, or an oil separator, so identifying the design comes before any functional check.
The same part may be called a PCV valve, a PCV check valve, or a check valve PCV, yet those names do not establish the component's design or a universal test method. Some systems use a spring-loaded plunger; others use a diaphragm or a calibrated hole that should not be shaken or removed as if it were a rattle valve. Identify the hardware from vehicle-specific service information, inspect the hoses, perform only the checks that apply, and assess those findings together rather than treating any single observation as complete.
Inspect PCV Hoses and Connections With the Engine Off
When checking a PCV valve, begin with the vehicle parked securely, the engine off and cool, and automatic starting disabled according to the vehicle instructions. Use a flashlight on accessible PCV hose runs, elbows, grommets, and connections, looking for cracks, collapse, loose seating, and oil residue. A light oil film on a ventilation hose is common because the circuit carries crankcase vapor, so that film alone does not prove the valve has failed. Pooling oil, wet grommets, or a hose that has collapsed can still explain ventilation problems and deserve further evaluation.
Do not yank brittle plastic fittings, twist frozen grommets, or open an integrated oil separator or diaphragm housing just to see inside. Those assemblies are often clipped into valve covers or intake plumbing, and forcing them can create a vacuum leak that was not present before the inspection. When the PCV hose disappears behind covers or the valve is not a standalone part, limited access is a reason to stop the home check and have the circuit inspected professionally rather than guessing from the few pieces you can reach.
Use the Rattle Test Only on an Applicable Removable Valve
A rattle check belongs only on a removable valve that service information shows contains a movable internal element and permits removal. After the engine has cooled, disconnect the valve without forcing fittings, then shake it gently and listen for movement. That check is not appropriate for a fixed orifice, a sealed diaphragm, or a molded oil separator, and those parts should stay assembled. Checking if a PCV valve is bad by shaking a part that was never designed to rattle only wastes time and can damage the housing.
A rattle means some internal piece can still move; it does not verify correct flow, sealing, or metering under intake vacuum. Silence is equally inconclusive unless you already know the design is supposed to rattle when free. Sludge, weak springs, or a plunger stuck partway can still pass or fail a shake without matching real crankcase vacuum behavior. Skip solvent soaking and mouth pressure tests; those methods do not reproduce engine vacuum, can contaminate the valve, and cannot show whether the valve is bad under running conditions.
Understand What an Idle Vacuum Check Can Establish
Idle vacuum testing asks whether the ventilation circuit receives the expected suction under the idle conditions the manufacturer specifies, not whether a generic hose feels like it is sucking. Expected behavior and valid test locations vary by system, so a procedure that belongs on one engine can mislead on another. Read the vehicle-specific steps before interpreting crankcase vacuum at idle. Home checks should stay within service-approved methods that use safely accessible ports or covers; do not disconnect running-engine hoses, block openings with fingers, or reach near belts, fans, or hot manifolds.
Suction at a hose or grommet only shows that the intake is drawing on that path; it cannot establish that the metering valve is opening, closing, or regulating as designed. Feeling the oil filler cap for a tug is a common shortcut, yet it is not conclusive because cap fit, baffle design, and unrelated intake leaks all change that sensation. When a valid procedure needs adapters, specified pressure readings, or access near hazards, stop the home PCV valve check and use professional gauge testing instead of improvising a reading.
Recognize Clues to a Valve Stuck Open or Closed
A valve stuck open, or any path that meters too much flow, can lean the idle mixture by adding unmetered air through the crankcase. Depending on system design, that may contribute to rough idle, a whistle, or excessive crankcase vacuum that tugs at the oil cap. Those clues also match a torn diaphragm, a split PCV hose, or a separate vacuum leak, so they are reasons to inspect the whole circuit rather than proof the valve itself has failed.
Restricted ventilation or a valve stuck closed can leave blow-by in the crankcase, raising crankcase pressure that shows up as oil seepage at gaskets, the dipstick, or a filler cap. Hose kinks, a clogged oil separator, and engine wear that produces extra blow-by can create the same oil leaks, so the symptom does not isolate the valve. Neither those signs nor a single rattle or vacuum observation can reliably confirm a stuck-open or stuck-closed valve. Deciding how to check if a PCV valve is bad still requires matching the design, the symptoms, and measured circuit behavior.
Decide Whether the Findings Need Professional Testing
Write down the idle quality, any whistle, visible PCV hose damage, oil residue, and the result of any rattle or idle vacuum check that actually applied to the hardware. A technician can use that record with vehicle-specific crankcase pressure or vacuum measurements and with leak or restriction checks along the ventilation path. Those shop tests can separate a metering fault from an intake leak, a collapsed hose, or a diaphragm that will not hold. Home observations remain useful as clues; they become diagnostic only when they are compared with the readings the service procedure calls for.
Persistent rough idle, whistling, recurring oil leaks, or unexplained oil consumption still justify further diagnosis even when a home PCV valve check was inconclusive. The circuit may be restricted, leaking, or simply not the cause, and only measured crankcase vacuum or pressure can sort those possibilities. Stop the engine and seek assistance if an oil-pressure warning appears, if oil loss is substantial, or if oil is contacting hot components and producing smoke. Those conditions are not a continuation of a home check; they are reasons to protect the engine and have the vehicle inspected promptly.