Honda S2000 Timing Chain Tensioner Problems and Replacement
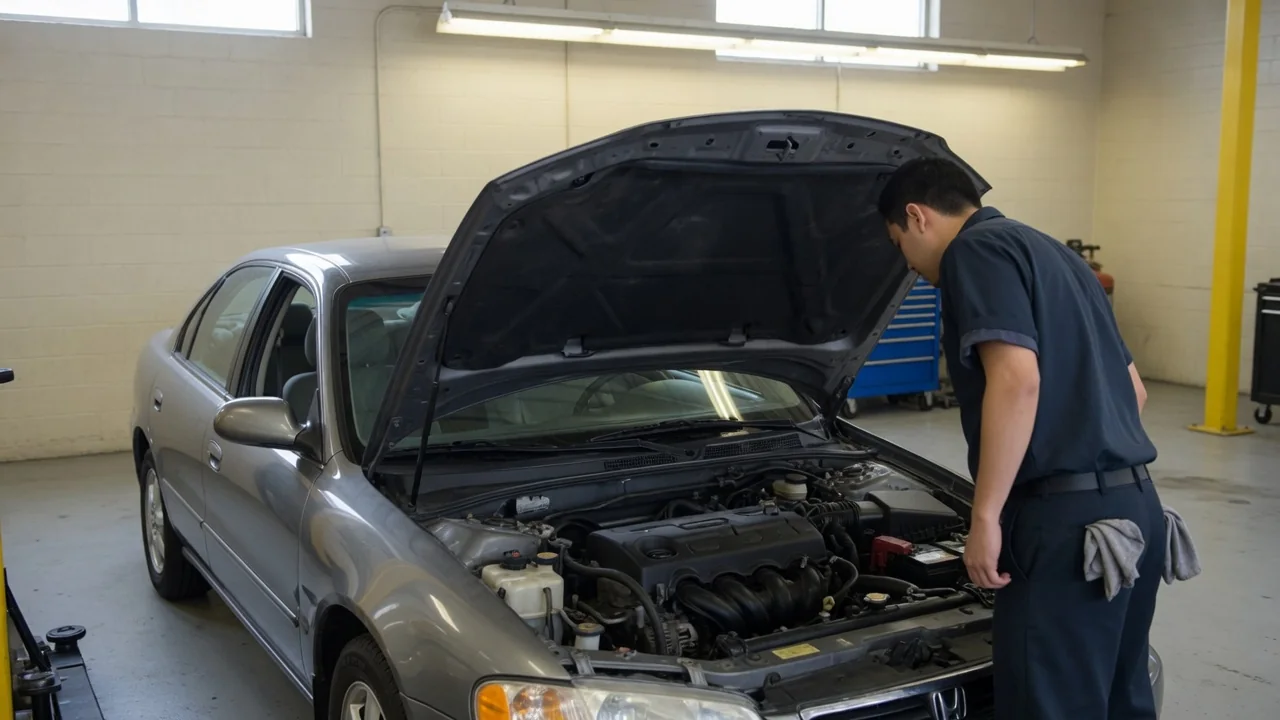
A metallic rattle from the engine bay of a Honda S2000 often raises immediate concern about the timing chain tensioner. This component maintains proper chain tension between the crankshaft and camshafts, and when it degrades, the chain may slap against guides or the cover. Owners frequently describe a brief startup noise or a persistent clatter that changes with engine temperature. Understanding the tensioner's function, the signs of trouble, and the diagnostic process can help prevent costly engine damage and guide a sensible repair decision.
The Timing Chain Tensioner’s Role in the S2000
The timing chain tensioner in the S2000 keeps the chain taut as it links the crankshaft to the camshafts, ensuring valve timing stays correct under all engine speeds and loads. It uses oil pressure and a spring mechanism to take up slack, but over time internal wear or oiling issues can reduce its effectiveness. A tensioner that cannot maintain tension allows the chain to whip, which may produce noise and alter camshaft timing. Because the chain and guides work as a system, inspecting the tensioner's condition is a logical first step.
Before assuming the chain or guides also need replacement, a technician should remove the valve cover or access cover to examine the tensioner's extension, oil feed, and the chain's slack. The S2000's model year and engine code—typically F20C or F22C depending on market—along with any prior timing system repairs should be verified against service information. Tensioner problems do not automatically mean the chain is stretched or the guides are broken; each part must be assessed individually. Establishing this baseline prevents unnecessary parts replacement and focuses the repair on the confirmed fault.
Rattle and Other Signs That Need Investigation
Owners often describe a rattling or ticking sound from the front of the engine, especially during a cold start. This noise may last only a second or two until oil pressure builds, or it might persist as a light chatter at idle. However, sound alone cannot confirm a failed tensioner because other sources—like a worn accessory belt tensioner, valve lash, or even a loose heat shield—can produce similar frequencies. A careful ear and understanding of when the noise occurs are essential for narrowing the cause.
Diagnosis improves when the driver notes the exact conditions: does the rattle appear only at startup, after the engine warms, at a specific rpm, or during ordinary driving? Accompanying symptoms such as rough running, an illuminated check engine light, or reduced performance point toward actual timing disruption rather than a benign noise. Intermittent rattles deserve documentation with a phone recording and written notes of temperature and duration. A quiet inspection at the shop does not prove the tensioner is healthy, because the fault may be load- or temperature-dependent.
Safe Observations Before a Shop Visit
A safe first check is the engine oil level, since low oil can reduce tensioner pressure and cause noise. Park on level ground, let the engine cool, and follow the owner's manual for reading the dipstick. Note any recent oil service or consumption, because an underfilled sump is a simple explanation for startup rattle. Also document when the noise first appeared and whether any previous timing system work was performed—this history helps the technician recognize a recurring issue or an installation error.
If the rattle is intermittent, a cell phone recording taken from outside the car can capture the sound without repeated engine starts or revving. A written description of when and how long the noise occurs is equally valuable. Keep your hands and clothing away from belts, pulleys, and hot surfaces, and never remove engine covers while the engine is running. Tensioner removal, adjustment, and internal inspection require special tools and timing verification, so leave these tasks to a qualified technician.
When Continuing to Drive Can Risk Engine Damage
Inadequate chain tension can allow the chain to jump a tooth on the camshaft sprockets, disrupting valve timing. In an interference engine like the S2000's, this can cause valves to contact pistons, leading to bent valves or severe internal damage. The exact risk depends on how much slack exists and the driving conditions, so no one can reliably predict failure from a noise description alone. What begins as a minor rattle can progress to catastrophic failure without warning, making early evaluation prudent.
Certain warning signs demand immediate action: a metallic rattling that becomes louder or more frequent, severe rough running, a sudden loss of power, or an oil-pressure warning light. In these cases, shut the engine off as soon as safely possible and arrange for towing to a repair facility. There is no dependable remaining-mileage estimate for a failing tensioner, and continuing to drive only increases the chance of expensive engine work. Avoid a diagnostic test drive when significant timing trouble is suspected, because it may cause further harm.
Confirming the Fault and Planning Tensioner Replacement
Before authorizing any replacement, a professional must confirm that the tensioner is the actual noise source. This typically involves running the engine briefly with a stethoscope or listening device, then removing the access cover to inspect the tensioner plunger and chain slack. The technician should also examine the chain guides for cracks or excessive wear and check the chain for stretch beyond specification. Only after this inspection can the scope of work be defined—whether the tensioner alone or additional components are required.
Replacement parts must be matched to the vehicle's VIN and engine code using Honda's electronic parts catalog or service information. The procedure generally involves setting the engine to a known timing position, locking the camshafts, removing the old tensioner after releasing its ratchet mechanism, and installing the new unit with a fresh gasket or sealant. After installation, the technician rotates the engine by hand to verify timing marks align and then starts the engine to confirm proper tension and absence of noise. Hands-on timing work should be left to professionals.
Reviewing the Estimate and Checking the Repair
An itemized estimate should list the diagnosis fee, the tensioner part number, any required gaskets or seals, the labor hours, and any additional repairs justified by the inspection. If the chain or guides are worn, the estimate must explain why those parts are needed and how their condition was confirmed. Local labor rates and the choice of original equipment or aftermarket parts will affect the total, but precise current prices should be obtained from shops directly. Avoid estimates that lack this detail.
After the repair, check that the engine starts normally, the original rattle is gone under the same conditions that produced it, and there are no oil leaks around the timing cover or tensioner area. The technician may perform a short test drive to verify proper operation, but you should also listen for any recurrence over the following days. If the rattle persists or returns, or if new warning lights, leaks, or running problems appear, return to the shop promptly. A reputable repair should address post-service concerns.