Ford Explorer Serpentine Belt: Routing and Replacement Guide
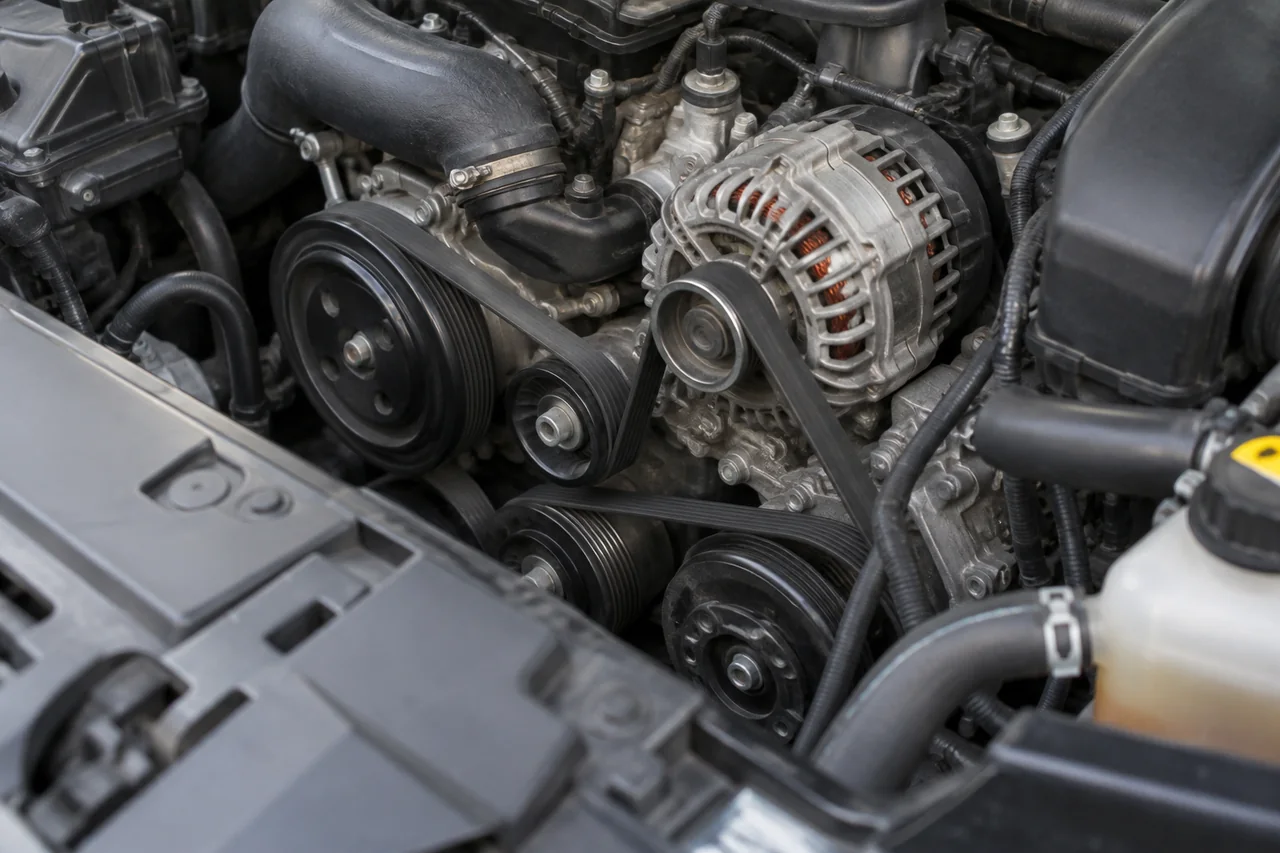
A Ford Explorer serpentine belt is the accessory drive belt that turns engine-driven components, and its path depends on year and engine rather than the nameplate alone. Before you order a belt or follow a belt routing diagram, confirm engine identification and the actual pulley layout. A serpentine belt Ford Explorer owners find on one vehicle may not match another, even when the models look similar from the outside.
Identify Your Explorer’s Year, Engine, and Belt Layout
The model year and exact engine must be established before selecting a Ford Explorer serpentine belt or a routing diagram because Explorer accessory drives have changed across generations and powertrains. Belt length, rib count, and which pulleys the belt wraps depend on the engine and on the accessories it actually drives, including the generator, steering pump, and air-conditioning compressor. A diagram or part number from a different year or engine can yield a belt that is too long, too short, or routed around the wrong idler pulley and belt tensioner.
Vehicle documentation and VIN-based parts information help confirm engine identification and the accessory drive configuration rather than relying on hood appearance or a neighbor's Explorer. The build data tied to the VIN can distinguish engines that look similar in the bay yet use different belt ribs, tensioner locations, or optional accessories. A single routing diagram or replacement procedure cannot cover every Ford Explorer, so the correct layout is the one matched to that vehicle's year, engine, and option content, not a generic Explorer illustration.
Find and Read the Correct Belt Routing Diagram
Look for an underhood belt routing diagram on a label in the engine compartment if the vehicle still has one. When the label is missing, faded, or hard to interpret, obtain service information matched to the year, engine, and accessory drive rather than a generic Explorer drawing. A verified diagram identifies the belt path around each pulley and the belt tensioner without assuming which accessories every engine drives. Some Explorers omit an accessory another version includes, which changes wrap order and which idler pulley the accessory drive belt contacts.
Ribbed and smooth belt surfaces matter because belt ribs typically seat in grooved pulleys while the back of the belt often rides on smooth idlers or the tensioner, depending on the layout. Check that contact against the applicable diagram so a ribbed face is not forced onto a smooth pulley or a smooth back into a grooved wheel. Document the existing layout with the engine off and accidental starting prevented, and remember that an installed belt may already be routed incorrectly, so copying the current path without a verified diagram can repeat a mistake.
Recognize Belt Wear and Symptoms That Need Diagnosis
Visible fraying, missing rib material, edge damage, and contamination with oil or coolant can justify further inspection of the Ford Explorer serpentine belt and the pulleys it wraps. Chunks missing from belt ribs, a glazed or cracked back, or a belt that has ridden off a pulley edge are not cosmetic issues; they can reduce grip and allow the belt to walk. Fluid on the belt or pulleys often comes from nearby leaks, which can keep damaging a new accessory drive belt until the leak source is addressed.
Squealing, chirping, or other accessory drive noises do not establish that the belt alone is faulty. A worn belt tensioner, a seized or noisy idler pulley, pulley alignment problems, or a failing driven accessory can make similar sounds. Limit owner observations to an engine-off, cool vehicle with accidental starting prevented, and keep hands and tools away from moving components. If the belt is displaced, the vehicle suddenly loses charging, cooling, or power assist, or warning lights appear, stop safely and arrange assistance rather than continuing to drive.
Plan a Vehicle-Specific Belt Replacement
Confirm the replacement belt's application, length, and rib count through vehicle-specific parts information tied to the year, engine, and accessory layout, not a shelf label that only says Explorer. Two belts can look similar yet differ by a few millimeters of length or by one rib, enough to leave the belt tensioner outside its working range or to mis-seat on a grooved pulley. Review access requirements and the applicable service procedure before deciding whether replacement is suitable for the owner; some Explorers bury the accessory drive belt behind covers or other components.
Spring-loaded tensioners and restricted access create injury risks if the tensioner is released without the correct tool and a plan for belt control. Refer tension release and difficult access work to a qualified technician rather than improvising in a tight bay. During replacement, a technician may need to assess tensioner condition, pulley alignment, bearing condition on idler and accessory pulleys, and fluid leaks that could contaminate the new belt. A new serpentine belt Ford Explorer owners install will not last if the hardware that guides it is worn.
Confirm Installation and Address Recurring Problems
Before the vehicle returns to use, complete an engine-off check of routing and belt seating against verified service information. Confirm that belt ribs sit fully in grooved pulleys, that the smooth back contacts only the pulleys the diagram specifies, and that the belt tensioner is on the correct span. Look for twist, a rib hanging off a pulley edge, or contact with a cover. Starting the engine is not a substitute for that static check, because a misrouted accessory drive belt can leave an accessory undriven or jump off.
Persistent noise, belt wandering, or renewed damage after a fresh Ford Explorer serpentine belt is installed requires diagnosis of the accessory drive rather than repeated belt replacement. A weak belt tensioner, a tilted idler pulley, poor pulley alignment, or a failing bearing can walk or chew a correctly specified belt. Professional follow-up is appropriate for suspected tensioner, pulley, bearing, or driven-accessory faults without hazardous running tests. Use the vehicle's maintenance information for inspection guidance; there is no universal replacement interval for every Explorer and duty cycle.