How to Depressurize a Car AC System Safely
Direct answer and scope
For most car AC service work, depressurizing means recovering the refrigerant into a certified machine rather than releasing it to the atmosphere. On vehicles using R-134a or R-1234yf, venting refrigerant is illegal in many markets because these substances are greenhouse gases. The only generally accepted DIY method for anything beyond disconnecting a service hose is to use a recovery machine. If you only need to disconnect a set of manifold gauges after checking pressures, the normal service-port valves close automatically, and the small amount left in the hose is considered unavoidable but should still be minimized.
When depressurization is actually needed
You need to remove refrigerant before opening the system to replace a compressor, condenser, evaporator, expansion valve, receiver-drier, accumulator, or a leaking line. You do not need to depressressurize the system merely to check high- and low-side pressures with gauges, to add refrigerant through the low-side port while the engine is running, or to observe the sight glass on older systems. The service valves are designed to seal when the couplers are removed.
Tools and prerequisites
Refrigerant recovery machine rated for the vehicle's refrigerant type (R-134a or R-1234yf); Approved recovery cylinder with sufficient capacity; Manifold gauge set with correct high- and low-side couplers; Safety glasses and chemically resistant gloves; Vehicle service information for port locations and refrigerant capacity
Do not use a homemade recovery tank or a standard disposable canister as a recovery vessel. The cylinder must be labeled for recovery and meet the pressure rating for the refrigerant in use. Confirm whether the car uses R-134a or R-1234yf; the service ports are different, and using the wrong couplers can damage the fittings or cause a dangerous release.
Step-by-step recovery procedure
Work in a ventilated area and wear safety glasses and gloves. Refrigerant can cause frostbite on contact with skin and can displace oxygen if released in a confined space.
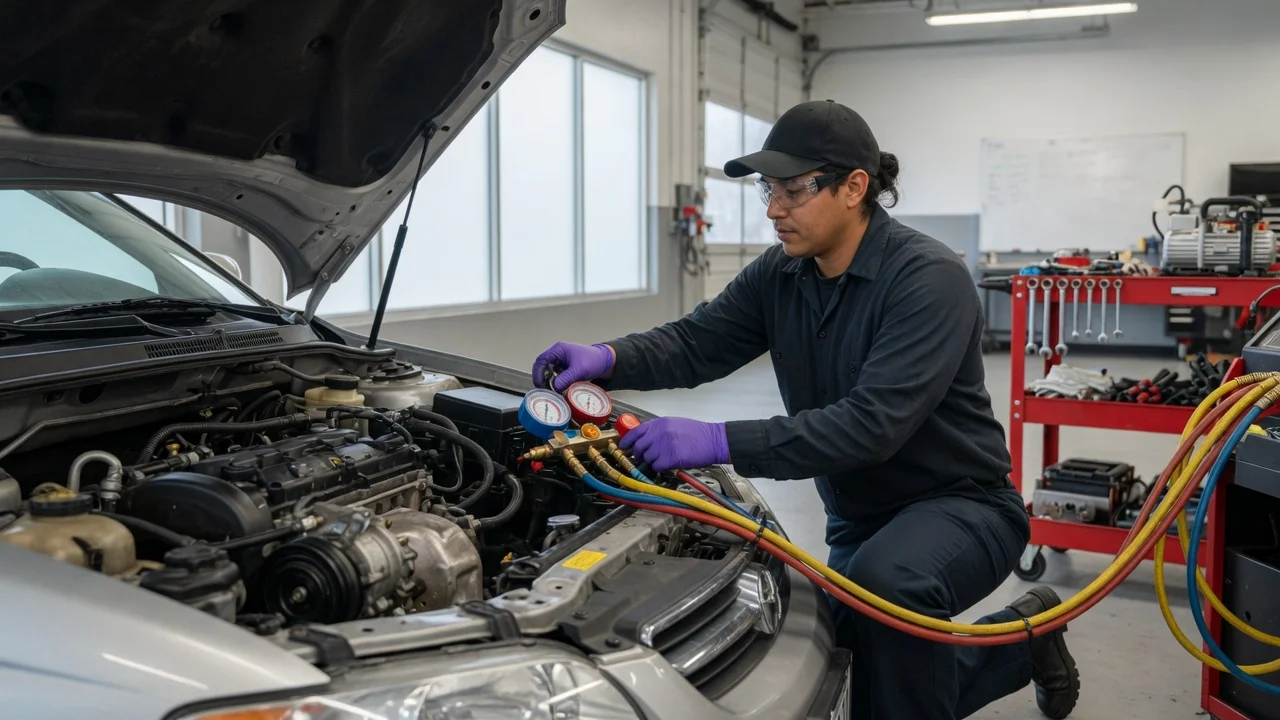
Connect the manifold gauge set: blue hose to the low-side port and red hose to the high-side port. The yellow service hose goes to the recovery machine inlet. Connect the recovery machine outlet to the liquid valve of the recovery cylinder. Open the recovery cylinder valve and the manifold gauge valves according to the recovery machine instructions. Run the recovery machine until the system pressure drops into a vacuum and the machine indicates recovery is complete. Close the cylinder valve and turn off the machine. Watch the gauges for several minutes. If pressure rises, liquid refrigerant may still be present; repeat recovery. Disconnect the couplers once the system holds a stable vacuum or near-zero pressure.
After recovery, the system is ready to be opened for component replacement. Maintain a clean workspace, cap open lines immediately, and replace the receiver-drier or accumulator if the system was open or if it has been in service beyond the interval specified by the vehicle manufacturer.
Professional-service boundary
Because recovery requires a certified machine and an approved cylinder, most home mechanics take the vehicle to a licensed shop for refrigerant recovery, then perform the mechanical work themselves, and return to the shop for evacuation and recharge. Attempting to vent refrigerant to the atmosphere is not a safe depressurization method and is illegal for automotive refrigerants in many regions. If a system is empty because of a major leak, assume moisture and air have entered; the repair should include a new dryer or accumulator, a deep vacuum, and a measured recharge according to the underhood label.