Car Trunk Won't Latch or Close: How to Fix
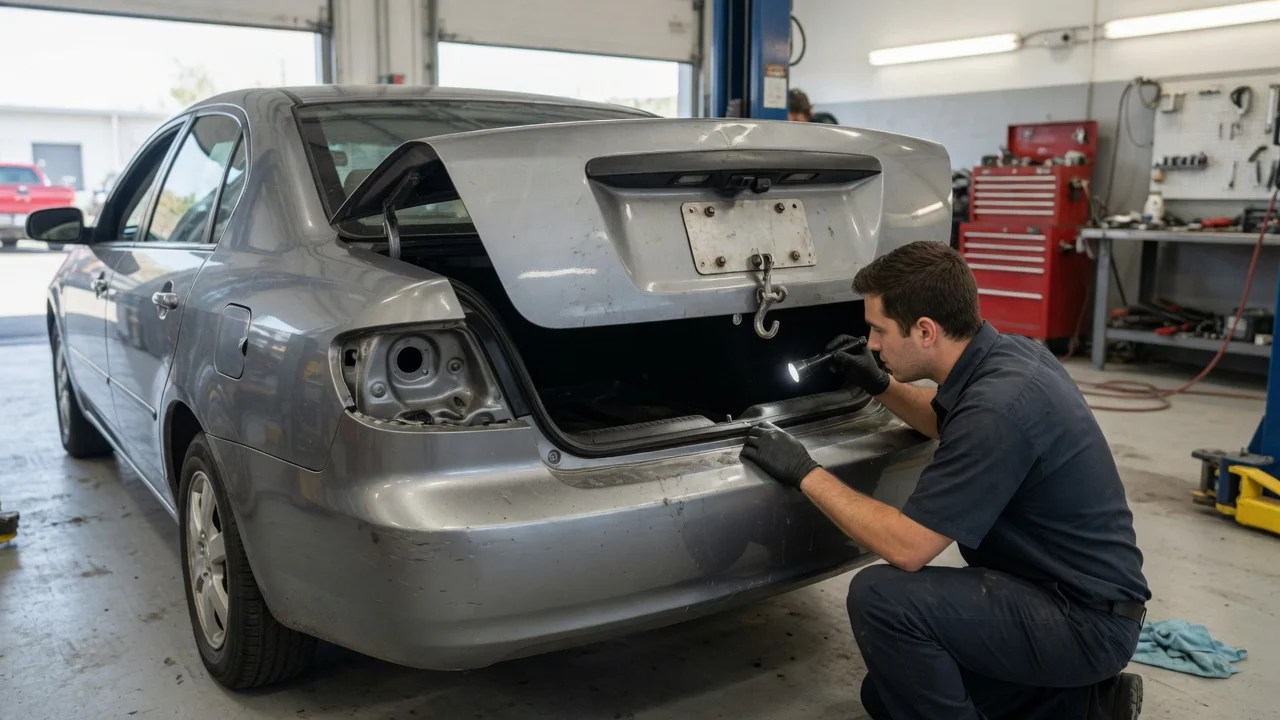
Essential Answer
A trunk that will not latch or stay closed is usually caused by a misaligned striker plate, a damaged or stuck latch mechanism, a broken release cable, or an object blocking the latch. In most cases you can restore normal operation by cleaning and lubricating the latch assembly, freeing a jammed mechanism, repositioning the striker, or clearing an obstruction. A trunk lid that closes but pops open while driving indicates a different failure than one that will not engage at all. Address the problem before driving because an unlatched trunk can fly open, reduce rear visibility, and allow exhaust gas into the cabin.
Prerequisites and Safety
You will need a flashlight, a clean rag, a flathead screwdriver or trim tool, penetrating lubricant or white lithium grease, and the appropriate socket or wrench for your vehicle's striker bolts. Work on a level surface with the parking brake engaged and the engine off. Keep hands clear of the latch jaws because the mechanism is spring-loaded and can pinch fingers when it snaps closed. If the trunk lid is heavy or supported by weak struts, use a prop rod or have a helper hold it open. Do not drive the vehicle while the trunk is unsecured.
Step 1: Inspect for Obstructions
Open the trunk and remove all loose items from the cargo area. Look along the trunk opening and the underside of the lid for anything that could sit between the lid and the latch: clothing, grocery bags, floor mats, snow brushes, or aftermarket wiring. Even a thin item near the striker can prevent the latch from fully engaging. If you find an obstruction, remove it and close the trunk to test the latch. Move to the next step only if the trunk still will not latch with the area clear.
Step 2: Examine the Latch Mechanism
Locate the latch assembly on the trunk lid or the body opening, depending on the vehicle. The latch is the metal and plastic component with a movable jaw or claw that grips the striker loop. Shine a flashlight into the latch opening and check whether the jaw is in the closed or open position. If the latch is already closed while the trunk is open, it will bounce off the striker instead of grabbing it.
Step 3: Release a Stuck Latch
If the latch jaw is closed, insert a flathead screwdriver into the opening and gently pry the jaw toward the open position. On many vehicles you can also pull the trunk release lever or press the remote release while guiding the jaw open with the screwdriver. Do not force the mechanism sideways. Once the jaw moves freely, it should stay open and ready to receive the striker. If the jaw will not move or feels gritty, the latch is likely seized or contaminated.
Step 4: Clean and Lubricate the Latch
Dirt, rust, and dried grease are common causes of a latch that sticks in the wrong position or fails to close around the striker. Spray penetrating lubricant into the latch mechanism, then work the jaw open and closed several times by hand or with a screwdriver. Wipe away loosened debris with a clean rag. Apply a small amount of white lithium grease to the moving parts inside the latch and the pawl that locks the jaw. Close the trunk and test. A latch that works after this step was likely binding from contamination.
Step 5: Check and Adjust the Striker Plate
The striker is the U-shaped metal loop bolted to the trunk opening or lid that the latch grabs. If the striker is bent, loose, or shifted out of alignment, the latch cannot close around it. Inspect the striker for visible damage or wear marks that are off-center. Loosen the striker bolts slightly, move the striker no more than a few millimeters at a time, then retighten the bolts to the manufacturer's torque specification if known. If you do not have the specification, tighten them firmly without over-torquing. Close the trunk gently and observe whether the latch engages. Repeat small adjustments until the lid closes with moderate effort and stays shut.
Step 6: Inspect the Release Cable and Handle
If the latch appears functional but does not respond to the release handle, the cable may be stretched, disconnected, or broken. Trace the release cable from the interior handle or lever to the latch. Look for a detached cable end, a kinked or frayed cable housing, or a loose adjuster. A cable that moves but does not release the latch may need adjustment at the latch end. A fully broken cable usually requires replacement. This repair often involves removing interior trim panels, so consult vehicle-specific service information if you are unsure of the routing.
Step 7: Electrical Trunk Release Checks
Vehicles with a power trunk release may fail to latch or release because of a faulty actuator, blown fuse, damaged wiring, or a misaligned sensor. If the trunk does not respond to the remote or interior button but latches manually, check the fuse for the trunk release circuit before replacing the actuator. Wiring damage is common where the harness bends between the body and the trunk lid. A latch that opens on its own immediately after closing, or pops open while driving, can indicate a failing actuator or a short in the release circuit sending an unintended signal.
Step 8: Inspect Lid Alignment and Supports
A trunk lid that is misaligned because of worn hinges, a past collision, or damaged supports can prevent the latch and striker from meeting correctly. Close the lid slowly and watch the gap between the lid and the body on both sides. Uneven gaps or a lid that sits high or low at the latch point indicate an alignment problem. Weak support struts can allow the lid to drop or shift just enough to prevent engagement. Replacing worn trunk struts is a straightforward repair on many vehicles, but hinge or body alignment after collision damage typically requires a body shop.
Completion Check
After making any repair or adjustment, close the trunk and pull upward on the lid to confirm it is fully latched and will not open without using the release. Sit in the driver's seat and verify the trunk warning indicator, if equipped, is not illuminated. Operate the trunk several times using the key, interior release, and remote release if installed. Drive at low speed on a quiet street and confirm the trunk remains closed. Do not resume normal driving until the latch holds securely through all release methods and at speed.
When to Seek Qualified Service
Consult a qualified automotive technician if the latch remains stuck after cleaning and lubrication, the striker adjustment does not correct the problem, the release cable is broken inside a trim panel, the power release actuator needs replacement, or the trunk lid is misaligned from accident damage. A latch that shows cracks, heavy corrosion, or a broken spring should be replaced rather than repaired. Some body-integrated latch assemblies require removal of exterior trim or bumper components and are not practical to service without vehicle-specific instructions.
Interpreting Symptoms and Likely Causes
Observed behavior | Most likely causes | Recommended first check; Trunk will not latch at all | Obstruction, stuck latch jaw, misaligned striker | Clear trunk area, inspect latch jaw position; Trunk latches but pops open immediately | Worn latch or striker, failing actuator, misalignment | Inspect striker wear, test release system; Trunk closes but warning light stays on | Faulty trunk latch switch, poor wiring connection | Check latch position sensor and wiring at latch; Release handle feels loose or does nothing | Broken or disconnected release cable | Trace cable from handle to latch; Remote release does not work | Blown fuse, faulty actuator, damaged wiring | Check fuse, then test actuator power
Limits of This Guide
Exact latch design, striker torque, release cable routing, and electrical release behavior vary by manufacturer, model year, and market. The steps here apply to common manually and electrically released trunk lids, but some vehicles use powered liftgates, soft-close mechanisms, or body-integrated latches that require different procedures. Always consult the applicable owner's manual or service information for your specific vehicle before adjusting safety-related hardware. Do not extrapolate torque specifications or wiring diagrams between unrelated models.