Winter Car Wax: Protecting Paint Before Salt and Snow
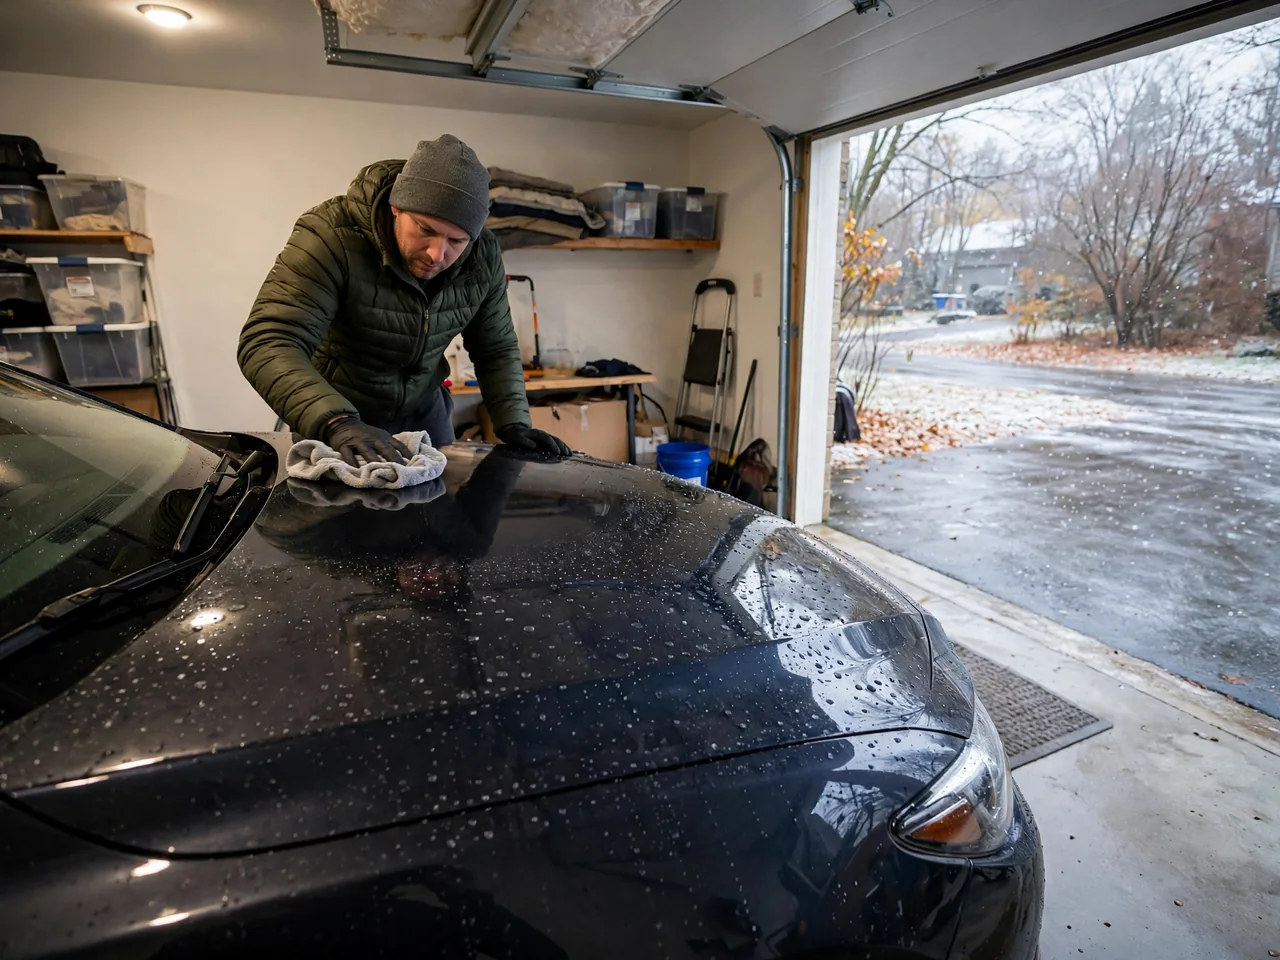
As winter approaches, road salt, brine, and sand become constant threats to your car’s paint. Applying car wax for winter creates a sacrificial barrier that helps these contaminants rinse off more easily. Between freezing temperatures and harsh chemicals, your clear coat faces daily abuse. Wax alone won’t prevent every chip or scratch, but it improves water beading and simplifies cleaning. Fall is the ideal time to prepare, when warmer days allow proper washing and curing before the first storm.
Why Wax Your Car Before Winter Road Salt and Snow Arrive
Road salt and brine cling to painted surfaces and, when combined with sand and grime, form a stubborn film that accelerates clear coat wear. A fresh layer of wax makes the paint slicker, so contaminants have less opportunity to bond. Water beading becomes more pronounced, and slush sheets off rather than lingering. This does not make the finish impervious to damage, but it reduces the effort needed to keep panels clean and lessens the chance of fine scratches during routine washes.
Fall offers the most practical window for applying winter car wax because temperatures are generally warmer and humidity is lower. Curing happens more predictably when panels stay dry, and you can work outdoors without frost interfering. Remember that wax protects painted surfaces only. It will not stop corrosion forming on the underbody or inside wheel wells, where salt accumulates heavily. Regular underbody rinsing throughout winter remains essential even with a well-waxed exterior.
Traditional Wax vs Synthetic Sealant: How Each Holds Up to Cold and Salt
Carnauba wax for winter delivers a deep, warm gloss but typically breaks down faster under constant salt exposure and frequent washing. Synthetic polymer sealants bond more tightly to clear coat and are engineered for extended durability in harsh conditions. Hybrid products blend natural waxes with synthetic resins, offering a balance of appearance and resilience. For drivers facing months of brine and slush, a dedicated paint sealant often maintains water beading longer than a traditional wax, though actual results vary with product chemistry.
Climate, washing frequency, road treatments, and driving habits all influence how long any protection lasts. Check the manufacturer’s label for expected durability and reapplication guidance. Some owners choose to layer a sealant first and then top with a carnauba wax for added depth and sacrificial gloss. This approach is optional and requires extra time, but it can provide a thicker barrier. The key is to select a product rated for cold conditions rather than assuming any wax will endure the entire winter.
Preparing Paint for Winter Wax: Washing, Drying and Decontamination
Wax must bond to clean, fully dry paint. If dirt, salt residue, or old wax remains on the surface, the new layer will seal contaminants against the clear coat, leading to hazing and reduced protection. Start with a thorough hand wash using pH-balanced car shampoo and soft microfiber mitts. Work from the top down and rinse frequently to prevent grit from scratching. Pay extra attention to lower rocker panels and behind wheels, where winter grime collects heavily.
After rinsing, dry every seam, mirror housing, and trim piece. Cool weather slows evaporation, so trapped moisture can cause streaks or prevent proper curing. For paint that feels rough to the touch even after washing, consider a clay bar or synthetic decontamination towel. Clay pulls embedded particles out of the pores, leaving a smooth surface ready for wax. This step is optional but worthwhile before winter, as it removes bonded contaminants that would otherwise remain under your protective layer.
How to Apply Car Wax in Cold Weather Without Streaks or Haze
Low temperatures slow solvent evaporation and make buffing more difficult. Many waxes and sealants specify a minimum application temperature, often above 50°F. If the product is too cold, it may smear or leave an uneven film. Work in a sheltered garage if possible, away from wind, frost, and moisture. Bring the product to room temperature before use. Apply thin, even coats to one panel at a time, then buff off residue with a clean microfiber towel before it hardens completely.
A thin layer is always better than a thick one. Heavy application wastes product and creates stubborn haze, especially in cold air. Ensure the garage is well ventilated; never run the engine in an enclosed space because carbon monoxide accumulates quickly. If working outside, watch for icy footing and avoid waxing when the temperature is near freezing. Following the product’s stated temperature range and curing time will give the most consistent, streak-free results.
Maintaining Wax Protection Through the Winter Season
When temperatures climb above freezing, take the opportunity to rinse the car, including the underbody and wheel arches. A thorough rinse removes salt and brine before they can sit on the paint or promote corrosion. Use a gentle spray rather than high pressure on waxed panels, as excessive force can strip protection. If washing with soap, choose a pH-balanced shampoo that won’t degrade the wax layer. Avoid harsh degreasers or dish soap, which break down carnauba and synthetic polymers quickly.
Spray waxes and quick detailers offer a convenient way to top up protection between full applications. After a wash, mist a small section and buff with a clean microfiber to restore water beading and add a thin sacrificial layer. This is not a replacement for a proper winter wax job, but it extends the time between heavy detailing sessions. Be cautious with automatic car washes that use stiff brushes, which can scratch and wear the wax unevenly. Never use hot water on frozen panels, as the sudden temperature change can crack paint or glass.
Signs Your Winter Wax Has Worn Off and When to Reapply
The most obvious sign that winter car wax has failed is water no longer beading on the surface. Instead, it may sheet off in large patches or cling in flat puddles. Run your hand over clean, dry paint; if it feels grabby or rough rather than slick, the protective layer is gone. High-exposure areas such as the lower doors, rocker panels, front bumper, and hood usually wear first because they face the most salt spray and road debris.
There is no fixed calendar for reapplication because driving conditions vary. When you notice degraded beading or a rough texture, plan to re-wax on the next mild, dry day. Before applying more wax, inspect for chips, bubbling, or rust spots. Wax will not repair these defects and may temporarily hide early corrosion. Have a detailer or body shop evaluate any damaged areas before winter worsens them, rather than simply covering them with another layer of wax.