Why Can Silicone Sealant Be Wrong for a Car Leak?
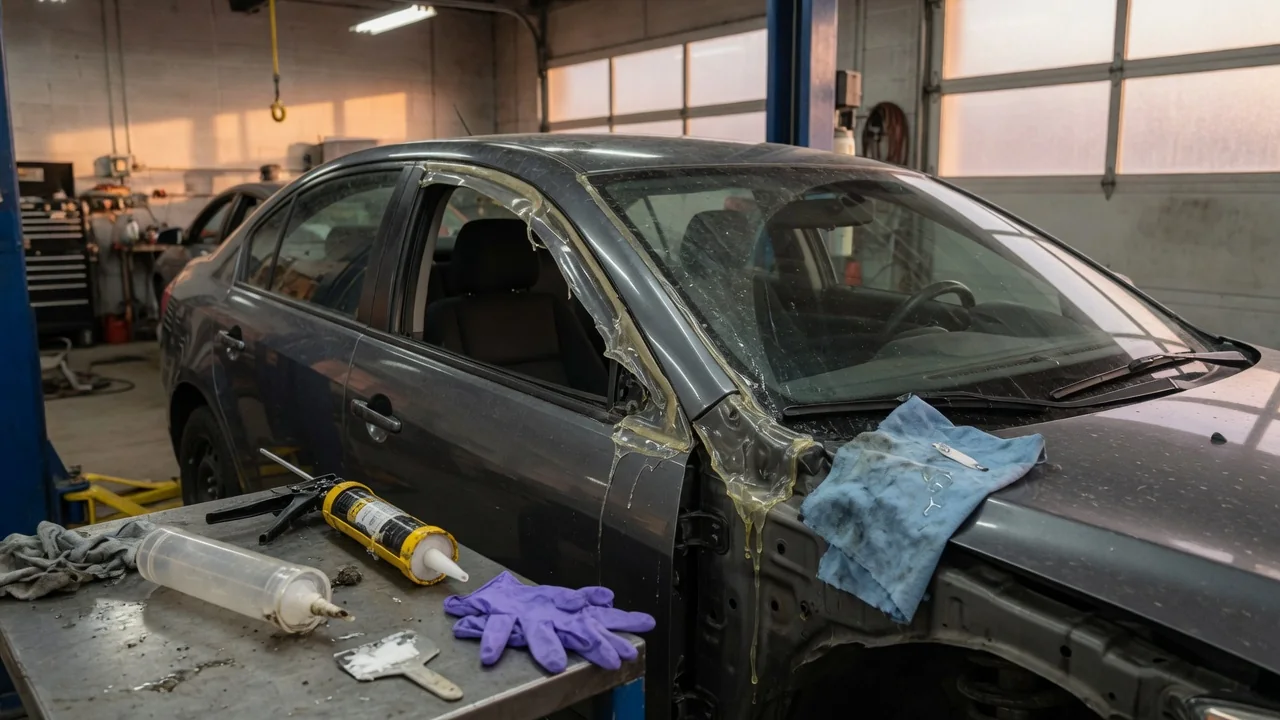
A bead of clear silicone can look like the quickest fix for water dripping onto a floor mat or fogging a taillight, and it is easy to find. Yet silicone is often the wrong car leak sealant choice. It may not bond to the surfaces involved, it can block paths that water is supposed to follow, and its residue can make the correct repair harder. Knowing why helps you work out what the leak actually needs.
Material compatibility
Silicone sealant is a broad family of products, and most of what sits on a hardware store shelf is made for household tile, glass and fixtures, not vehicle bodies. Automotive joints combine painted steel or aluminum, plastics, rubber weatherstrip, glass and factory-applied adhesives, and each sealing point was designed around specific materials. General-purpose silicone often adheres poorly to many plastics and to rubber that has been treated with protectants. It may look sealed while water still finds a gap beneath the bead. Some common silicones release acetic acid as they cure, which causes their vinegar smell. That byproduct can attack bare metal and some sensitive components, which is why products meant for engine areas are often labeled sensor-safe or neutral cure.
The larger problem is what silicone leaves behind. It is difficult to remove completely, and even a thin film can stop paint, primer, urethane adhesive or seam sealer from bonding later. Body shops treat silicone contamination as a serious problem because it can make paint crater or separate. Windshields and many other fixed glass panels are typically installed with urethane adhesive, and on many vehicles that bond is part of the body structure rather than just a water seal. Silicone does not provide that kind of structural bond. Silicone residue around a glass opening can also compromise a proper reinstallation.
Drain paths
Many car leaks have nothing to do with a failed seal. Vehicle bodies are generally designed on the assumption that some water will get past the outer layer, then be collected and routed out. Doors usually have drain holes along their lower edges. Sunroof frames commonly use channels connected to drain tubes. The cowl area below the windshield is typically designed to shed water away from the cabin air intake. Trunk lids, hatches and rear lamp areas may also rely on channels and gaps. When leaves, dirt or other debris block one of these paths, water backs up and overflows into places where it looks like a seal has failed.
Silicone becomes harmful when it closes an opening that was meant to drain or vent. Sealing over a gap at the bottom of a door, around a lamp housing or along a seam can trap water inside a cavity instead of keeping it out. Trapped moisture can lead to corrosion, wet insulation, lasting odors, condensation inside lenses, or damage to wiring and connectors routed through the area. Water also tends to travel along panels, brackets and harnesses before it drips. As a result, the wet spot inside the car is often some distance from the real entry point, and sealing where the water appears may only move the leak.
Proper repair
A durable repair starts with finding the entry point. A common approach is a controlled water test. One person runs a gentle stream from a hose over one area at a time, starting low and moving upward, while another person watches inside with a light. Testing higher areas first can wet everything below and hide the source. Before sealing anything, check the related drains. Where the vehicle has drain tubes, look for kinked or disconnected ones. Inspect weatherstrip for tears, flattening, gaps or loose sections. Many leaks are fixed by clearing a drain or by reseating or replacing a seal, with no added sealant at all.
When sealant really is needed, match the product to the joint, ideally by following the vehicle's service manual. Fixed glass generally calls for automotive urethane and its specified primers. Body seams usually take a paintable seam sealer. Some lamp housings, access covers and vapor barriers are sealed with butyl-type material, and loose weatherstrip may need a dedicated weatherstrip adhesive. Surface preparation matters as much as the product. Remove the old sealant, then clean and dry the surfaces. Remove any earlier silicone as thoroughly as possible so the new material can bond.
Practical implications and limits
Silicone is not off-limits on cars. Some RTV silicones are formulated for specific automotive uses, such as certain gasket applications, and a manufacturer may specify one where it suits the materials and temperatures involved. The problem is substituting a general-purpose product for the material a joint was designed around. Before using any sealant, read its label for intended surfaces, cure type and paintability. If fuel, oil or coolant will reach the joint, check that the label lists resistance to it.
A quick silicone patch also has costs that show up later. It can hide the symptom long enough for corrosion or mold to develop out of sight. A technician may then need extra time to strip the residue before doing the repair correctly. If the leak involves the windshield or other bonded glass, a sunroof assembly, or a body seam near structural areas, a professional assessment is often the safer route, because those repairs can affect more than keeping water out.
Vehicle designs vary widely, so drain locations, seal designs and approved materials differ from one model to another. General principles explain why silicone sealant can be wrong for a car leak, but they cannot confirm the cause on a particular car. Your vehicle's service manual, or a qualified body or glass technician, remains the best guide to which repair and which material apply.