Why a Backup Camera Stops Working: Causes and Safe Checks
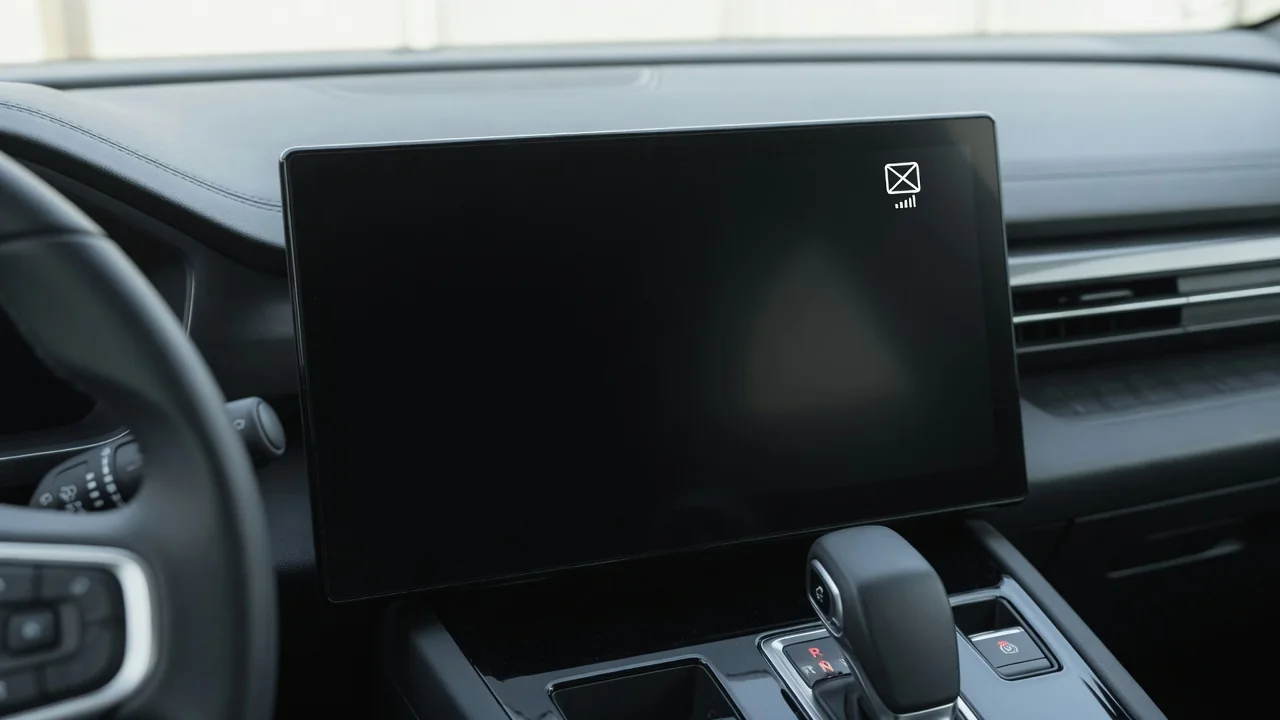
Why is my backup camera not working? The screen may go black, show a no signal message or never switch over when you shift into reverse. The cause can be anything from a dirty lens to the head unit, the wiring, the reverse signal or software. Here is how to read the symptoms, make safe checks and decide when a car's rear view camera needs professional testing.
What Your Backup Camera Symptom Is Telling You
Start by describing exactly what you see. A black or blue screen, a no signal message, a flickering picture or rolling image, a blurry view and an intermittent image that comes and goes each suggest something different. The symptom narrows the search to a broad area, such as the lens, the camera, the video wiring, the monitor display, the reverse signal or software. It can't prove by itself which part has failed.
If a picture appears but looks hazy, check the camera lens first. Dirt, water spots, road salt and ice often cause a poor image, and that calls for cleaning, not a repair. Wipe the lens gently with a soft, damp microfiber cloth and avoid solvents or abrasive pads that can scratch the cover. Also note when the trouble began. A recent battery change, collision, car wash, tailgate repair or stereo install can point toward a likely cause.
When the Screen Stays Blank in Reverse or the Radio Goes Dark Too
Most displays switch to the camera feed only after they receive a reverse signal. If the backup camera doesn't work in reverse but the screen otherwise behaves normally, look at that switching signal first. A screen that never changes views may have a reverse-signal or settings problem rather than a bad camera. Safe observations help here: check whether the reverse lights come on, whether the screen powers up at all and whether the problem clears after a full shutdown and restart.
When the radio and backup camera both stop working, a shared cause is more likely than a camera fault. A blown fuse, a power supply problem, a head unit fault or a frozen infotainment system can take out audio, the display and the video input at once. Checking the relevant fuse against the diagram in the owner's manual is reasonable. If a fuse blows again, though, there's a circuit fault, and it needs professional diagnosis.
Factory Backup Cameras on Specific Makes and Models
Factory systems differ widely in how the camera, display and control modules communicate, so a fix posted for one vehicle isn't a universal answer. Owners of a Mazda3, a 4Runner (including the 5th gen), FJ Cruiser, Camaro, Avalanche, Challenger, CLA 250, Equinox, Jaguar XF, Maserati Ghibli, MK7 GTI, ID.4 or Model Y should review the manual, infotainment settings and software update status before assuming the hardware has failed. Uconnect systems, including the 8.4 screen, deserve the same check.
In many vehicles, the tailgate wiring harness or trunk lid cable flexes every time the lid opens, and that repeated movement can stress the wires over time. A dealer or qualified shop can check for service bulletins, recalls or software updates for your exact vehicle, which is more reliable than forum advice. A factory system may also store diagnostic trouble codes, but their meaning depends on the manufacturer. A technician should confirm what a code means before anyone acts on it.
Aftermarket Stereos and Add-On Cameras from Pioneer, Kenwood, Alpine and Others
When an aftermarket radio's backup camera stops working, the cause usually traces back to two connections: the reverse trigger wire and the camera video input. Pioneer units, including AVH models and the DMH-2660NEX, rely on these inputs. So do Kenwood, JVC units such as the KW-M560BT, Sony's XAV-AX100 and XAV-AX1000, the Alpine iLX-207, Boss, Audiovox and Advent. Menu settings for camera input, camera type, polarity and parking guidelines can also leave the screen blank when the hardware is fine, so check the stereo's manual.
Add-on kits from brands such as Peak or Toguard work the same way. A loose RCA video connection, a camera with no power source or a trigger wire that was never connected can each produce a blank screen. A camera that worked with the factory radio may not be compatible with a replacement head unit unless the correct interface is used, so confirm compatibility with the stereo or camera maker. If the system was professionally installed or uses integration modules, take it back to the installer or a car audio shop.
Android Head Units and CarPlay Camera Problems
Android car stereos from brands including Dasaita, Eonon and Podofo often keep camera options in factory or advanced menus. Settings such as reverse detection mode, camera format and mirror image control whether the screen switches and how the picture looks. A firmware update, factory reset or mismatched video format can turn a previously working camera black or distort the image. After any software change, recheck those menus before suspecting the camera.
If the backup camera stops working while CarPlay is running, keep in mind that CarPlay handles phone projection but doesn't usually power or drive the camera. The head unit decides when to switch from the CarPlay view to the camera feed, so check the head unit settings first. When updating an Android radio, use only firmware from the unit's maker and back up your settings beforehand. Unofficial firmware can break features you rely on.
Backup Cameras on Skid Steers, Heavy Equipment and Commercial Vehicles
Machines such as the Bobcat T66, Cat 259D, Cat 289D and other Cat skid steers often use dedicated monitors and rugged camera cabling that differ from passenger car setups. Commercial systems from Rosco and Voyager do as well. Exposure is the usual problem. Mud or debris on the lens, connectors loosened by constant vibration and cables damaged by attachments, brush or rough job sites can all cause a black screen or an intermittent image.
Before inspecting anything, park on level ground, lower all attachments, shut the machine down and follow the operator's manual. Never put yourself in a crush or pinch zone around lift arms or buckets. From the seat, check the monitor's channel or input selection and its display settings, because a switched camera channel can look like a failure. Leave wiring problems, controller faults and system codes to the equipment dealer or a qualified technician.
When to Stop DIY Checks and Get Professional Testing
Safe home checks have clear limits: cleaning the lens, reviewing settings, restarting the system, checking for software updates and looking for obvious physical damage. Confirming power, ground, video signal or network communication takes proper test equipment and vehicle-specific information, so that work belongs in a shop. On some vehicles the camera is tied into driver assistance features. Camera problems after a collision or body repair should be checked by a qualified shop.
Until the camera is repaired, back up the old way, using your mirrors and looking over your shoulder. A camera that drops out, freezes or lags can show a clear path that's no longer clear, so don't trust a picture that has proven unreliable. Bring the technician notes on the symptom, when it started and what you've already checked. That helps them reach a diagnosis faster and avoid replacing parts that were never faulty.