What to Photograph Before Leaving a Car at a Repair Shop
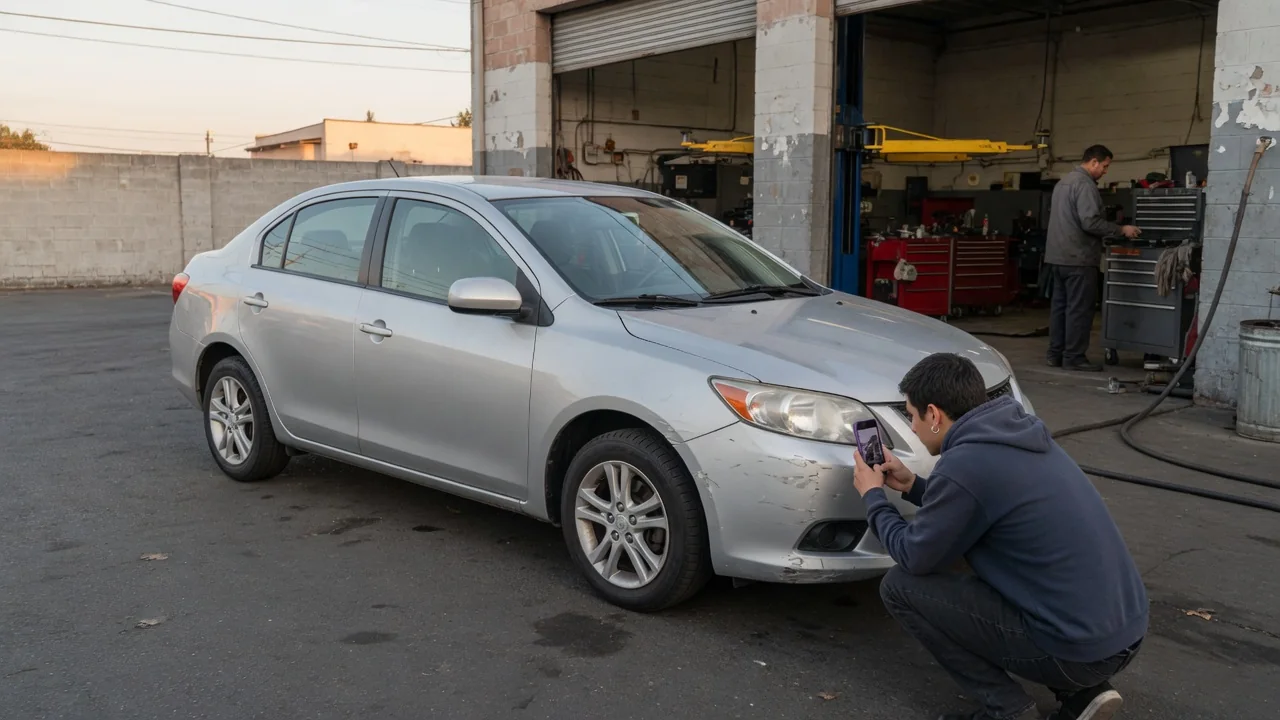
Knowing what to photograph before leaving a car at a repair shop takes about five minutes and can settle questions that would otherwise come down to memory. A short set of clear, time-stamped pictures records the body, the odometer, the fuel level, and the cabin as they were at drop-off, giving both the owner and the shop a shared reference point.
Exterior condition
Start with a slow walk around the vehicle, taking one picture of each side and each corner so that every panel appears in at least two frames. Overlapping angles matter because a dent that vanishes in a straight-on shot often shows clearly from an oblique one, where reflections bend around the damage. Photograph in daylight or under even shop lighting when possible, and wipe off heavy dirt in any area that already has a scratch, since grime can hide or mimic paint damage.
Then move in close on the places that pick up damage most easily during shop handling: bumper corners, door edges, mirror housings, wheel faces, and the lower rocker panels near the lift points. Curb rash on alloy wheels is worth documenting because tire and brake work puts tools near the rim. Capture the windshield for existing chips, the roof on taller vehicles, and any aftermarket parts such as roof racks or running boards. Vehicles with low ground clearance or front splitters deserve an extra shot of the lower front edge.
Dashboard and mileage
Turn the ignition on and photograph the instrument cluster with the odometer reading clearly legible. On many newer vehicles the mileage sits in a digital display that may need to be cycled into view with a steering wheel button, while older clusters show it permanently. A sharp odometer picture lets you compare the figure against the repair order and see how far the car traveled for road tests. Some distance is normal for diagnosis, but the record makes an unexpected jump easy to raise calmly.
The same photo session should include the fuel gauge or, on an electric vehicle, the state of charge and estimated range. With the engine running, take a second picture showing which warning lights remain lit after the startup bulb check, because that establishes what was already illuminated before any work began. A check engine or tire pressure lamp present at drop-off is evidence of an existing condition, not something the shop caused. Trip meter and average fuel economy screens are optional but can add useful context.
Valuables
The best protection for valuables is to take them home, and most shops say as much on their paperwork. For items that have to stay, a few photographs establish what was in the car and where. Open the glovebox, center console, door pockets, and trunk or cargo area and take a picture of each. Child seats, dash cameras, toll transponders, charging cables, and garage door remotes are common examples of things that remain in a vehicle and occasionally get moved or unplugged during service.
Equipment that belongs to the car also counts. Photograph the spare tire, jack, and tool kit in their storage well, along with the wheel lock key if the vehicle uses locking lug nuts, since technicians need that key and it should come back to the same spot. Removable floor mats, cargo covers, and headrests are worth a quick frame. Electric and plug-in hybrid owners can photograph the portable charging cord and adapter. Layouts differ widely, so check under-floor compartments and seat-back pockets that are easy to forget.
Everyday Use and Observations
Interior wear from daily driving is easy to overlook until it is questioned. Photograph the driver's seat bolster, the steering wheel rim, the door sill plates, and the carpet in the footwells, as these surfaces see the most contact when someone climbs in wearing work clothes. Light-colored upholstery and leather show marks readily. A picture of the headliner and the dash top covers areas that can be touched during windshield, sunroof, or electrical work, and a quick shot of the infotainment screen shows it was free of cracks.
Pictures can also support the description of the problem that brought the car in. A fluid spot on the driveway, uneven wear across a tire tread, a puddle under the engine bay, or a message on the display gives the service advisor something concrete to pass along. Intermittent faults are a good candidate for a short video, since a noise or a flickering light may not appear during the shop's test drive. Note the conditions as well, such as cold starts, highway speed, or wet weather.
Limits and Next Steps
Photographs have limits. They show the surface condition at one moment and cannot prove how something happened afterward, nor do they capture mechanical state, alignment, or anything hidden beneath trim and underbody covers. A blurry or poorly lit image carries little weight, so check each one for focus before driving away, and leave the files unedited so the embedded date and time stay intact. Many shops perform their own walk-around inspection, and asking for a copy of that record gives both sides matching documentation.
At pickup, repeat the walk-around before leaving the lot and compare what you see with the drop-off pictures, then check the odometer and fuel level against the invoice. If something looks different, raise it with the service advisor right away and show the earlier image, because a concern reported on site is far simpler to resolve than one reported days later. Keep the photos together with the repair order and receipt. Shop policies on personal property and damage claims vary, so read the terms on the paperwork you sign.