What to Photograph After Finding a Flat Tire
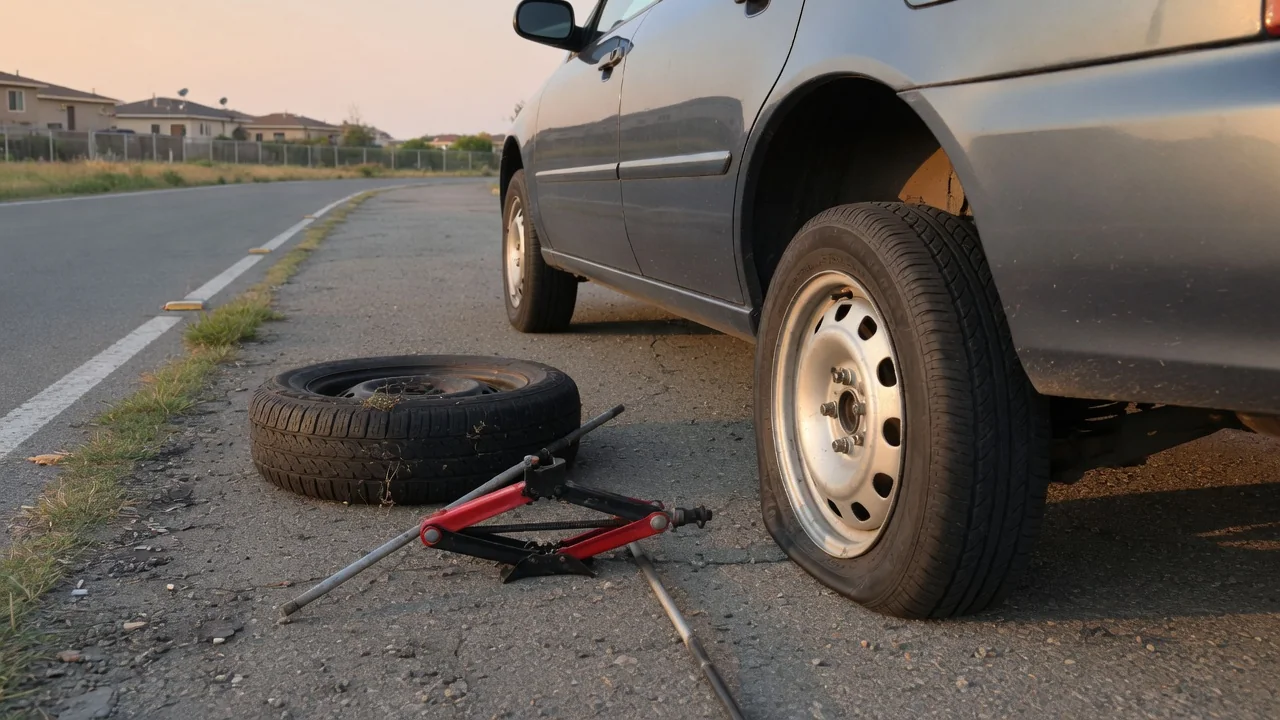
Knowing what to photograph after finding a flat tire can make the conversation with a tire shop, roadside provider, or insurer much easier. A few clear images of the tire, the wheel, and the place where the car sits preserve details that disappear once the tire is removed or the vehicle is moved. Safety comes first, so the pictures should take seconds, not minutes.
Tire side and tread
Start with the sidewall, since it carries the information a shop asks for first. A straight-on shot in good light should capture the size designation, the load and speed markings, and the brand and model name molded into the rubber. The same frame often shows damage worth recording, such as a bulge, a cut, a scuffed band from curb contact, or a ring of abrasion that suggests the tire was driven while very low on air.
Next, photograph the tread across its full width, then move closer to anything lodged in it. A screw or nail head near the center of the tread tells a different story than a puncture close to the shoulder, and a technician will judge repairability partly on that location. Include a wider frame showing wear on the inner and outer edges, because uneven wear can point toward alignment or inflation habits. Markings and their placement vary by tire maker, so capture whatever is legible.
Wheel
The wheel deserves its own photos because a flat is not always the tire's fault. Look along the rim edge for a bent lip, a crack, or fresh gouges from a pothole or curb strike, and photograph any of these from an angle that shows depth. Corrosion where the tire bead seats against the rim, or a damaged valve stem, can also let air escape slowly, so a close shot of the valve area is useful.
A full view of the wheel face helps a shop identify what is fitted. Alloy and steel wheels differ, some vehicles use a locking lug nut that needs a special key, and wheel covers may hide the fasteners entirely. A picture showing the lug pattern and any center cap gives a roadside technician a head start on tools. If the tire pressure monitoring sensor is attached at the valve, its style varies by vehicle, so the photograph simply records what is there rather than diagnosing it.
Surroundings
Step back and capture where the vehicle is sitting, provided doing so does not put anyone near moving traffic. A wide shot showing the car, the affected corner, and the ground beneath it documents whether the surface is level, sloped, soft, or gravel, which matters for anyone deciding whether a jack can be used safely there. Road debris, a broken curb, or a pothole nearby may explain the damage and is worth one frame if it can be reached without walking into a lane.
Location details also speed up assistance. A street sign, mile marker, exit number, building number, or parking garage level in the background lets a dispatcher or a friend find the car quickly, and a screenshot of the map pin does the same job. In low light, the phone's flash or a flashlight held to the side reveals more than a dark frame. On a busy shoulder, skip these photos altogether, stay well away from traffic, and take them later from a safe spot.
Everyday Use and Observations
Most flats are discovered in ordinary settings, such as a driveway in the morning or a parking lot after work, and that calm moment is ideal for documentation. A tire that went down overnight often indicates a slow leak, so a photo of the dashboard pressure warning, and the individual readings if the vehicle displays them, adds context. Noting the time and when the car was last driven helps a technician estimate how quickly air was lost.
It is also worth photographing what the vehicle carries for these situations. Opening the cargo floor may reveal a full-size spare, a compact temporary spare, a sealant and inflator kit, or nothing at all on cars fitted with run-flat tires, and equipment differs widely between models and trim levels. A quick picture of the spare's condition and the jacking tools tells a roadside provider what they need to bring. The other three tires deserve a glance too, for comparison of wear.
Limits and Next Steps
Photographs have limits. An image cannot show internal damage to the casing, and a tire that was driven flat even briefly may be weakened inside while looking intact from outside. A visible nail does not prove it is the only leak, and a clean tread does not rule out a problem at the bead or valve. Treat the pictures as a record that supports a professional inspection, not as a verdict on whether the tire can be repaired.
Once the images are saved, the practical steps follow. Share them with the tire shop or roadside service so they can prepare, and keep them if a road hazard warranty or insurance claim might apply, since terms differ by policy and retailer. Leave any embedded object in place until a technician sees it, because removing it can release the remaining air. Consult the owner's manual for spare tire limits and jacking points, as these are specific to each vehicle.