What to Check Before Using a Hitch-Mounted Cargo Carrier
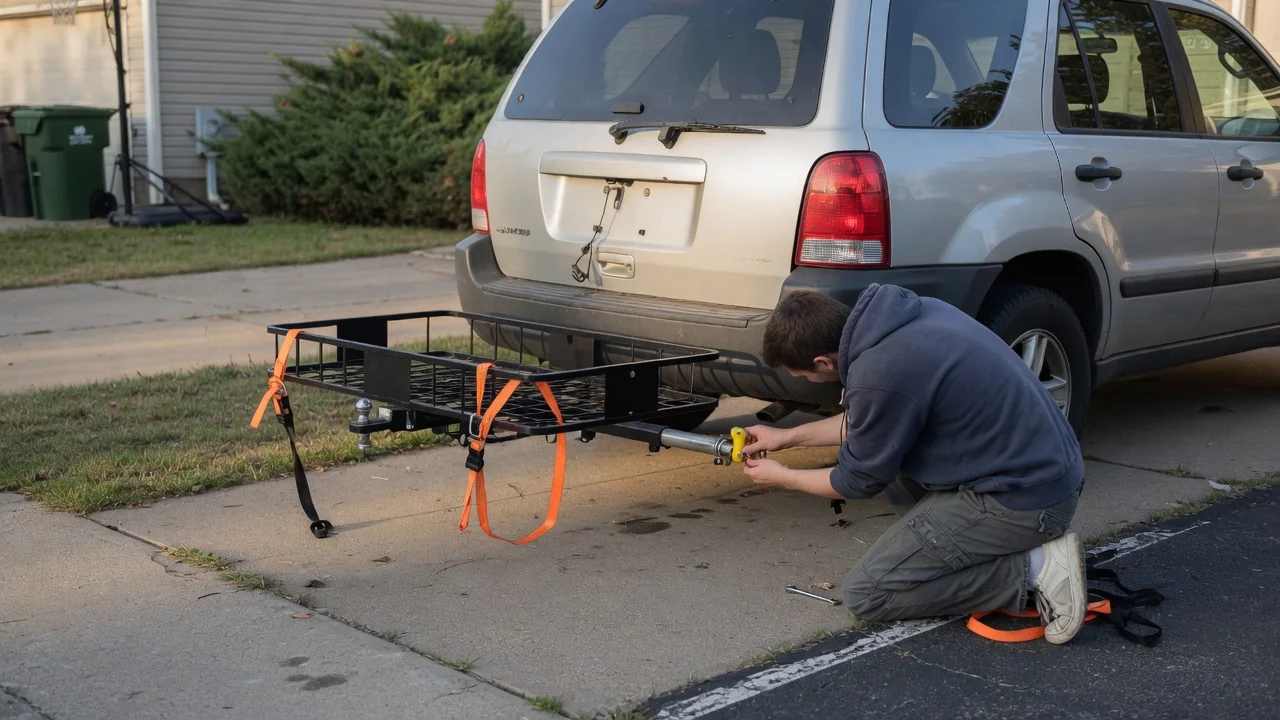
A hitch-mounted cargo carrier adds useful space behind a vehicle, but it also changes how the rear end carries weight, how far the vehicle extends and what other drivers can see. Knowing what to check before using a hitch mounted cargo carrier helps you confirm receiver fit, clearance, loading and visibility before the first trip rather than discovering a problem on the road.
Receiver fit
Start with the receiver itself, because the carrier's shank has to match the square opening on the hitch. Receivers are built in several opening sizes, and a shank that is too small will rattle and rock, while one that is too large simply will not slide in. Adapter sleeves exist, but they can add leverage and may reduce how much the setup can safely carry. Look for a label or stamping on the hitch showing its class and tongue weight rating, and compare that with the vehicle documentation.
Once the shank is inserted, the pin hole in the carrier should line up cleanly with the hole in the receiver so the hitch pin passes through without forcing. Check that the pin is retained by its clip or lock, and grip the platform to feel for play. Some movement is common, and an anti-rattle device can tighten the connection. Also look at how deep the shank sits, since bumper shape, a rear-mounted spare tire or a recessed receiver can change how close the platform ends up to the bodywork.
Load and rear visibility
Weight is the next check, and it involves more than one number. The carrier has its own capacity, the hitch has a tongue weight rating, and the vehicle has limits set by its manufacturer. The lowest figure governs, and the weight of the carrier itself counts against it along with the cargo. Because the load sits well behind the rear axle, it acts like a lever, so a heavy cooler or generator can make the rear suspension squat and lighten the front end more than the same item inside the cargo area.
Place the heaviest items closest to the vehicle and centered on the platform, then keep the stack low. Tall loads can block the rear window, making the inside mirror less useful and leaving you dependent on side mirrors. A backup camera may show mostly the carrier or the cargo, and rear parking sensors may sound constantly or misjudge distance. Sit in the driver's seat after loading and check what you can still see, since the result depends on the vehicle's ride height, window shape and camera position.
Lights and access
Walk behind the loaded vehicle and look at it the way a following driver would. Tail lights, brake lights, turn signals and the license plate should remain visible from directly behind and from an angle. Low-mounted lamps in a bumper are more easily hidden than lamps set high on the body, and a bulky bag or bin can cover a plate completely. Rules about obscured lights and plates vary by location, so if anything is blocked, consider an auxiliary light kit or plate relocation suited to your vehicle's wiring connector.
Access matters too, because a carrier sits right where the liftgate, tailgate or swing-out door needs to move. Open the rear closure slowly with the carrier installed and loaded to see whether it clears. Some carriers fold upward when empty or tilt away, which helps, but a folded platform can still interfere with a power liftgate or a rear wiper. Vehicles with hands-free liftgate sensors under the bumper may react unpredictably, and an exhaust outlet pointed at the platform can heat or soil whatever rides near it.
Everyday Use and Observations
In daily driving, the added length and reduced ground clearance are the changes you notice first. The carrier lowers the departure angle, so steep driveway aprons, speed bumps, dips and ramps can cause the platform or shank to scrape. Approach those at an angle and at low speed when possible. Parking takes more room as well, and the platform sits below the sightline of many drivers and pedestrians, so a bright flag or reflective tape on the outer edge is a sensible addition.
Securing the cargo deserves a repeat check rather than a single glance. Use ratchet straps or a cargo net anchored to the carrier's rails, not just elastic cords, and cover loose items with a weather-resistant bag if rain or road spray is likely. After the first few miles, stop and retighten, since straps settle and soft loads compress. Listen for new clunks over bumps, watch for sway in the mirrors, and notice whether the steering feels lighter or the headlights seem aimed higher than usual.
Limits and Next Steps
A hitch carrier is not the right answer for every load or every vehicle. Hitches fitted to smaller cars are often intended for light accessories, and their ratings may be modest. Long, dense or very tall cargo may be better inside the vehicle, on a roof system or on a trailer. If the rear sags noticeably, the front feels vague, or the carrier drags on ordinary road features, treat that as a sign the setup is beyond what the vehicle handles comfortably rather than something to drive around.
Before a longer trip, read the owner's manual section on towing and rear-mounted accessories, along with the instructions supplied with the hitch and carrier, since ratings and restrictions differ between models. Check tire pressures against the loaded recommendation on the door-jamb placard, and inspect the shank, welds and pin for rust or cracks. If the ratings are unclear, the receiver looks damaged, or the lighting needs wiring work, a hitch installer or qualified mechanic can confirm the details for your specific vehicle.