What to Check Before Plugging an EV in at Home
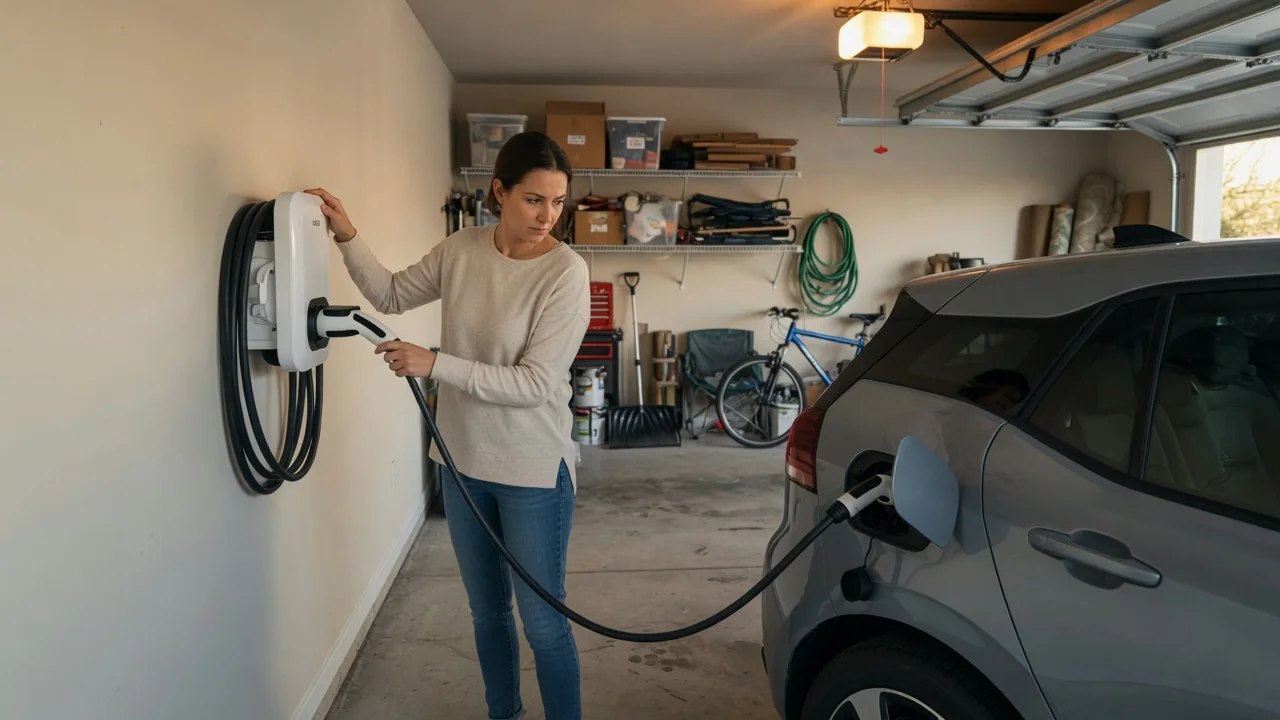
Knowing what to check before plugging an EV in at home takes about a minute and catches most problems before they interrupt a charge. A quick look at the connector, the outlet or wall unit, and the car's own indicators tells you whether the session is likely to run cleanly. The details differ by vehicle, so the owner's manual remains the final reference.
Connector condition
Start with the handle at the end of the charging cable. Look into the connector face for bent or discolored pins, packed dirt, moisture, or melted plastic around the contacts, and check that the latch moves freely and springs back. Brown or blackened marks suggest heat from a poor connection, which is a reason to stop using that cable until it has been evaluated. A cracked housing or exposed wiring where the cable enters the handle deserves the same caution.
The vehicle's charge port needs the same attention. Open the door and look for debris, snow, ice, or water pooled in the inlet, along with any damaged seal or cap. Port location, connector style, and whether there is a separate cover for the fast-charging pins vary by make and model year, so the manual shows what a normal inlet looks like on your car. When the connector goes in, it should seat fully with a definite click rather than needing force.
Outlet/equipment
If you charge from a wall outlet with the portable cord set supplied with the car, examine the receptacle first. A faceplate that is cracked, scorched, loose in the wall, or warm to the touch is a warning sign, as is a plug that sags or slides out easily. Charging draws a steady load for hours, which exposes worn contacts that a brief appliance load would never reveal. Most manufacturers advise against extension cords and adapters not supplied for the purpose.
With a wall-mounted charging station, check the status light on the unit before you connect, since most use a color or pattern to show ready, charging, and fault states; the meanings are specific to each brand. Look along the cable for cuts, crushed sections where a tire has rolled over it, and kinks near the handle. The control box on a portable cord should be supported rather than hanging its weight from the plug. Anything involving the circuit, breaker, or wiring belongs with a licensed electrician.
Confirm session
Once connected, do not walk away until the car confirms the session has started. Most EVs show this through a light at or near the charge port, an instrument-cluster message, or a sound as the connector locks, and the colors and blink patterns differ between manufacturers. A typical sequence is a brief communication pause followed by a steady or pulsing charging indication. If the indicator shows a fault color or simply stays dark, the handshake between car and equipment has not completed.
The dashboard or center screen usually adds detail worth a glance: the charging rate, an estimated completion time, and the target charge level. A scheduled-charging or departure setting can make a healthy setup appear to do nothing, because the car is waiting for its programmed time. Checking that setting before assuming a fault saves needless troubleshooting. Many vehicles also report status through a phone app, which is a convenient way to verify that charging continued after you went inside.
Everyday Use and Observations
Routine makes these checks quick. Keeping the cable coiled on a hook, with the connector holstered or capped and off the floor, keeps grit and water out of the contacts and protects it from being driven over. Route the cable so it does not stretch tight across a walkway or pull sideways on the port. Vehicles and home equipment are generally designed to cope with rain and snow, but wiping off a visibly wet or icy connector and clearing the inlet is still sensible.
Pay attention to how a normal session looks, sounds, and feels so that changes stand out. Cooling fans or pumps may run during charging, and some warmth at the handle can be normal, while a plug or outlet that becomes hot, a new buzzing noise, or a burning smell is not. A charge that takes noticeably longer than usual, or one that stops and restarts overnight, is worth noting too. Temperature affects charging speed, so a cold-weather slowdown alone does not necessarily indicate a defect.
Limits and Next Steps
Visual checks have limits. They cannot reveal the condition of wiring inside the wall, the health of a breaker, or an internal fault in the vehicle's onboard charger. A breaker that trips repeatedly, equipment that shows a recurring fault light, or a charging warning on the dashboard calls for professional diagnosis rather than repeated attempts. Any stored fault code is a starting point for testing, not proof that a particular component has failed, and many such codes are manufacturer-specific and need vehicle-specific interpretation.
When something looks wrong, the safe response is simple: stop the session through the car or the equipment, unplug if it is safe to do so, and leave the setup unused until it has been inspected. Note what the indicator lights showed and what message appeared, since that information helps an electrician, the equipment maker's support line, or a dealer service department narrow the cause. Do not open the charging unit, the cord's control box, or any high-voltage component on the vehicle yourself.