What Is a Service Checklist After DIY Car Work?
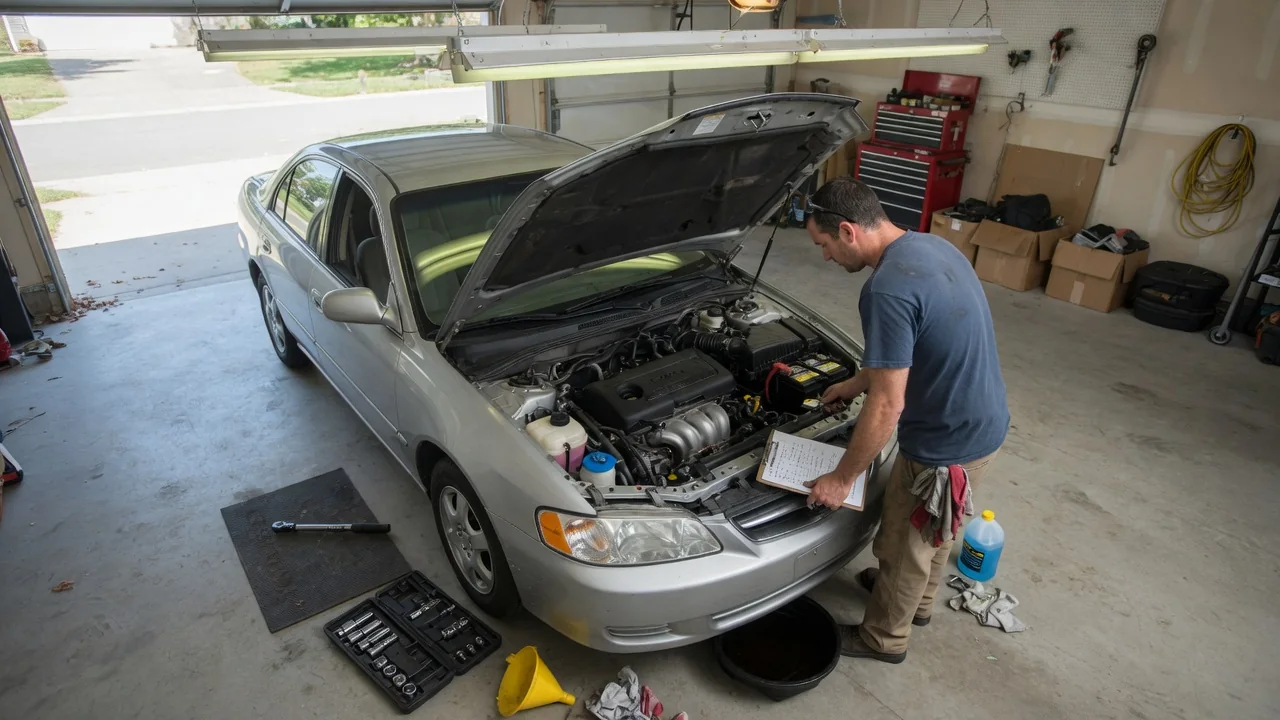
A service checklist after DIY car work is a short, repeatable set of checks you run before the car goes back into regular use. It catches the small oversights home repairs tend to produce: a bolt left finger-tight, a cap that is not seated, a connector that is not fully latched, or a system that was never tested under real conditions. A practical post DIY car repair checklist covers three areas: fasteners, fluids and wiring, and a staged function test.
Fasteners
Start with every fastener you touched, because a loose one can cause the most serious failures. Go through the job in the order you reassembled it and confirm that each bolt, nut and screw was tightened to the value in the service information for your vehicle. Use a torque wrench wherever a specification exists, and follow any stated tightening sequence, such as the crisscross pattern often given for wheels, covers and flanges. Some fasteners are designed to stretch on installation and are meant to be used only once; whether a particular bolt falls into that category is vehicle-specific, so check the manual rather than assuming. A simple habit helps: mark each fastener with a paint pen once it is torqued, so a visual sweep shows what has been done.
Next, account for hardware and tools. Leftover bolts, clips or washers mean something is missing from the car, and a tool left in the engine bay or under a wheel arch can cause damage once things start moving. Check small retaining parts that are easy to overlook: cotter pins, spring clips, hose clamps, brake pad retainers and plastic push clips on underbody panels. For suspension work, some manufacturers specify that certain bolts be finally tightened with the vehicle resting on its wheels at normal ride height rather than hanging on a lift, so confirm that step in the procedure. If you removed wheels, recheck the lug nuts with a torque wrench before driving, and follow any guidance in your owner's manual about rechecking them after a short distance.
Fluid and wiring
Any job that opens a fluid system needs a level and leak check afterward. Confirm that drain plugs, filters, filler caps and dipsticks are installed and secure, and that any sealing washers or gaskets were replaced where the procedure calls for it. Check levels under the conditions the manual specifies, since some fluids are read with the engine cold, others warm or running, and nearly all on level ground. Use only the fluid type the vehicle requires; mixing incompatible coolants or using the wrong grade of oil or brake fluid creates problems that a level check will not reveal. Sliding a sheet of cardboard under the car overnight is a simple way to spot slow drips you might miss on a quick look.
Some systems need more than topping up. A cooling system that was drained can trap air, which may lead to overheating or poor cabin heat until it is bled according to the vehicle's procedure. A brake hydraulic system that was opened must be bled until the pedal feels firm and consistent, and the car should not move until it does. Power steering and clutch hydraulics can have similar requirements depending on design.
Wiring deserves the same attention. Confirm that every connector you unplugged is fully seated and its locking tab engaged, that ground straps and battery terminals are tight, and that harnesses are routed and clipped away from exhaust parts, belts and suspension movement. If the battery was disconnected, be aware that many vehicles lose stored settings and some require relearn procedures for idle, power windows or other modules; what is needed depends on the specific model, so consult its service information.
Function test
A function test proves the repair works and that nothing else was disturbed. Begin with static checks: turn the ignition on without starting and confirm that the warning lights behave normally for your vehicle. Then start the engine, let it idle and listen for unusual noises, look again for leaks with the system under pressure, and watch the temperature gauge. Operate whatever you worked near, such as lights, wipers, fans, windows or the climate system, since bumped connectors often show up here first.
If you did any brake work, pump the brake pedal several times before moving the car. Caliper pistons are often pushed back during pad replacement, and the first pedal application may travel much farther than normal until the pads contact the rotors. Once the pedal is firm, make the first movement at walking pace in a safe, open area. Test braking, steering in both directions and the transition between gears, paying attention to pulling, vibration, clunks or grinding.
Only then extend to a short road test with gradually increasing speed. Afterward, let the car cool where appropriate and repeat the key checks: fluid levels, signs of leaks, and a final look at the fasteners you marked. If you have an OBD-II scan tool, reading stored and pending codes can reveal problems that do not yet trigger a warning light, especially after sensor or wiring work.
Practical implications and limits
In practice, the checklist should scale with the job. An air filter change needs little more than confirming the housing clips are closed, while work on brakes, steering, suspension or fuel lines warrants every step. The most useful version is one you write down as you work, noting each part you removed or disconnected. That running list becomes the checklist, which is more reliable than memory when a job spans several sessions or gets interrupted.
A checklist also has clear limits. It confirms assembly and basic operation, but it cannot measure things that require specialized equipment, such as wheel alignment after steering or suspension work, or diagnose internal faults that produce no visible symptom. Some systems, including airbags and certain driver-assistance sensors, may need calibration or procedures that are beyond what a home workshop can verify. If a warning light stays on, the brake pedal feels soft, or the car behaves differently than before, treat that as a reason to stop driving and have it inspected rather than as something to monitor.
Finally, keep a record of what was done, which parts and fluids were used, and when. That history makes future maintenance easier, helps a professional technician if a problem appears later, and shows whether a recurring issue is linked to a specific repair.