What Is a Parts Cleaning Brush for? Uses, Bristle Types and Care
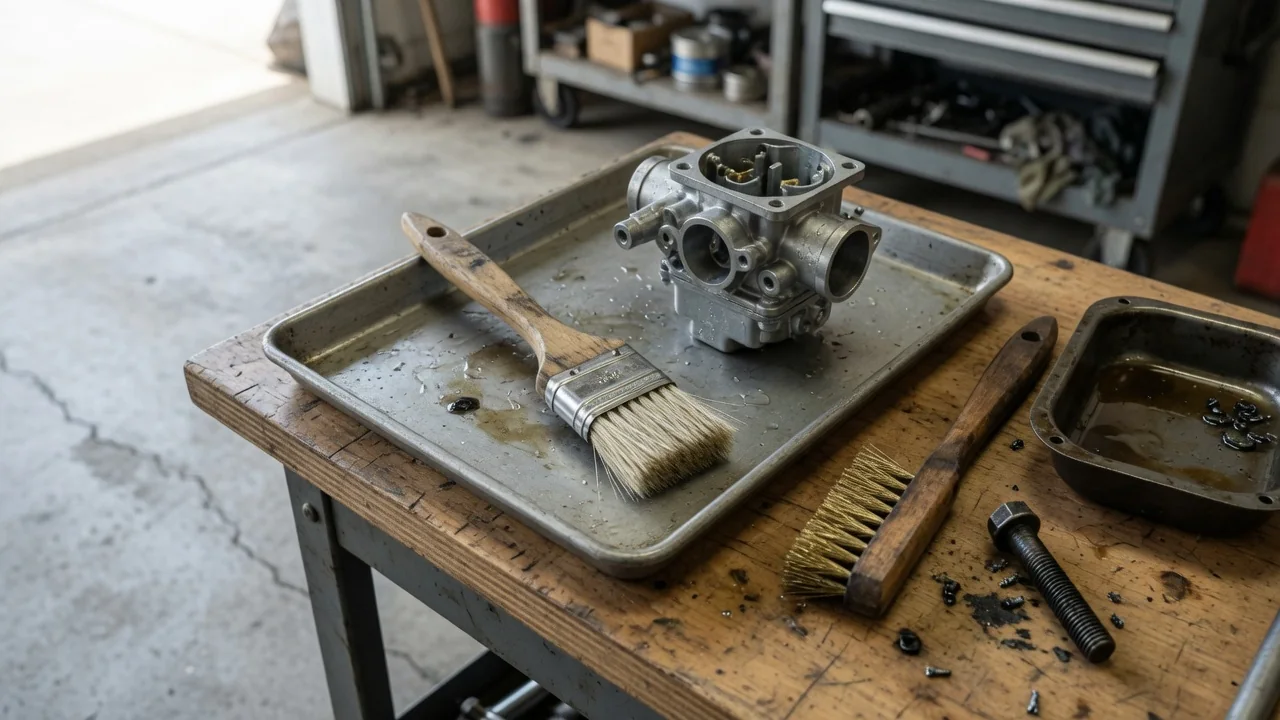
A parts cleaning brush is a stiff-bristled hand tool used to scrub grease, oil sludge, and road grime off removed automotive components, usually together with a solvent or degreaser. It reaches corners, threads, and recesses that a rag cannot, and it cleans without the gouging risk of a scraper. Understanding what a parts cleaning brush is for comes down to three questions: what kind of dirt it removes, which bristle suits which material, and how to use and maintain it.
Dirt Removal: What the Brush Actually Does
Most contamination on engine and drivetrain parts is a mix of oil or grease with dust, sand, metal particles, and general road dirt. A solvent or degreaser softens and dissolves the oily binder, but the solid particles often stay lodged in place, especially in casting texture, around bolt bosses, and in the gaps between fins or ribs. The brush supplies the mechanical agitation that chemistry alone does not. Its bristles flex into those gaps, break the loosened deposit free, and let the liquid carry it away. That is why a parts brush is so often paired with a parts washer, a solvent tank, or a simple tray of degreaser. Typical automotive parts brush uses include cleaning fasteners, brackets, valve covers, oil and transmission pans, pulleys, and housings that come off during a repair or rebuild.
The shape of the brush determines where it can remove dirt effectively. Long-handled flat brushes cover broad surfaces and keep hands farther from the solvent. Small detail brushes, similar in form to a toothbrush, work into tight corners and around raised lettering or ribs. Cylindrical tube or bore brushes are made for holes, passages, and the inside of tubes. Some parts washers use a flow-through brush that feeds solvent through the bristles, so fresh liquid reaches the spot being scrubbed. For threads, brushing along the thread direction tends to clear the grooves better than brushing straight across them.
Material Match: Choosing the Right Bristle
The general rule is to use the softest bristle that will remove the deposit. Nylon and other synthetic bristles are the usual general-purpose choice. They are firm enough to dislodge oily grime yet gentle enough for aluminum, painted surfaces, plastics, and most finished metal. Natural-fiber bristles also appear on parts brushes and behave in a similarly mild way on most surfaces. Because these brushes live in solvent, it also matters that both bristles and handle tolerate the cleaning product being used; the brush's labeling or the chemical's instructions are the place to confirm compatibility.
Metal bristles are for harder jobs. Brass is softer than steel and is often chosen for cast iron and steel parts with stubborn deposits or light surface rust, where nylon is not aggressive enough. Even so, brass can still mark soft aluminum and may leave a faint tint on some surfaces. Steel wire is the most aggressive common option and is suited to rust, scale, and heavy buildup on iron or steel where the surface finish does not matter. It can easily scratch softer metals and is a poor choice for anything precise.
Certain surfaces call for extra caution regardless of the bristle. Gasket and seal mating faces, cylinder head and block decks, bearing journals, valve seats, and other machined surfaces rely on their finish to seal or to carry load. A scratch from an overly hard bristle can create a leak path or a wear point. Rubber seals, plastic parts, and coated components can also be damaged by abrasive scrubbing. When in doubt, start with nylon and move to a harder bristle only on areas where the finish is not critical.
Cleaning: Using the Brush and Caring for It
A sensible cleaning sequence starts with protection: chemical-resistant gloves, eye protection, and good ventilation, since splashes and fumes are the main hazards. Letting the part soak briefly gives the solvent time to soften grease before scrubbing. Keeping the bristles and the work area submerged or wet while brushing helps hold loosened particles in the liquid instead of flicking them onto you or the bench. Short, controlled strokes direct spatter away from the face. Once the part is clean, rinse or wipe off residue, then dry it thoroughly. Compressed air can clear water or solvent from recesses, again with eye protection. Bare steel or iron may begin to rust quickly once stripped of oil, so a light protective coating is often applied if the part will sit before reassembly.
The brush itself needs cleaning too. After use, rinse it in clean solvent, shake out the excess, and let it dry in a position that lets liquid drain away from the handle. Inspect the bristles regularly; a brush that is splayed, matted, or shedding should be replaced. Many home mechanics keep separate brushes for heavily soiled parts and for final cleaning, so grit from one job is not dragged onto a part that is nearly ready. A brush still wet with flammable solvent should be kept away from sparks, flames, and hot surfaces, and dried before storage.
Practical Implications and Limits
A brush cleans only what its bristles touch. Internal oil galleries, coolant passages, and blind holes may need dedicated bore brushes, flushing, or other methods, and some passages are impractical to clean by hand at all. Loose bristles are a real concern in this kind of work: a stray strand left in an oil passage or on a sealing surface can cause trouble after reassembly. Checking parts visually and blowing out passages before they go back on the vehicle addresses that risk. Hardened carbon and baked-on deposits are another limit, since they may resist brushing and call for longer soaking or a different approach.
Cleaning recommendations can also be component-specific. Sensors, electrical connectors, coated parts, and some aluminum or plastic components may have restrictions on solvents or abrasive methods, and those details vary by vehicle and manufacturer. The service manual for the specific vehicle is the authority on how a particular part should be cleaned. Spent solvent and the sludge it collects should be stored in closed containers and disposed of according to local rules rather than poured out.
Finally, a clean part is easier to inspect. Once grease is gone, cracks, worn surfaces, damaged threads, and corrosion become visible, which is often the real reason to clean a component before reinstalling it. A parts cleaning brush does not replace that inspection or proper measurement, but it makes both possible, which is why it remains a basic tool in a home car workshop.