VW Tiguan Check Engine Light: Causes and Diagnostic Next Steps
What the check engine light means in a VW Tiguan
The check engine light indicates that the engine control module has stored a diagnostic trouble code. The light is a request for diagnosis, not proof that a specific part has failed. On some Tiguan models and in some markets, the same lamp may appear as an emissions warning or engine malfunction indicator; the driver display can also show additional message text.
A steady light generally means the vehicle can often continue to be driven cautiously, but the fault should be checked promptly. If the light is flashing, the vehicle should not be driven hard or far; stop use and seek professional diagnosis as soon as possible.
Qualify the subject before diagnosing
Applicable model year, generation, powertrain, trim, and market can materially change which components are relevant and how the control module reports faults. For example, a gasoline turbocharged engine and a diesel engine may use different emission and fuel-system components. Diagnostic guidance should be confirmed against the specific Tiguan being worked on.
Common causes of a VW Tiguan check engine light
A check engine light can be set by a wide range of conditions. Plausible causes include a loose or missing fuel filler cap, an oxygen sensor concern, a catalytic converter or exhaust emission concern, an ignition coil or spark plug fault, an intake or boost leak, a vacuum leak, a coolant thermostat concern, or an evaporative emission system leak.
Because many different conditions can trigger the same warning, the first step is to retrieve the stored fault code. A code identifies the affected diagnostic path, but it does not by itself prove which component has failed. Further testing may be needed to find the actual cause.
Observable checks and what they can indicate
Start with simple checks that can be done without disconnecting components. Inspect the fuel filler cap and its seal. If the cap was recently loose or removed with the engine running, secure it and drive normally for a few cycles; the light may clear on its own after the control module passes the relevant self-test. If the cap is damaged or the seal is deformed, replacement may be needed before the fault can resolve.
Watch for changes in engine behavior. Rough idling, reduced power, hesitation, reduced fuel economy, or unusual exhaust smoke or odor should be treated as supporting symptoms. These can help narrow whether the fault relates to combustion, air supply, or emission control. Sudden roughness, overheating, visible leaks, or unusual noise should prompt stopped use and professional inspection.
Professional diagnostic next steps
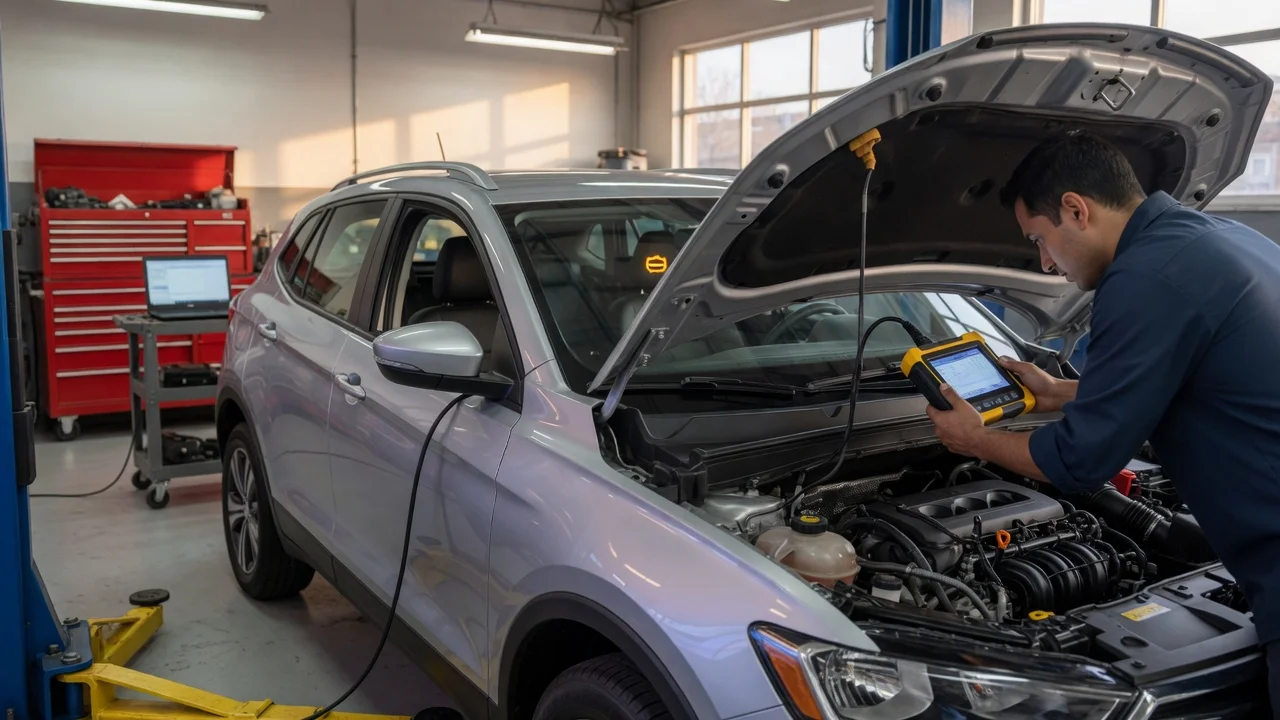
A diagnostic scan tool is the standard way to read stored trouble codes and view related freeze-frame data. The scan result is evidence to investigate rather than confirmation of a failed part. For example, an oxygen sensor code can be caused by the sensor, its circuit, a connector, an exhaust leak, an intake leak, or a fueling problem. Replacing the sensor without confirming the cause can leave the fault unresolved.
Further diagnosis may include checking live sensor data, inspecting wiring and connectors, testing for intake or vacuum leaks, measuring fuel system pressure, or checking exhaust backpressure depending on the stored code. If the root cause cannot be confirmed with available tools and evidence, the remaining uncertainty should be stated rather than filled in with an unsupported conclusion.
When to stop driving or seek professional service
Stop use and seek professional diagnosis if the light is flashing, if the engine misfires severely, if the vehicle enters a fail-safe or limited-power mode, if temperatures or fluids are abnormal, or if there are visible smoke, fuel smells, or fluid leaks. These conditions can indicate a fault that may worsen with continued driving.