VW Bus Brake Booster Check Valve: Choosing the Correct Part
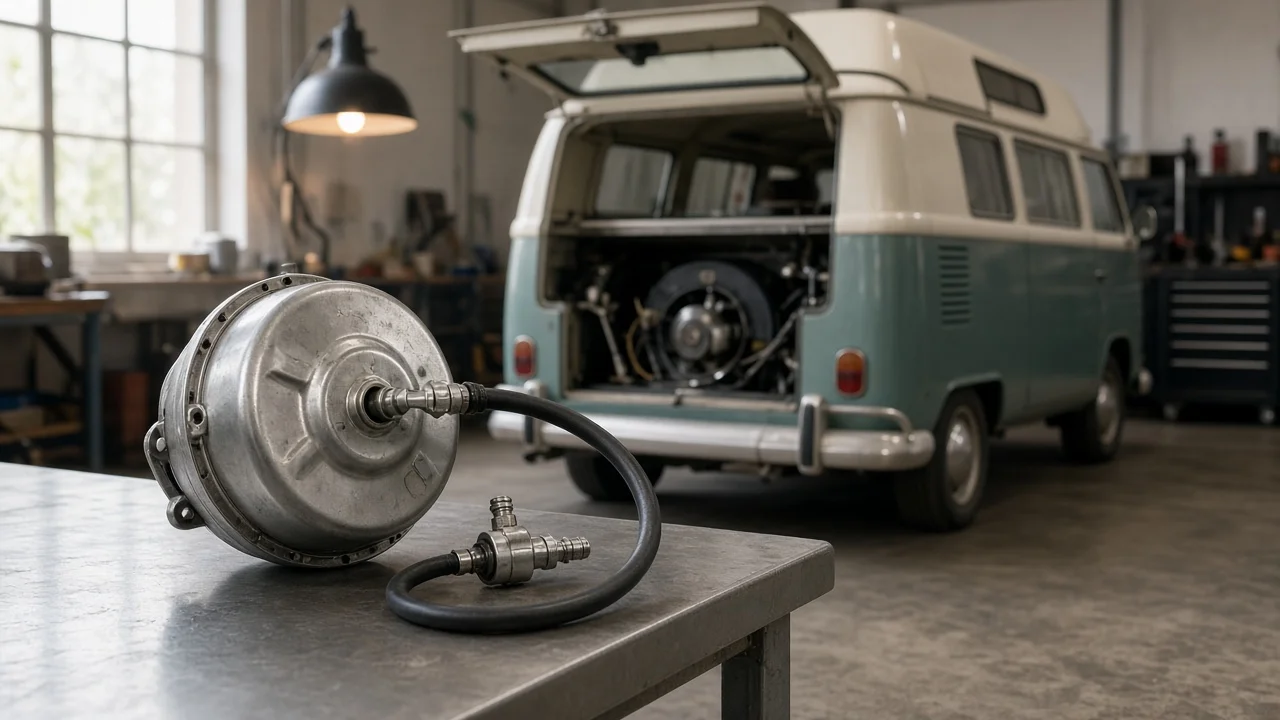
On a VW Bus, the brake booster check valve is a small one-way valve that keeps vacuum stored in the booster, so the pedal still gets power assist when manifold vacuum drops. The engine sits at the rear and the booster at the front, so the valve and its long vacuum line matter more than their size suggests. This guide explains how to confirm the fault, match the correct valve to your bus, and avoid paying for parts that cannot cure a hard pedal.
Define the job the check valve must do
While the engine runs, intake manifold vacuum draws air out of the booster through the check valve. When manifold vacuum falls, such as under heavy throttle on a grade or after the engine stalls, the valve closes and traps the vacuum already in the booster. That stored reserve gives you assisted stops even when the engine is not supplying vacuum. A valve that sticks open lets the reserve leak back toward the engine, so the pedal goes hard during climbs or right after shutdown. A valve that sticks closed or is restricted starves the booster and reduces assist all the time. A cracked valve body or a split grommet also creates a vacuum leak that can upset idle quality and mixture.
Before shopping, think about how the bus is used. A loaded camper that spends time on mountain roads depends on booster reserve far more than a lightly used weekend van. Note the condition of the vacuum hoses, how easily you can reach the valve, and whether the engine is original or swapped, because a different engine can change where vacuum is taken from. If the pedal has become hard, the travel has changed, or the van pulls under braking, park it until the cause is found. A braking fault is not something to drive around while waiting for parts.
Confirm the valve is really the problem
Start with the booster function check. With the engine off, pump the pedal several times to use up any stored vacuum, then hold steady, moderate pressure and start the engine. The pedal should move down slightly as assist arrives. Next, run the engine, shut it off, wait a short time, and press the pedal. You should get assisted applications before the pedal firms up. If the reserve disappears almost immediately, suspect the check valve, the hose or the booster itself. To test the valve directly, remove it and use a hand vacuum pump. It should pass air in the marked flow direction and hold vacuum in the opposite direction.
A hard pedal has other common causes: a collapsed or cracked vacuum hose, a leaking booster diaphragm, or low vacuum from engine problems. A pedal that sinks slowly points toward hydraulic issues such as the master cylinder rather than the check valve. While you are inspecting, check the brake fluid level and condition, and measure the brake pads, rotors or drums against the wear limits in the service manual for your bus. Grinding, pulling or a falling fluid level calls for professional service, not just a new valve.
Check compatibility
Vehicle fitment starts with the exact bus. Record the generation, such as an air-cooled Type 2 or a Vanagon, along with the model year, engine code and chassis number. Some early buses were built without a booster at all, so make sure yours has one before buying a check valve. Diesel-powered versions typically get vacuum from an engine-driven pump rather than the intake manifold, which can change the valve and hose arrangement. Parts catalogs often split listings at mid-year production changes, so the chassis number is more reliable than the model year alone. If the engine has been swapped, the original listing may no longer describe your vacuum source.
Then compare the interfaces. Some check valves sit inline with a barb on each end. Others push into a rubber grommet in the booster shell. The barb outside diameter must suit the inside diameter of your hose, so measure the existing hose rather than guessing. Count the ports, because some valves include an extra connection for another vacuum consumer. Check that the flow marking is clear: it normally points toward the vacuum source, but confirm this against the part and your service information. The simplest fitment check is laying the old valve beside the new one and comparing shape, port size and orientation.
Features that affect the choice
For a simple one-way valve, the features that matter are practical ones. The body should be cleanly molded without flash on the barbs. The barbs need distinct ridges that grip the hose. The internal valve material must tolerate oil mist and fuel vapor drawn back from the intake, and the flow arrow should be molded in rather than printed on. A part sold as genuine or from an original-equipment supplier usually has clearer fitment data, while aftermarket quality varies between sellers. Labels such as heavy-duty or performance mean little for this component. The more useful evidence is a stated port size, a fitment listing by chassis number, clear photos of the port layout, and a reasonable return policy.
Kits that include the valve, vacuum hose, clamps and a booster grommet are often worth the extra cost. On an older bus, the original hose has frequently hardened or cracked at the ends, and reusing it can undo the repair. Choose hose rated for vacuum service and engine-bay conditions, so it resists oil and does not collapse under suction. Collapse is a real risk on the long run between the rear engine and the front booster.
Limitations and ownership costs
A new check valve only restores the booster's ability to store vacuum. It cannot repair a leaking booster diaphragm, a worn master cylinder, low engine vacuum, or a failing vacuum pump on a diesel. It also cannot fix glazed friction material, worn brake pads, a sticking caliper or contaminated brake fluid. The booster multiplies the force you put on the pedal, but the hydraulic system and the friction parts still do the actual stopping. If the tests point to the booster or the hydraulics, budget for that repair rather than replacing the valve in hope.
Ownership costs are modest. The valve is inexpensive compared with a booster, and the main extras are hose, clamps, a grommet and the time needed to route a long line properly. Inspect the valve and hoses whenever the brakes are serviced, replace any hose that has hardened, and keep the fluid changed on the schedule in your service information. After installation, repeat the function and reserve tests, then make a gentle test stop in a safe area before normal driving. If you are unsure about any step, have a brake specialist confirm the work.
Build a practical shortlist
Narrow your options in this order. First, confirm the fault with the booster and valve tests. Second, record the generation, model year, chassis number and engine code. Third, match the valve style, whether inline or grommet-mounted, along with the port count and the barb size to your measured hose. Fourth, confirm that the flow marking is clear and suits your vacuum source. Then favor parts that list dimensions and fitment over vague marketing claims, decide whether to replace the hose and grommet at the same time, and check the seller's return terms. Keep money in reserve in case the tests show a booster leak.
Once the correct part is fitted, verify the orientation and clamp tightness, then repeat the pedal tests. If the pedal is still hard or the reserve still fades quickly, the valve was not the only problem. Keep the bus off the road and have the braking system diagnosed professionally.