Volvo 240 Parking Brake Shoes: Fitment and Selection
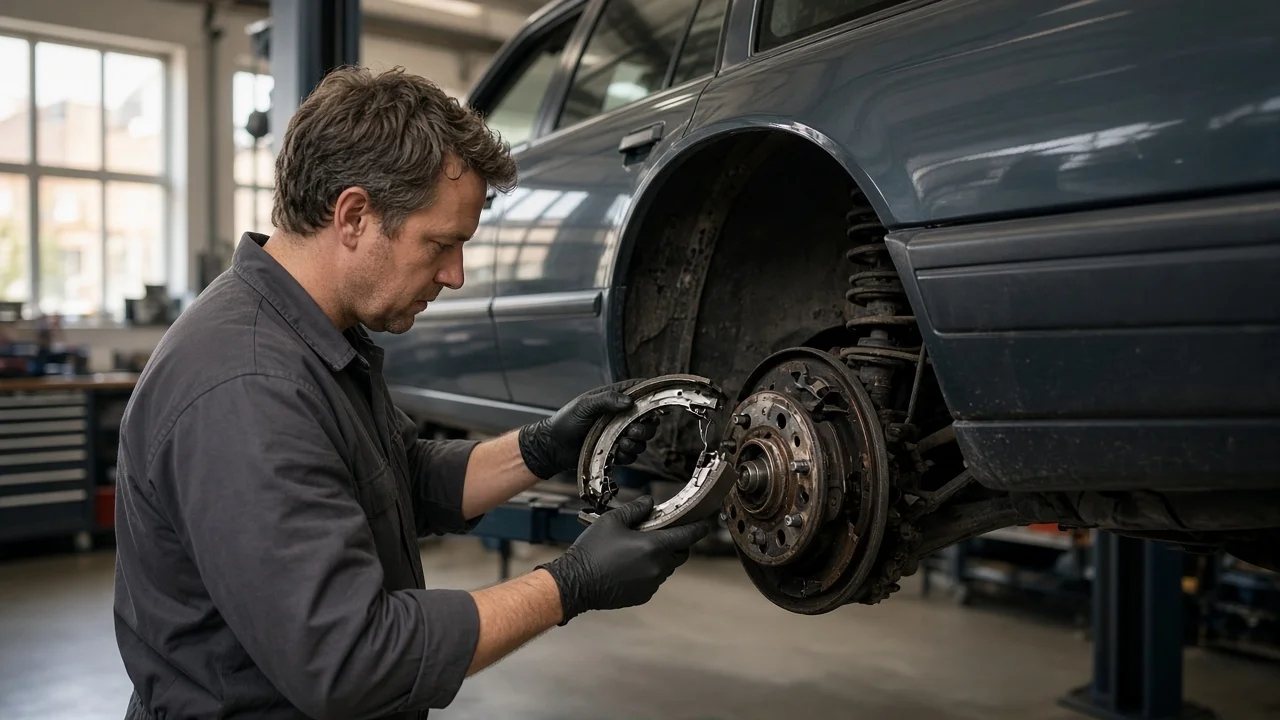
On a Volvo 240, the parking brake does not use the rear brake pads. Each rear rotor has a small drum machined into its hat, and a pair of cable-operated shoes expands against that surface when you pull the lever. Choosing replacement shoes is therefore a separate decision from servicing the main hydraulic brakes. This guide covers how to confirm fitment, which features actually matter, and what the job involves beyond the shoes themselves.
Define the job the shoes must do
The parking brake shoes have one main job: holding the car stationary when it is parked. They are not meant to stop a moving car in routine driving, so the linings usually wear slowly. When a 240 parking brake stops holding, the cause is often something other than worn linings. Common causes include seized expander levers, stretched or corroded cables, a rusted drum surface, and shoes soaked in gear oil from a leaking rear axle seal.
Before buying, consider how the car is used and what you found during inspection. A daily driver parked on hills needs a parking brake that holds reliably. That requires fresh linings, a clean drum surface and hardware that moves freely. A car that sits for long periods may need more attention to corrosion and seized parts than to the linings. If you find oil contamination, fix the leak first, or new shoes will be ruined quickly. If the car rolls when parked or the lever travel is excessive, stop relying on the parking brake and chock the wheels. Then repair it yourself or have a professional inspect it.
Check compatibility with your 240
The Volvo 240 was built over a long production run in sedan and wagon form. Parts catalogs usually list parking brake shoes by model and year range. Use your model year, your body style and, where the catalog asks for it, your chassis number to narrow the listing. Catalogs sometimes group the 240 with related rear-wheel-drive Volvos. Treat those cross-references as a starting point rather than proof of vehicle fitment, because a previous owner may have installed non-original axle parts or rotors.
The most dependable check is a physical comparison with the shoes you remove. Match the lining width and arc length, the holes for the hold-down pins and return springs, and the notches where each shoe meets the expander and the adjuster. The shoes must also suit the drum diameter inside your rotor hat. If the rotor has been machined, confirm that the drum section is still within the maximum diameter given in the service specifications. An oversized drum can leave new shoes making only partial contact and make the lever pull too far.
Check whether a listing covers the shoes alone or includes springs and the adjuster. The 240 parking brake uses a threaded adjuster between the shoes, which is normally reached through an access hole in the rotor, plus springs that hold the assembly together. If those parts are rusted or fatigued, budget for a hardware kit listed for the same application.
Features that affect the choice
Parking brake linings are typically a non-asbestos organic friction material bonded or riveted to a steel shoe. For a parking brake, holding power and corrosion resistance matter more than heat capacity, because the shoes rarely experience sustained heat. Look for a clearly stated lining type and a lining that is evenly attached with no lifting at the edges. The steel backing should be coated or painted to resist rust. Chamfered lining ends can help the shoes seat smoothly, but that is a convenience rather than a guarantee of performance.
Treat labels such as premium, heavy duty or OE quality as marketing, not evidence. More useful information includes a manufacturer part number cross-reference, a listing that names the specific application, the friction material type, and whether hardware is included. Ceramic or performance claims add little on a parking brake, which works at low speed and low temperature. If two options fit equally well, the one with complete fitment data and a clear return policy is usually the safer purchase.
Limitations and ownership costs
Replacing the shoes requires removing the rear caliper and rotor. Support the caliper instead of letting it hang on the brake hose. The hydraulic system does not need to be opened, so brake fluid is not involved unless you also replace a caliper or hose. A rotor stuck to the hub, a rusted drum surface or a seized adjuster can add time and parts to the job. Because the drum is part of the rotor, many owners replace the shoes at the same time as the rear brake rotors and brake pads. That avoids taking the same corner apart twice and gives new shoes a fresh drum surface. If you keep the old rotors, inspect the drum surface for scoring, a worn lip or rust pitting.
After installation, the shoes are set at the adjuster first. The cable is then adjusted at the lever so the brake engages within the travel specified in the service information. New linings usually need bedding before they reach full holding power, so follow the procedure in your service manual rather than improvising one. Ongoing costs are modest: occasional adjustment, cable lubrication or replacement, and checks for axle seal leaks. Measure the linings against the wear limits in the specifications rather than replacing them on mileage alone. New shoes cannot make up for stretched cables, a drum worn beyond its limit, or a fault in the hydraulic service brakes.
Build a practical shortlist
Narrow your options with a checklist rather than a ranking. For each candidate set, confirm the following points. The listing should name the Volvo 240 and cover your model year and body style. The dimensions and mounting points should match your old shoes. The friction material type should be stated. The listing should make clear whether springs, hold-down pins and the adjuster are included or must be bought separately. Finally, the drum section of your rotors should be within specification, or the rotors should be on the replacement list.
Then weigh the practical points: whether a matching hardware kit is available, whether the return policy covers incorrect fitment, and whether you also need cables or rotors for the same job. If the parking brake still will not hold after correct installation and adjustment, or if you find damaged rotors, a leaking caliper or contamination you cannot trace, have the car inspected by a brake professional before relying on it.