Volkswagen Eurovan Transmission Limp Mode Diagnosis
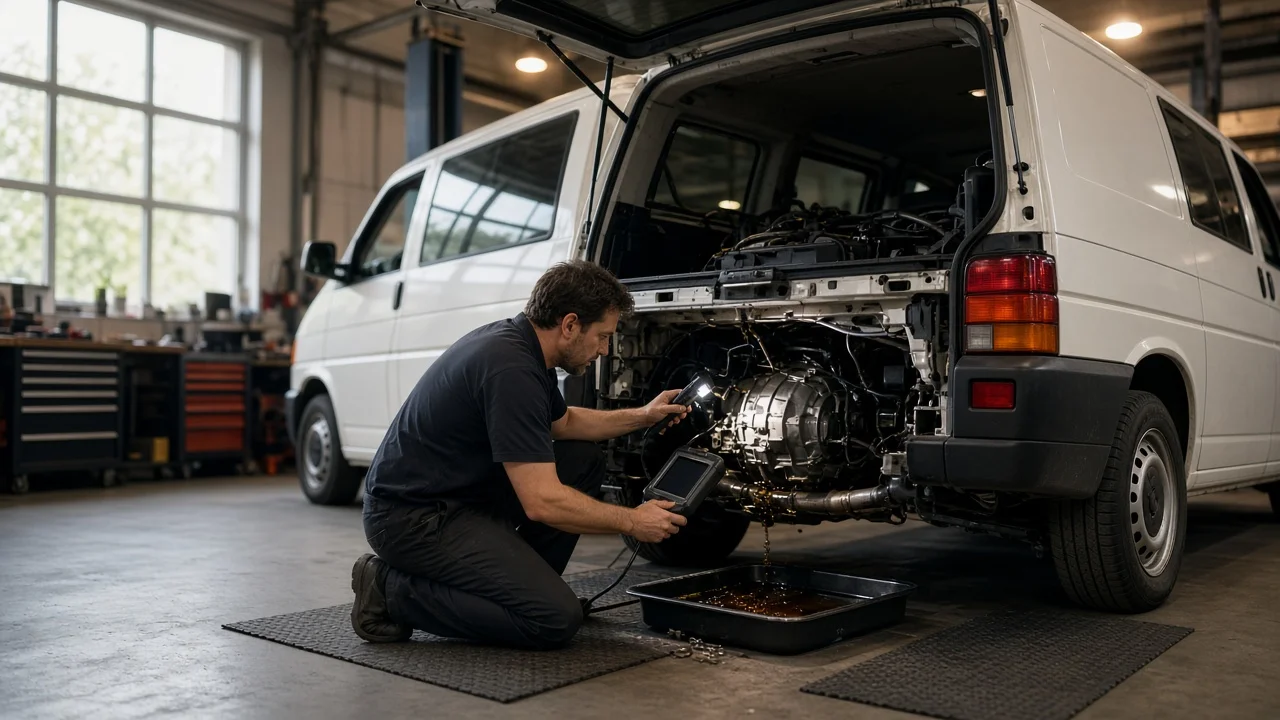
When a Volkswagen Eurovan goes into transmission limp mode, the automatic usually stops shifting normally and holds a single forward gear, so the van feels sluggish from a stop and revs high on the highway. The transmission control module does this deliberately when it detects a fault it cannot work around. Limp mode tells you that something was detected. It does not tell you which part has failed. This guide covers how to narrow down the cause before anyone replaces parts.
Identify the transmission first
Eurovans sold in North America used more than one four-speed automatic over the production run. Earlier five-cylinder vans and later VR6 vans have different transmission families, commonly referred to by codes such as 098 and 01P, and some vans were built with manual gearboxes, which have no limp mode function. Wiring layouts, sensor locations, fluid specification, fluid-level procedure and the diagnostic tools that can talk to the control module differ between these units. Confirm the model year, engine and transmission code from the vehicle data label, the code stamped on the transmission case or your service history before you look up any procedure. Advice written for one version can mislead you on another, so match every repair instruction and replacement part to that exact fitment.
Establish the symptoms
Start by writing down exactly what the van does. Note whether limp mode appears from a cold start or only after the van is fully warm, on long climbs or with a heavy load, after a pothole or hard bump, in wet weather, or at random. Describe the shift behavior just before it happened: slipping, flare between gears, a harsh engagement, delayed engagement into drive or reverse, or no warning at all. Note whether switching the engine off and restarting brings back normal shifting, and for how long.
Record associated signs as well. These include a check engine light, a flashing or wrong gear indicator, a speedometer that drops out or jumps, brake lights that do not work, dim lights or a charging warning, and fluid spots under the van. Then list recent changes: a fluid service, battery replacement, jump start, towing, a camper conversion or added weight, electrical accessory installation, or work near the transmission wiring. A single trigger that lines up with a recent change is often the most valuable clue you have.
Distinguish plausible causes
Electrical faults are a frequent reason for limp mode on these vans. Candidates include the transmission speed sensors, the vehicle speed signal, the multifunction (range) switch, the harness and connectors at the transmission, ground connections, and low system voltage. Intermittent behavior that clears after a restart, faults triggered by bumps or moisture, and a speedometer problem at the same time all point toward wiring or sensors. A fault that appears only when the transmission is hot and loaded weakens that explanation without ruling it out.
Fluid-related problems are the next group. A low level, the wrong fluid, or degraded and overheated fluid can cause pressure or slip faults that the module reacts to. Leaks, a recent service with an unconfirmed fluid specification, or symptoms that worsen as the van heats up support this path. Internal mechanical wear, such as worn clutch packs or a valve body or solenoid fault, tends to produce slipping, flare or harsh shifts that persist and return quickly after a reset. Overheating from sustained heavy loads or a restricted cooler can overlap with both groups. Signals shared with the engine, such as throttle position, engine faults or a faulty brake switch, can also upset transmission control. A stored engine code alongside the transmission complaint makes this group more likely.
Checks in a useful order
Begin with checks that need no special tools. Look for fluid leaks around the transmission, cooler lines and pan, and for oil or corrosion at visible connectors. Inspect the harness for chafing, melted insulation or loose plugs. Confirm the battery terminals are clean and tight and the charging system is not showing a warning. Check that the brake lights work and that the speedometer behaves normally. Do not crawl under a van that is not properly supported, and avoid hot exhaust and transmission components.
Next, read diagnostic codes from the transmission control module itself. A basic generic scanner may show only a general transmission fault flag, or nothing on earlier vans. A Volkswagen-capable diagnostic tool is usually needed to read the specific transmission codes, freeze data and live values such as speed sensor readings, range switch position and fluid temperature. Save the codes before clearing anything, because clearing them erases evidence.
Fluid level and condition come after the codes. On these transmissions, an accurate level check depends on the correct fluid temperature, engine running and a specific procedure. Some versions use a fill or level plug instead of a convenient dipstick, which normally requires a scan tool to read temperature and a lift to keep the van level. If you do not have the procedure and fluid specification for your transmission code, leave this to a qualified technician. Electrical testing of sensors, solenoids and harness circuits against published values, and pressure testing, also belong with someone who has the specifications and equipment.
Interpret the findings
A stored code identifies the circuit or signal the module found implausible. It does not prove the named component has failed. A speed sensor code, for example, can come from the sensor, its connector, the harness, or a mechanical problem that makes the signal look wrong. Before replacing a part, confirm the fault with circuit testing or live data that shows the specific signal misbehaving while the symptom is present. If several unrelated codes appear together, suspect a common cause such as low voltage, a poor ground or a damaged harness section first.
No codes and a normal fluid check do not clear the transmission. Some intermittent faults only store under particular conditions, so a road test with live data under the conditions you recorded may be needed. Dark, burnt-smelling fluid or debris on the drain plug or in the pan points toward internal wear or overheating. A fluid service alone may not resolve that. Low fluid answers part of the question but leaves another: where it went. Locate and repair the leak, then retest. Only after the cause is confirmed should repair options such as a sensor, harness repair, switch, valve body work or a rebuilt unit be compared.
Urgency and next action
Limp mode is meant to protect the transmission, but continuing to drive can still cause further damage. Stop driving and arrange transport if you notice burning smells, smoke, a significant fluid leak, loud grinding or banging, loss of drive or reverse, slipping with high revs and little movement, or overheating warnings. Without those signs, limit driving to short, gentle trips while you arrange diagnosis, and avoid towing, steep grades and highway speeds in a held gear. No distance can be considered safe until the cause is known.
When you contact a shop, bring the model year, engine and transmission code, the exact diagnostic codes with any freeze data, and your written symptom notes, including conditions, warning lights and recent changes. Include the service history: when the fluid was last changed, which fluid specification was used, and any earlier transmission or electrical repairs. This information lets a technician choose the right test path quickly and helps you judge whether a recommended repair matches the confirmed fault.