VDJ Turbo Boost Control Valve Problems: Diagnostic Checks
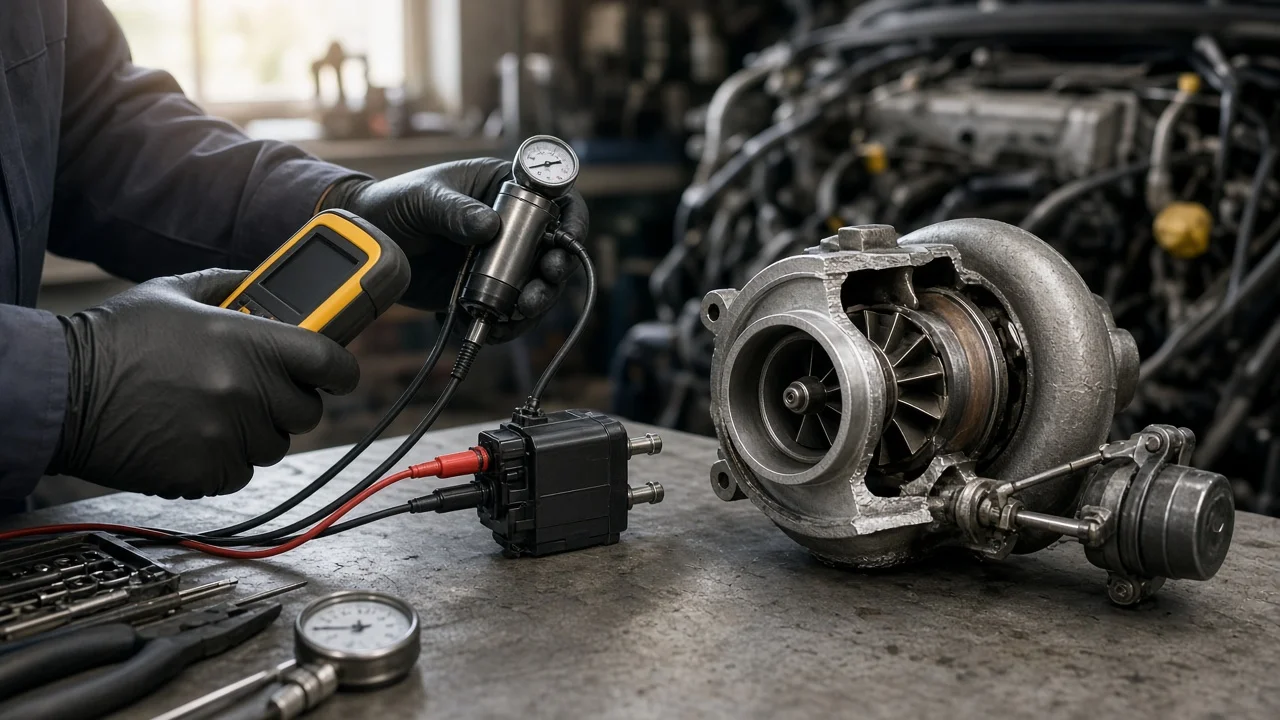
VDJ Land Cruisers use the 1VD-FTV V8 turbo diesel, and a boost control fault on these vehicles usually shows up as lost power, limp mode or a stored trouble code. A code describes a condition the engine computer is monitoring, not a part that has definitely failed. Before buying a new valve or actuator, work through the symptoms, the competing causes and a sequence of checks that separates what you suspect from what you have actually confirmed.
Establish the symptoms
Start by writing down exactly when the problem appears. Note whether the engine was cold or fully warm, whether you were towing, climbing, overtaking or cruising, and whether power returned after the engine was switched off and restarted. Record any warning lights and messages. If a scan tool is available, read the stored codes and save the freeze-frame data before clearing anything. That snapshot of engine speed, load, temperature and boost readings at the moment the fault was set is often the most useful clue you will get, and clearing codes erases it.
Next, list associated signs: a sudden drop to reduced power, surging under steady throttle, more smoke than usual, a hiss or whistle that changes with load, or a change in fuel economy. Then list recent changes. Intake or intercooler work, a new air filter, aftermarket tuning, hose replacement, a deep water crossing, a battery disconnection or work near the turbo harness can all be relevant. A fault that started right after a specific job narrows the search considerably.
Distinguish plausible causes
The type of code shapes the likely causes. A circuit code for the boost control solenoid or actuator points toward wiring, a corroded or loose connector, the solenoid or actuator itself, or less commonly the control module driver. Performance codes for underboost or overboost mean measured boost did not match the target the computer requested, and that has a much wider list of causes: leaking charge pipes or intercooler hoses, a cracked or disconnected vacuum line where the system uses vacuum control, carbon-sticking variable nozzle vanes in the turbocharger, a worn or failing actuator, a faulty boost pressure sensor, or restrictions in the intake or exhaust. Exactly how boost is controlled on your vehicle depends on model and year, so confirm the layout in service information for that vehicle.
Your observations can support or weaken each candidate. A fault that comes and goes with vibration, rough roads or wet weather favors a wiring or connector problem. Underboost that appears mainly under heavy load, especially with an audible hiss or oily residue at a hose joint, points toward a leak. Overboost or erratic boost after short trips, or a fault that clears when the engine is worked hard, fits sticking turbo vanes. If the boost sensor reading with the key on and engine off does not agree with barometric pressure, the sensor or its circuit becomes a stronger suspect than the valve.
Checks in a useful order
Begin with checks any owner can do safely with the engine off and cool. Inspect intake and intercooler hoses for splits, loose clamps and oil weeping at joints. Look along any vacuum lines for cracks, hardening or a disconnected end. Check the electrical connector at the boost control valve or actuator for corrosion, bent pins or a broken locking tab, and follow the harness for chafing or heat damage near the exhaust. Confirm the air filter and intake are not blocked. These steps cost nothing and frequently find the fault.
The next tier needs tools and specifications. With a capable scan tool, compare target boost against actual boost in live data during a road test that reproduces the original symptom conditions, and watch whether the actuator command changes while actual boost fails to follow. Some scan tools can run active tests on the valve or actuator. A hand vacuum pump can show whether a vacuum actuator holds and moves freely, a smoke test can locate small intake leaks, and a multimeter can check coil resistance, supply voltage and ground. Resistance and voltage values must come from service information for the exact vehicle; guessed numbers lead to wrong conclusions.
Leave turbocharger removal, vane cleaning, actuator replacement and any calibration or initialization steps to a qualified technician. Some replacement actuators and turbochargers require setup procedures described in service information, and skipping them can recreate the same fault with new parts.
Interpret the findings
Each result proves something specific and leaves other questions open. A split hose or loose clamp is a confirmed finding, but it is only the cause if boost returns to target after the repair. Coil resistance outside specification suggests a faulty solenoid, yet the connector and harness still need to be checked so a wiring fault is not left behind. A sensor that reads correctly, no leaks and an actuator that moves when commanded, while actual boost still lags the target, shifts suspicion toward sticking turbo vanes or an internal turbo problem, which should be confirmed by a technician before the turbocharger is replaced.
After any repair, clear the codes and run a confirmation test under the same conditions recorded in the freeze-frame data, such as a similar load, speed and temperature. A code that does not reappear on a short trip around the block has not been proven fixed, because the monitor may only run under specific conditions. Replacing the boost control valve on the strength of the code alone risks spending money while the real cause remains. Keep notes of each test result so the next step builds on evidence rather than repeating work.
Urgency and next action
Stop driving and arrange inspection if you notice an unexpected surge of power, heavy blue or white smoke, oil leaking from the turbo area, a metallic grinding or screeching noise, rising engine temperature, a flashing check engine light or red warning messages. Overboost can stress engine components, and turbo damage can worsen quickly. Even a simple reduced-power mode can be hazardous when towing, merging or overtaking, so limit driving until the cause is known. No fault code tells you how many miles remain safe.
When you hand the vehicle to a workshop, bring the exact model and year, the codes and freeze-frame data, a description of when the symptoms occur, any recent work or modifications, and the checks you have already done with their results. That information lets a technician skip repeated steps, target the right tests and confirm the actual fault before parts are ordered.