Universal Turbo Blankets: How to Check Fit
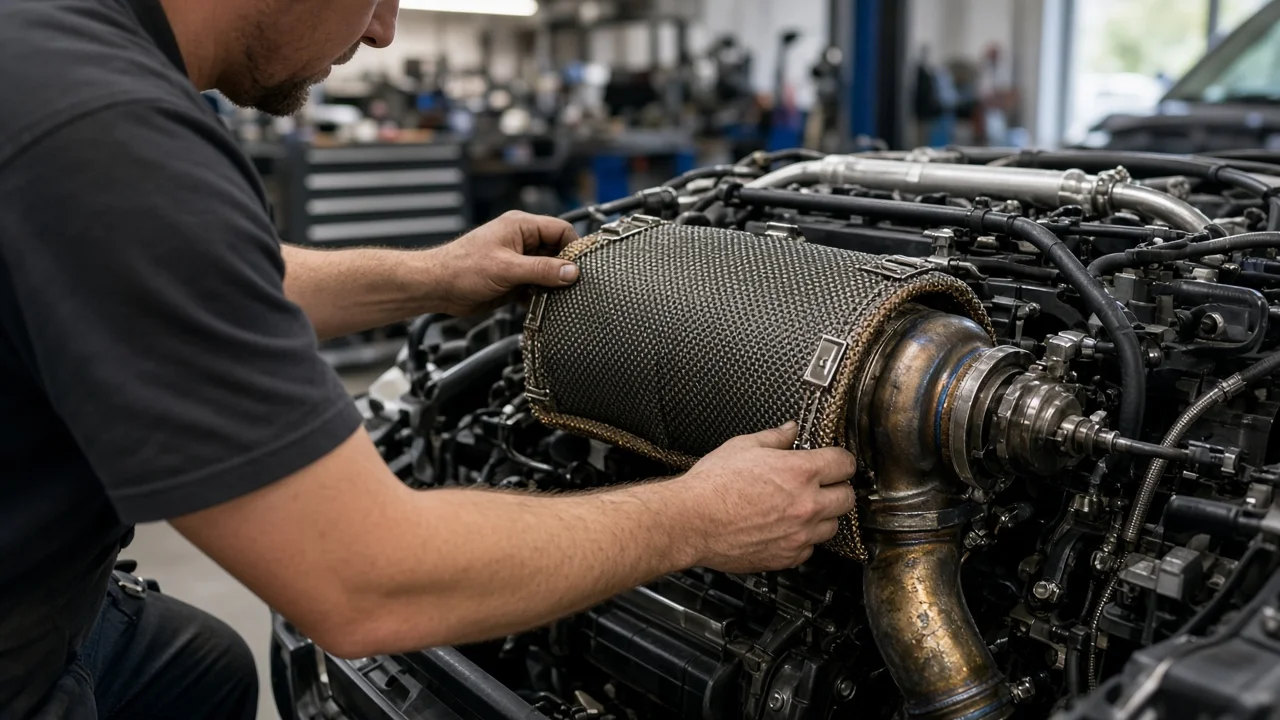
A universal turbo blanket is meant to wrap a range of turbine housings, but universal describes a size band, not a guaranteed fit for every turbocharger. A poor fit can leave hot spots exposed, crowd the wastegate linkage or trap leaking oil against the housing. This guide covers how to recognize fit problems, separate them from unrelated faults, and check a blanket in a sensible order. It applies whether you are sizing a new blanket or reassessing one that is already installed.
Establish the symptoms
Start by writing down what you actually observed and under what conditions. Note whether a smell, smoke, rattle or heat complaint appears after hard driving, at idle after a long run, on a cold start or after shutdown. Record the model year and engine configuration and, if you can reach it, the part number on the turbocharger's housing tag. The same model name can carry different turbos across model years and engine variants, so a blanket chosen by vehicle name rather than by the turbo itself is a common source of fit trouble.
Associated signs worth noting include discolored or frayed blanket edges, a blanket that has shifted or sagged, scorched paint or wiring insulation nearby, oil residue, a change in boost behavior and any stored diagnostic codes. List recent changes too: a new blanket, turbo replacement, exhaust work or a different downpipe. Keep reports separate from verified findings. Smells hot after a drive is a report; oil wetting the lower blanket edge below the drain line flange is a confirmed observation. Your service history helps link the timing of a symptom to a specific change.
Distinguish plausible causes
The most common fit cause is the wrong size. A blanket made for a larger frame bunches up, leaves loose folds that can rub or rattle and may not let its springs or straps seat properly. One that is too small leaves part of the housing exposed and pulls at the seams. A small turbo blanket on a compact housing is especially sensitive, because there is little spare material to absorb a mismatch. Visible gaps, bunching or strained fasteners support this cause; an even wrap with closed seams weakens it.
The second cause is cutout mismatch. Openings for the inlet and outlet flanges, the wastegate area and the actuator may not line up with your housing. Fabric pressing on the actuator rod, flange studs or a sensor supports this, especially if boost irregularity began right after installation. If the same complaint existed before the blanket went on, that points away from it. Odor alone is weaker evidence: some blankets give off a smell during their first heat cycles, according to their own instructions. A smell that fades fits that explanation; one that persists or comes with smoke from one spot does not.
Finally, consider unrelated faults that produce similar complaints. These include exhaust leaks at the manifold or downpipe gasket, oil seepage from turbo feed or drain lines, and wastegate or actuator problems. A blanket can hide all of these from view, so a fit complaint and a separate fault may coexist.
Checks in a useful order
Begin with safe observations, engine off and fully cooled. Turbine housings stay hot long after shutdown, so never handle them after a drive. With the blanket in place, check that it seats evenly and that its seams are closed. Confirm the springs or clips are secure and see whether the openings clear each flange. Look for clearance to the actuator, oil and coolant lines, wiring, fuel and brake lines, and to the hood when it is closed. Note any oil staining, soot marks or heat-discolored edges.
Next, remove the blanket following its instructions, wearing gloves. Inspect the housing and nearby joints for cracks, soot trails that suggest an exhaust leak and wet oil at line fittings. Compare the cutouts against the actual housing shape. Then check the turbo part number against the frame sizes listed in the blanket maker's fitment information rather than relying on the universal label.
Tests that need tools or a qualified technician come last. These include scanning for diagnostic codes, smoke-testing the exhaust for leaks, and reviewing boost and wastegate behavior with a gauge or scan data. Checking actuator travel against manufacturer specifications also belongs here. Vehicles under warranty or with electronically controlled actuators are best left to a technician. Also review the turbo or vehicle manufacturer's guidance, since some advise against insulating certain housings and wrapping may affect warranty terms.
Interpret the findings
An even wrap, closed seams, clearance all around and no oil or soot indicate an acceptable fit, so any remaining symptoms point elsewhere. Gaps or bunching confirm a size mismatch but not damage, so recheck after fitting the correct size. Contact with the actuator rod shows likely interference, but it does not prove that a boost complaint came from it. Confirm this by checking that the actuator moves freely with the blanket removed and by rescanning for codes after a test drive.
Oil on the blanket confirms both a leak and contamination. Oil-soaked insulation is a fire risk, so the blanket should not be reused. Before replacing a turbo or its lines, identify the exact source, because a seeping fitting or gasket is a different repair from a failed turbo seal. Soot traces confirm an exhaust leak at that joint, not that the blanket caused it. In every case, replace parts only after inspection has confirmed the source.
Urgency and next action
Stop driving and let the engine cool if smoke from the engine bay does not fade or oil is burning on the blanket. The same applies if the blanket is touching or melting wiring, fuel lines or brake lines, if it has come loose near belts or other moving parts, or if boost warnings or reduced power appear. No safe remaining distance can be promised once any of these signs is present, so arrange inspection before further use.
Whether you are visiting a shop or buying a replacement, bring the model year, engine variant and turbo part number, along with the blanket brand and size. Add photos taken before and after removal, your log of symptom conditions, any diagnostic codes and recent service history. With that information, a technician or supplier can confirm the correct size and cutouts instead of relying on the universal label.