Transmission Synchro Repair: Assessing What Can Be Restored
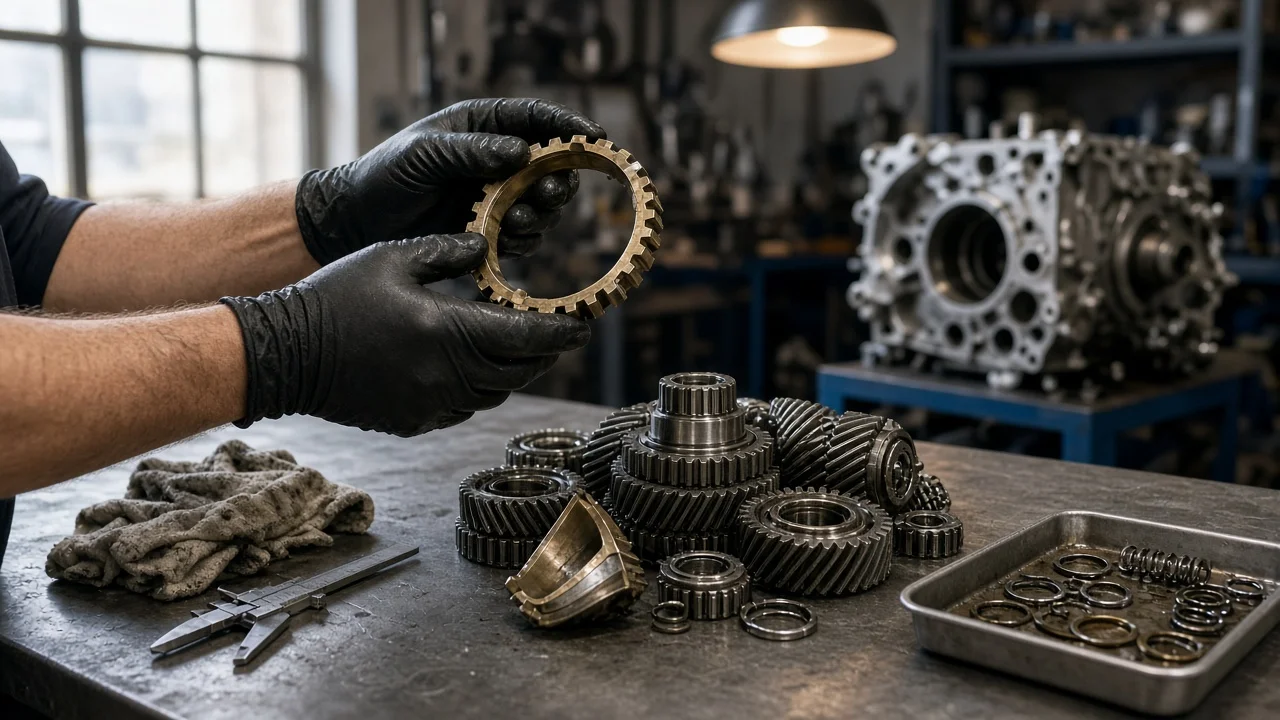
A grinding shift or a gear that resists engagement often points to a worn synchronizer, but the symptom alone does not prove which part has failed. Synchro repair almost always means removing and opening the gearbox, so the decision needs solid evidence first. This guide explains how to separate synchro wear from faults that feel the same, define the repair scope for your specific transmission, weigh the realistic repair options, and confirm the result afterward.
Confirm the fault before repair
A synchronizer assembly brings the gear and shaft to the same speed before the dog teeth engage. It is typically made of a hub, a sliding sleeve, keys or struts, and a blocker ring that works against a cone on the gear. As the friction surfaces wear, that speed matching becomes incomplete. The usual result is grinding or crunching during the shift. It is often worse with quick shifts or when the fluid is cold, and it is frequently limited to one or two gears. Those observations describe shift behavior. They do not prove a worn ring.
Several faults feel similar. Clutch drag, where the clutch does not fully release, tends to cause grinding into every gear, especially first and reverse from a stop. Low, degraded or incorrect fluid can change how synchros grip. Other faults can also mimic synchro trouble: a misadjusted cable or linkage, worn shifter bushings, bent or worn shift forks, and broken mounts that let the gearbox move. A gear that pops out under load more often involves detents, dog teeth or forks than the synchro alone.
Useful evidence includes which gears grind, at what road speed and temperature, and whether shifting more slowly or double-clutching removes the noise. If it does, the synchro's ability to match speed is a strong suspect. A simple drag check is to idle with the clutch fully depressed, pause, then select reverse, which on many gearboxes has no synchronizer. A grind there points toward a clutch release problem. Check the fluid level and look for large metal fragments. Conventional manuals rarely log diagnostic codes for this. Automated manual and dual-clutch transmissions also use synchros, though, and can store actuator or engagement codes that require a scan tool. Final confirmation comes from measurement after disassembly.
Define the repair scope
Start by identifying the exact transmission type and unit, using the identification tag on the case or a VIN-based parts lookup. The same vehicle model can use different gearboxes across years, engines and drive layouts. Within a unit, synchros may be single, double or triple cone, and rings may be brass, sintered, or lined with carbon or another friction material. These details determine parts fitment, the fluid specification and the correct procedure. Service history matters as well. Previous fluid changes, earlier rebuilds, clutch work and how the vehicle has been driven all shape what to expect.
Once the case is open, a technician measures ring-to-cone clearance against the published limit. They also inspect the blocker tooth chamfers, the friction surface, the gear cone for scoring or heat marks, the sleeve and gear dog teeth, the keys and springs, and the hub splines. Bearings and shift forks need the same attention, because debris from synchro wear circulates through the whole unit. What began as one suspect ring can extend to gears or a full rebuild, so a sensible estimate allows for that.
Compare repair options
Non-invasive corrections come first when the evidence supports them. These include refilling with fluid that meets the manufacturer's specification, bleeding or adjusting the clutch hydraulics, and adjusting the linkage or replacing worn bushings. They are inexpensive and reversible. They can make a marginal synchro feel better, but they cannot restore worn friction material. If the improvement fades, the wear is probably still there.
Component repair means replacing the rings during a teardown, often along with the keys, springs and sleeves. It suits cases where the gear cones and dog teeth are still within limits. Removal and disassembly make up much of the labor, so many shops replace every ring while the case is open rather than only the noisy gear. Repairing a single synchro leaves other worn parts in place unless they were measured. If a gear cone or its dog teeth are damaged, the gear itself must be replaced, and some designs also require replacing its mating gear.
The remaining repair options are a full rebuild by a transmission shop, a remanufactured unit or a used unit. A remanufactured gearbox comes in known condition and usually with a warranty. A used unit has an unknown history and must match fitment exactly, including gear ratios, final drive, mounting points and electrical connections. Low-volume, performance and dual-clutch gearboxes often need a specialist with model-specific tools. Automated units may also need adaptation or relearn procedures after any synchro work.
Requirements and limits
Synchro work needs service information for the exact unit. That means the disassembly order, wear limits, end play and preload settings, selective shim or snap ring choices, torque values, and fluid type and capacity. Without those figures, a rebuild becomes guesswork. Typical equipment includes a lift or rated stands, a transmission jack, a press, bearing pullers and separators, snap ring pliers, feeler gauges, a dial indicator, and a clean bench where parts can be laid out in order.
A gearbox is heavy and awkward, and some transaxles require engine support or subframe removal to come out. Never work under a vehicle held up only by a jack, and handle clutch dust carefully. An experienced home mechanic with the right equipment and data can rebuild some common manual gearboxes. Small assembly errors, such as a reversed ring, a misplaced key or the wrong snap ring, can still cause a lockup or a quick repeat failure. Dual-clutch and automated manual units are generally specialist work.
Verify the outcome
After installation, check the fluid level using the method and temperature in the service information, and check the seals and case joint for leaks. Make sure the clutch releases fully and the shifter moves freely. On the road, run each gear up and down, both cold and fully warm, with gentle and brisk shifts, including downshifts at speed. Note any noise, high shift effort or gear that jumps out. Follow the builder's guidance on any break-in period.
Keep a record of the transmission identification, parts replaced, measurements taken, fluid used, mileage and date. That record supports any warranty claim, helps with the next diagnosis and adds value at resale.
If grinding continues in every gear, recheck clutch release and linkage adjustment before suspecting the rebuild itself. If one specific gear still grinds, an assembly error or a missed damaged part is likely. Return to the original builder while the warranty applies rather than starting a new teardown elsewhere. On automated units, read any stored codes and confirm that required relearn procedures were completed before drawing conclusions.