Transmission Fluid Pumps: Filling Transmissions Without a Dipstick
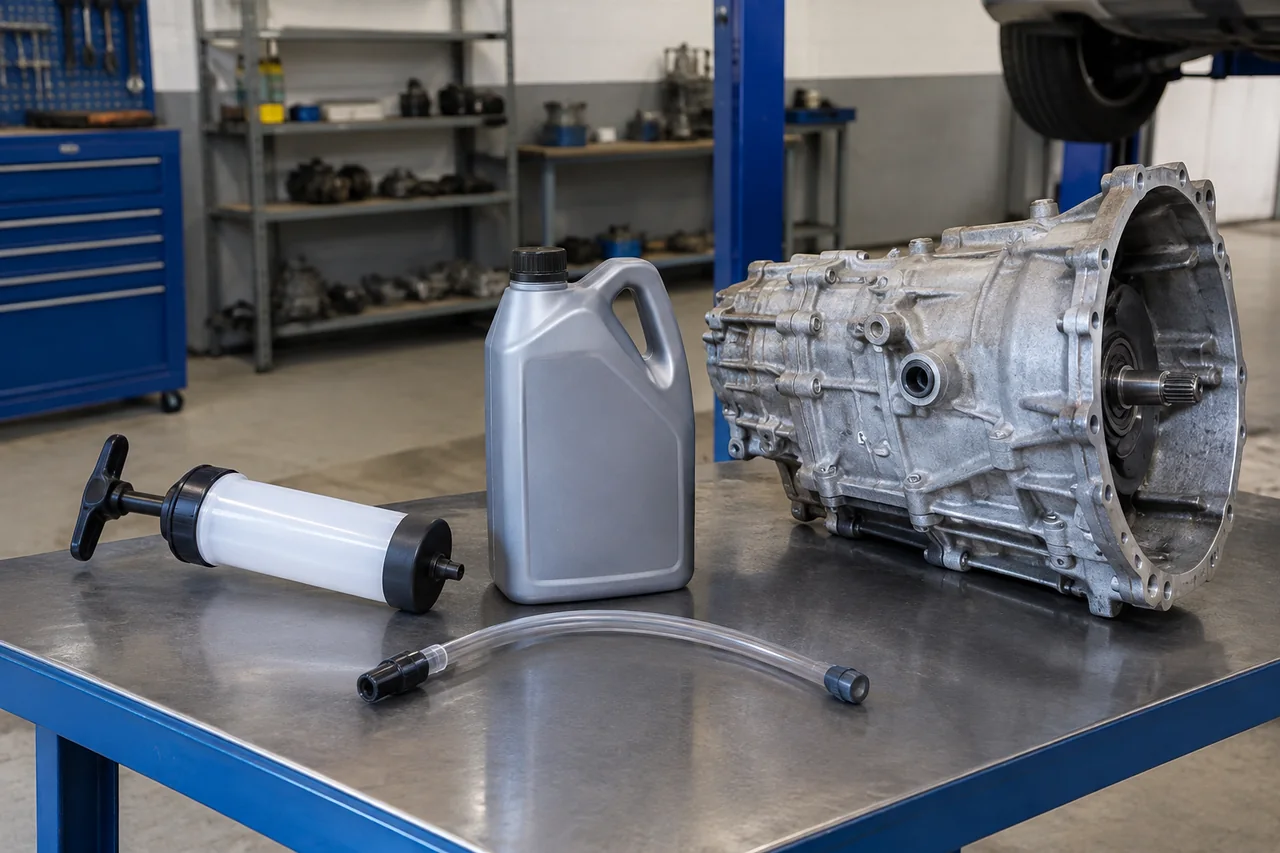
Many modern automatic transmissions have no dipstick and no fill tube on top, so adding fluid means working through a port on the side of the case. A fluid pump for transmission service moves the correct fluid from its container into that opening without much mess. The pump only handles delivery, though. The fill point, the fluid type, and the final level all depend on the service procedure for that exact transmission.
What a Transmission Fluid Transfer Pump Does
A transmission fluid transfer pump is an external service tool. It draws the specified fluid out of a bottle or bulk container and pushes it through a hose into a fill port you can reach on the transmission. It is not the same thing as the hydraulic pump inside the transmission, which the engine drives to build line pressure, lubricate parts, and feed the torque converter. When people search for transmission fluid pumps, they may mean either one. This article covers the filling tool, not the internal part or how to diagnose it.
Transmissions without a dipstick often put the fill opening on the side or bottom of the case, where a funnel can't reach and gravity won't help. The fluid has to be pushed up or sideways into the housing, and a pump with a hose and the right fitting makes that practical. Moving the fluid is only half the job. Counting the quarts that go in doesn't tell you the level is correct, because on these units the level is set under specific conditions the manufacturer defines.
Confirm the Fill Port and Required Fluid Before Starting
Before you buy fluid or loosen anything, identify the exact transmission and find the manufacturer's service procedure for it. Many cases have several plugs that look alike. One may be a drain, another a fill port, and another a level check plug. Some designs combine these jobs or hide an internal standpipe behind the drain opening. A plug on the side of the case doesn't tell you what it's for, and pulling the wrong one can dump fluid you then have no easy way to measure back in.
The procedure should also confirm the transmission fluid specification. The wrong fluid can change shift quality and harm the internal friction materials even if its color looks the same. Check whether you have to remove shields or panels to get access, which adapter fits the fill port, and whether the plugs use sealing washers or O-rings that should be replaced. Published capacity figures usually describe a dry or rebuilt unit. A drain removes only part of the fluid, and the rest stays in the converter, cooler lines, and passages, so the refill amount is often smaller.
Pump, Hose, and Adapter Requirements for Side Filling
Transfer pumps come in a few common types. Hand pumps use a plunger or lever, so you control the flow directly. Container-mounted pumps screw onto a fluid bottle or bulk jug and dispense with a squeeze or a stroke. Powered pumps run on a battery, compressed air, or an electric motor and suit shops that fill many vehicles. Whatever the type, the pump seals and hose must be documented as compatible with the specified fluid. The wrong materials can swell, shed particles into the fluid, or leak.
Practical features matter more than the brand. A fluid transfer hose long enough to reach the port without stretching, a flow rate slow enough to control, and a fill port adapter that seats firmly all help keep fluid off the exhaust and out of the dirt. Powered or pressurized pumps must stay within the vehicle procedure and the tool's rated limits. Confirm that an adapter fits the application instead of judging by how its threads look. Keeping one clean pump for each fluid type and capping the hose ends between uses helps prevent mixing and contamination.
How Fluid Reaches the Side Fill Opening
On paper, the fluid path is simple. Fluid leaves a clean, sealed container, goes through the pump and along the transfer hose, and enters the confirmed fill opening through the adapter or nozzle. Before any of that, the vehicle needs safe, stable access. Many side fill ports sit low on the case, and reaching them may mean working under a raised vehicle. If you don't have proper lifting equipment and jack stands, have a professional shop do the fill.
While the fluid flows, keep watching the connection at the port. A seeping fitting wastes fluid and makes it harder to know how much actually went in. Wipe the area around the plug before opening it, keep container lids closed, and rest the hose tip somewhere clean when it's disconnected, because grit that gets into the case can reach valves and bearings. If the pump suddenly gets hard to push, the connection keeps leaking, or you aren't sure you have the right opening, stop and recheck. Don't force more fluid into the housing.
Why Level Setting Depends on the Exact Transmission
Setting the level is where the exact transmission matters most. The service procedure says whether the vehicle must sit level, what the fluid temperature range is, whether the engine should be running, and whether the shifter must be moved through the gears or held in one position. Some designs use a level check opening or an internal overflow standpipe, which lets extra fluid drain out until the level drops to the top of the tube. That runoff means the level is right only when every specified condition is met. The same trickle at the wrong temperature can leave the unit overfilled or low.
Fluid expands as it warms, so many procedures call for reading transmission temperature with a scan tool instead of guessing. Touching the case or pan tells you little about the fluid inside, and it can burn you. It helps to think of the job in two stages. First comes an initial fill that adds enough fluid to run the unit safely. Then comes a final level check done exactly as documented. That check often combines hot fluid, a running engine, and work under the vehicle, so a qualified shop is the safer choice if you lack the right equipment or training.
Check for Leaks and Recognize When Testing Is Needed
Closing up also follows the procedure. Plugs may need new seals, and the tightening values and any final check steps come from the service information for that transmission, not from feel. Afterward, park over a clean surface and look for fresh spots under the transmission over the next few drives. Watch for warning messages on the dash, and notice whether shifting into drive or reverse feels different than before. You can check all of this safely without crawling under the vehicle or touching hot parts.
Slipping, delayed engagement, or whining can point to low fluid, but they can also come from worn clutches, control problems, or wear in the internal pump. A symptom alone doesn't identify the cause. Topping up again and again to chase a symptom risks overfilling and can hide a leak. If problems continue after a leak inspection and a proper level check done at the specified temperature, the next step is professional help. That means diagnostic scanning, reading any stored codes for that specific vehicle, and transmission testing to find the real fault.