Transmission Cooler Repair: Assessing Damage and Repair Options
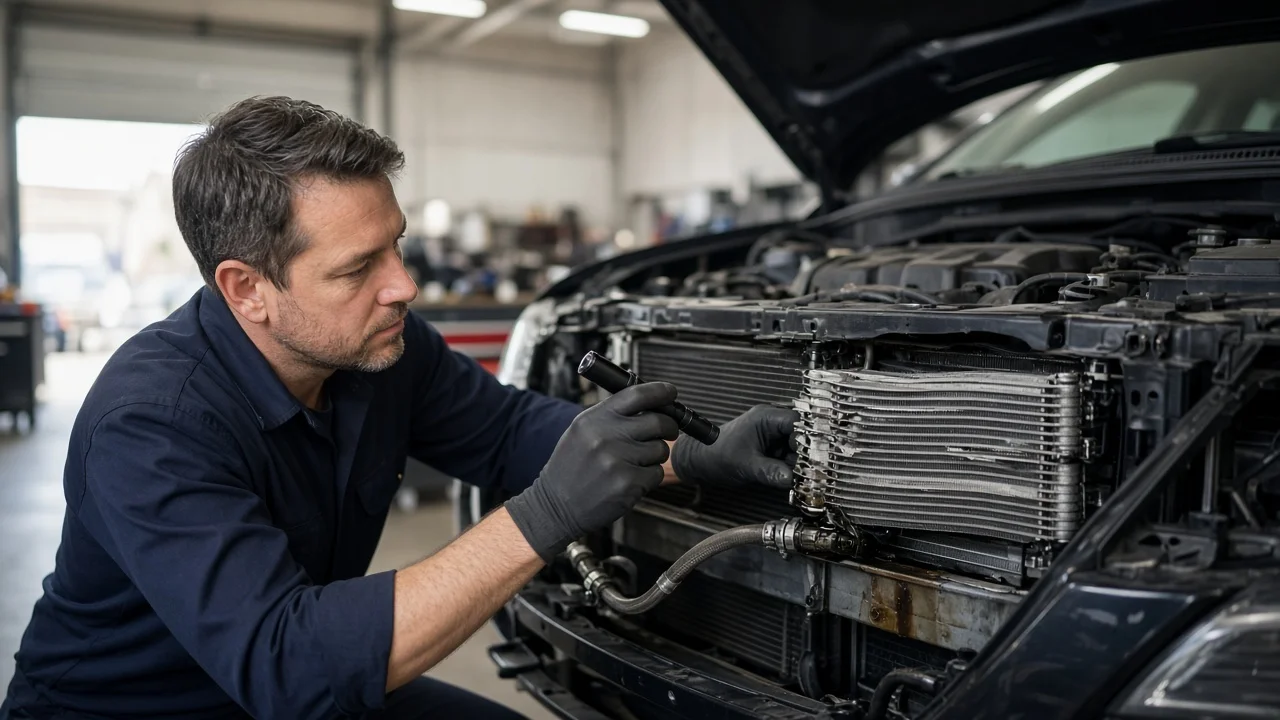
A transmission cooler keeps automatic and CVT fluid within its working temperature range, so a leak, internal breach or blockage can quickly become a bigger problem than the cooler itself. Good transmission cooler repair starts with proof. You need to know which part of the cooling circuit is at fault, how far any damage or contamination has spread, and which repair option fits your vehicle's transmission type and cooler design.
Confirm the fault before repair
Cooler-related symptoms overlap with many other problems. Fluid on the ground near the front of the vehicle can come from cooler lines, but it can also come from the pan gasket, an axle seal, the power steering system or the engine. A high transmission temperature reading or an overheating message may point to restricted cooler flow. Low fluid level, heavy towing, a slipping torque converter clutch or a faulty temperature sensor can trigger the same warning. Treat each symptom as a lead, not a verdict, until you can tie it to a specific component.
Useful evidence starts with tracing a leak to its highest wet point after cleaning the area, ideally confirmed with fluorescent dye. Check fluid level and condition using the manufacturer's procedure, and read stored diagnostic codes and live fluid temperature data with a scan tool. Where restriction is suspected, run a cooler flow test and compare the result with the specification in the service information. For a suspected internal leak in a radiator-mounted cooler, look for signs of cross-contamination. These include transmission fluid that looks milky, pink and foamy, or an oily film in the coolant reservoir. A cooling system pressure test and inspection of both fluids help separate a genuine internal breach from simple discoloration or a mixed-up top-off.
Define the repair scope
Start by identifying exactly what is installed. Many vehicles route fluid through a cooler built into the radiator tank. Others use a separate air-to-oil cooler, a fluid-to-coolant heat exchanger mounted on or near the transmission, or a combination of factory and auxiliary coolers. Some designs include a thermostatic bypass valve that controls when fluid passes through the cooler. Lines may be steel, rubber or a mix, joined by threaded fittings, quick-connect couplers or crimped sections. The transmission type, model year, trim and any towing package all affect which parts and procedures apply. Do not assume a repair described for one version suits another.
Next, judge how far the damage extends. A seeping fitting or chafed hose is a contained repair. A cooler that has failed internally, or a circuit that carried debris from a transmission failure, affects more than the cooler. Contaminated fluid may already have reached the clutches, valve body and torque converter, and cooling system parts may also need attention. Review the service history for previous transmission work, fluid changes or overheating. It often explains why the cooler failed and what else should be inspected.
Compare repair options
For external leaks, the least invasive fix is often the correct one. That can mean replacing a damaged O-ring or seal at a quick-connect, tightening a loose threaded fitting to the specified torque, or replacing a worn hose section. Replacement hose must be rated for transmission fluid and for the circuit's pressure and temperature; generic heater or fuel hose is not a substitute. Steel lines with corrosion or kinks are usually best replaced as an assembly or repaired with the manufacturer's approved service section. These repairs stop the leak, but they do not address any overheating or wear that occurred while the fluid was low.
When a radiator-mounted cooler leaks internally, the usual remedy is replacing the radiator. That is followed by flushing the cooling system and evaluating the transmission. Bypassing the internal cooler with a stand-alone auxiliary cooler is sometimes proposed, but it changes how the fluid warms up and cools down, and it may not meet the manufacturer's requirements. After a transmission failure or rebuild, the cooler and lines generally must be flushed with suitable equipment and flow-tested. Some coolers, particularly fine-passage designs, are replaced rather than flushed because debris cannot be reliably removed from them.
Specialist service is appropriate in three situations: coolant has entered the transmission, the transmission shows slipping, harsh or delayed shifts, or diagnosis points to an internal fault rather than the cooler. Coolant contamination can damage friction materials and bonded seals, and a fluid change alone may not reverse that damage. A transmission shop can inspect the unit and advise whether repair or overhaul is needed. It can also perform the flow and pressure tests required to accept the cooling circuit.
Requirements and limits
Work on the cooling circuit calls for model-specific service information. You need the fluid specification, the fill and level-check procedure, fitting torque values, line routing and any relearn or reset steps. Many current transmissions have no dipstick. They must be checked through a fill plug at a specified fluid temperature with the engine running, which requires a scan tool to read temperature. You also need the correct disconnect tools for quick-connect fittings and a safe way to raise and support the vehicle on stands or a lift. Have containers ready to collect and properly dispose of fluid and coolant.
Respect the limits of a home repair. Hot transmission fluid and pressurized coolant can cause serious burns, so let the vehicle cool before opening either system. Avoid stop-leak additives, plugged lines and improvised fittings, because they can hide the problem or starve the transmission of lubrication. A fluid that does not match the required specification can affect shift quality and durability. Flow testing, flushing after an internal failure and internal transmission inspection need equipment and expertise that most home garages lack.
Verify the outcome
After the repair, set the fluid level using the exact procedure for your transmission. Then run the vehicle through a heat cycle and recheck every disturbed joint for leaks. Record any diagnostic codes before clearing them, and watch whether they return. On a road test, monitor fluid temperature with a scan tool and pay attention to shift behavior. Note engagement into drive and reverse, upshift timing and any flare or shudder. If the radiator or heat exchanger was involved, also check coolant level and condition, and confirm that the replacement parts' fitment matches the vehicle.
Keep a record of what was found and done: the leak source or test result, parts replaced, fluid type and quantity, and any flow test outcome. This documentation supports warranty claims and later diagnosis. If leaks, high temperatures, contaminated fluid or shift complaints persist, the cooler may not have been the root cause, or the damage may extend into the transmission itself. The next step is further diagnosis by a transmission specialist rather than repeating the same repair.