Transmission Cooler Line Clips: Selecting Retaining Clips
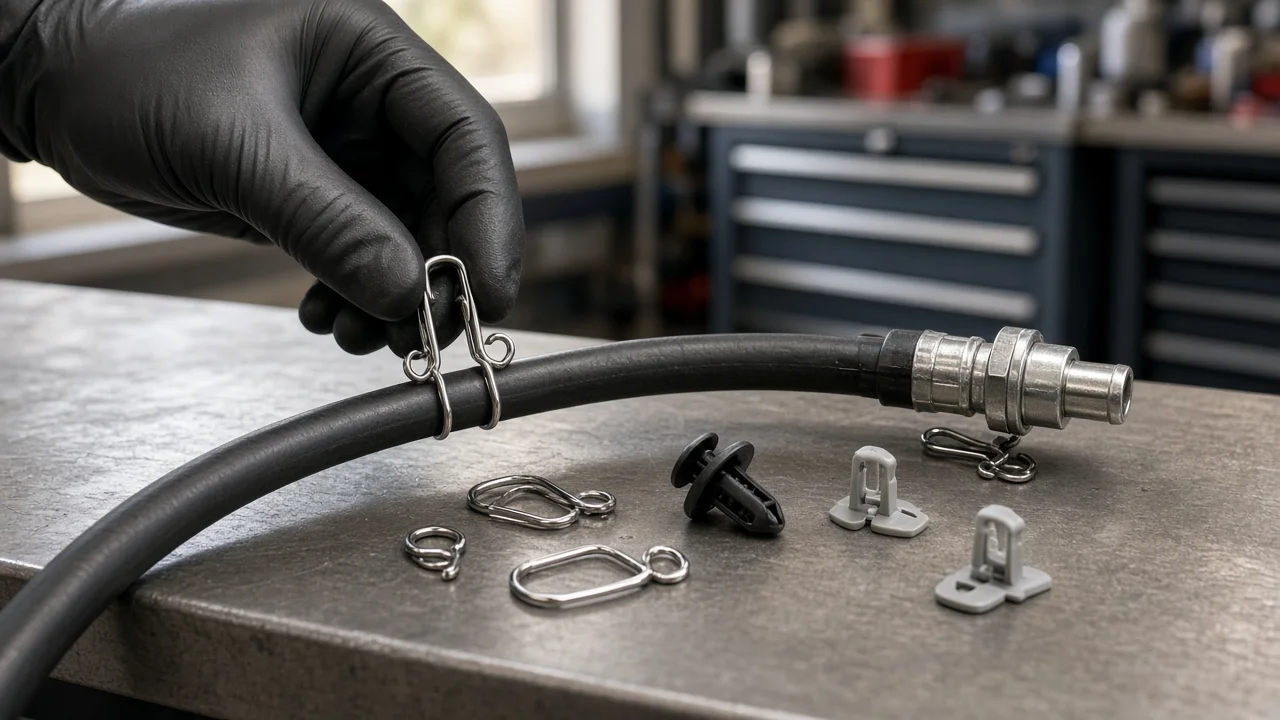
Transmission cooler line clips look like minor hardware, but they keep pressurized fluid lines secured at the transmission case, the radiator or auxiliary cooler, and along the chassis. A missing or mismatched clip can let a fitting work loose or let a line rub against something until it leaks. This guide explains how to choose a replacement clip that suits your vehicle, which features matter, and when a clip alone will not solve the problem.
Define the job the product must do
First, decide what the clip actually has to hold. Cooler line hardware falls into two broad groups. Fitting retainers lock a quick-connect line end into its port so internal pressure cannot push it out. Routing clips and brackets hold the lines to the engine, transmission, frame or radiator support, which keeps them away from exhaust heat, sharp edges and moving parts and limits vibration. These parts are not interchangeable. A common mistake is ordering a routing clip when the real need is a fitting retainer, or the reverse. Look at where the old part sat and what it held before you search for a replacement.
Next, note why you need it and what constraints you face. Typical reasons include a clip that broke during removal, one lost during a radiator replacement, a line that rattles or sags, or seepage at a connection. Note the transmission type and configuration as well: a conventional automatic, a CVT or a dual-clutch unit, and whether the vehicle uses a cooler built into the radiator, a separate auxiliary cooler, or both, as some towing packages do. Consider access and tools too. Some fittings can only be reached from below, and some need a dedicated disconnect tool. Keep in mind that fluid at a fitting does not by itself prove the clip has failed. A worn seal, a damaged line end or a cracked port can produce the same symptom.
Check compatibility before ordering
Fitment depends on more than year, make and model. Record the engine, the drivetrain, any towing option and the transmission identification, which may be on a case tag, in build data or in service records. The fitting at the transmission end often differs from the one at the radiator or cooler end, so identify each connection separately. Then inspect the old retainer and the fitting it sat in. Note its shape, such as a round wire ring, a U-shaped spring clip or a plastic collar with a secondary latch. Also note how it engages the groove or window in the fitting and the outside diameter of the line.
The most reliable match is an original part number, taken from service information, a dealer parts lookup or markings on the old part. If you are considering an aftermarket or universal clip, compare dimensions directly: wire thickness, inside diameter, leg spacing and the overall profile. A clip that seats loosely might hold at idle but can release once the fluid is hot and under pressure. If a previous repair replaced a factory line with hose and barbed fittings, the original clip no longer applies. That connection needs clamps and hose rated for transmission fluid and the operating temperatures involved.
Features that affect the choice
Material and design are the main trade-offs. Spring steel wire retainers tolerate heat well, but their finish matters on vehicles driven where roads are salted, because corroded wire can weaken or seize in the groove. Plastic retainers are light and often include a visible or audible confirmation that the line is fully seated. However, plastic that has been through many heat cycles can become brittle, and many plastic designs are intended to be used only once. For routing clips, cushioned clamps reduce chafing and noise. Parts near the exhaust need enough heat resistance for that location.
Separate useful evidence from marketing labels. Terms such as heavy duty, OE quality or universal fit say little on their own. More useful details include a listed application range that covers your exact configuration, stated dimensions, a named material, and clear photos showing the clip from several angles. Some kits include replacement O-rings, which can be worthwhile because disturbing a fitting can damage its seals. Those seals still need to match the fitting design and be compatible with transmission fluid. Assortment kits are handy for a shop, but for one repair a single correct clip is usually the better buy.
Limitations and ownership costs
Installing the clip is usually the easy part. The real costs are tools, fluid and care. A disconnect tool sized to the line prevents prying that could scratch the fitting or bend the line end. After reassembly, pull back firmly on the line and check any secondary latch to confirm it is locked. Opening a cooler line releases some fluid, so plan to top up with fluid that meets the manufacturer's fluid specification. Check the level using the procedure for that transmission. Some units have no dipstick and are checked through a fill or level plug at a specified fluid temperature. That can add time, or a trip to a shop with suitable equipment.
A clip cannot repair a cracked or corroded line, a damaged fitting body, a leaking cooler or an internal transmission fault. If you have also noticed changes in shift behavior, such as delayed engagement, slipping or harsh shifts, or if diagnostic codes are stored, low fluid is only one possible cause and the vehicle needs proper diagnosis. Service history can help narrow things down. Lines disturbed during a recent radiator or engine repair are a logical place to inspect first. If a leak continues after a correct clip and seal are installed, repair options include replacing the line assembly, the fitting or the cooler.
Build a practical shortlist
Before comparing listings, confirm the following: the exact vehicle and transmission details, which connection or routing point needs the part, the retainer style, and either the original part number or measured dimensions. Then decide whether you need new seals, whether you have the correct disconnect tool, and whether you have enough of the specified fluid to restore the correct level.
When comparing candidates, prefer listings with explicit application data and dimensions over broad compatibility claims. Choose a finish suited to your climate, and buy a spare if the design is single-use. After installation, drive the vehicle, look for fresh fluid at the connection, and recheck the level with the correct method. If the line stays dry and secure and shifting remains normal, the clip was the right fix. If not, treat the clip as one checked item and continue diagnosing the source of the leak.