Transfer Case Repair: Options for Restoring Proper Operation
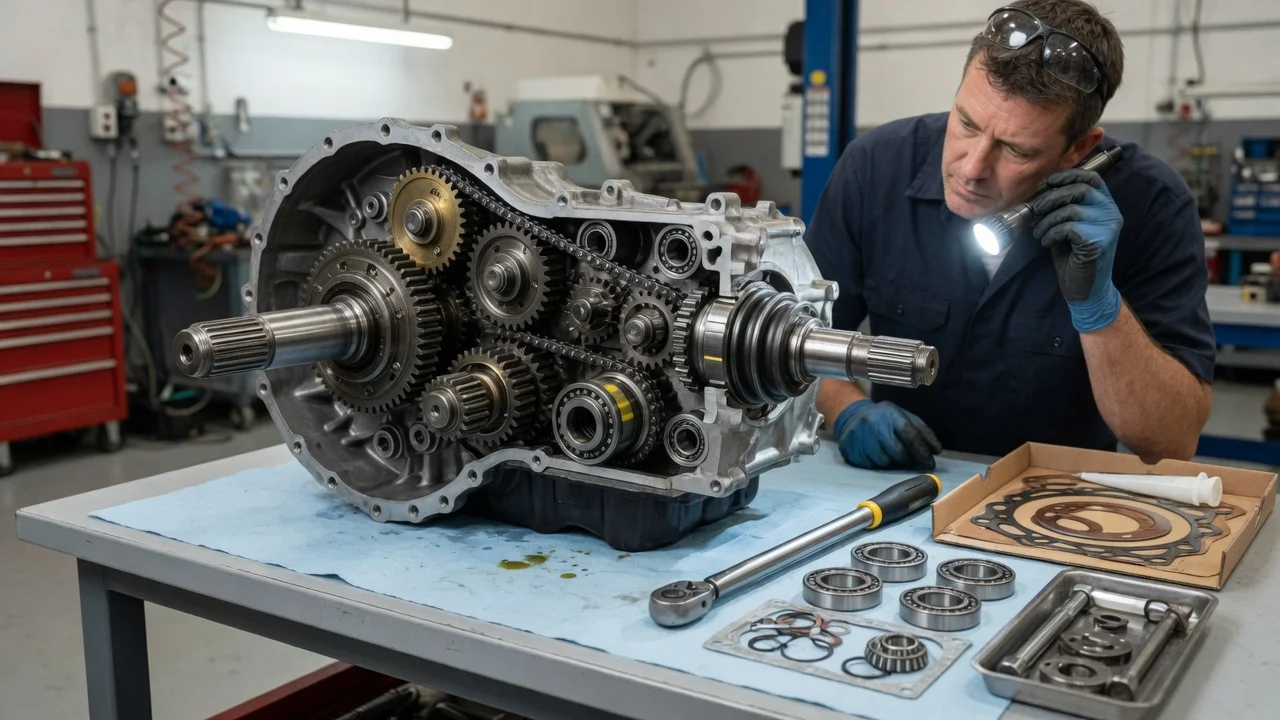
A transfer case fix can be as simple as replacing a leaking seal or as involved as rebuilding the unit or installing a matched replacement. The right choice depends on what has actually failed and on the exact drivetrain in your vehicle. This guide explains how to confirm the fault, define the scope of transfer case repairs, compare the available options, understand the requirements and limits, and verify that the repair restored proper operation.
Confirm the fault before repair
Many drivetrain complaints get blamed on the transfer case before anyone proves it. Clunks, vibration, whining and binding can also come from driveshaft universal joints, CV joints, front or rear differentials, wheel bearings, front hub locking mechanisms and transmission mounts. Before you repair a transfer case, gather evidence that points to it specifically: when the symptom appears, which drive mode is selected, whether it changes with speed or load, and whether it happens while turning or driving straight.
A careful inspection comes next. Check the fluid level and condition using the method and fluid type listed in the manufacturer specifications, since different units call for different fluids. Metal particles, a burnt smell or the wrong fluid all point toward wear or a past service mistake. Look for leaks at the input and output seals and along the case halves. On vehicles with electronic shifting, scan the transfer case or four-wheel-drive control module for stored codes with a tool that can actually read that module; a basic engine code reader often cannot.
Also rule out conditions that mimic failure. A part-time system that binds or hops in tight turns on dry pavement is often behaving normally because four-wheel drive is engaged where it should not be. On all-wheel-drive and full-time systems, mismatched tire sizes or uneven tread depth can cause binding, noise and warning lights, and can damage the unit if ignored. Review the service history for recent tire replacements, fluid services or driveline work before concluding that the transfer case itself is defective.
Define the repair scope
Transfer cases differ widely, so one remedy does not fit every version. Your vehicle configuration determines what you are dealing with: part-time, full-time or automatic all-wheel-drive operation; chain or gear drive; a manual lever, electric shift motor or vacuum controls; and whether a control module manages clutch packs or engagement. Even within one model line, different engines, transmissions, trim levels or model years may use different units with different part numbers and gear ratios. Confirm the exact unit from the identification tag on the case or by the vehicle identification number before ordering parts.
Then decide whether the fault is external or internal. External problems include leaking seals, a failed shift motor or encoder, damaged wiring, a faulty sensor or a vacuum leak. Internal problems include a stretched chain, worn bearings, damaged shift forks or range sleeves, a failed oil pump and worn clutch packs. Note any related damage as well, such as a worn output yoke, a damaged driveshaft or a contaminated electrical connector, because leaving it in place can cause a fresh failure.
Compare repair options
The least invasive way to fix a transfer case is correcting what surrounds the unit. Replacing fluid with the specified type, adjusting a manual shift linkage, repairing wiring, or replacing a shift motor, encoder or sensor can restore operation when the internal parts are sound. These repairs do not reverse internal wear, though. If the fluid ran low long enough to overheat the unit, or the shift motor failed because internal parts were binding, the original symptom may return.
Component repair ranges from replacing an output seal to a full rebuild with a new chain, bearings, seals and any worn shift components. A rebuild keeps the original, correctly matched unit, but its success depends on the condition of the case, shafts and gears, which is only known after disassembly. Damaged housings, worn shaft bores or broken gear teeth can turn a planned rebuild into a replacement.
Replacement with a new, remanufactured or used unit makes sense when internal damage is extensive or rebuild parts are unavailable. The replacement must match your configuration exactly, including ratio, input and output design and control type, and some vehicles require module programming or calibration afterward. A used unit carries an unknown history. Specialist drivetrain service is appropriate for active systems with electronically controlled clutches, for diagnosis that remains inconclusive, and for rebuilds that require precision measurement and setup.
Requirements and limits
Working on a transfer case requires the factory service information for your exact vehicle: removal and installation procedures, fastener torque values, fluid type and capacity, and any initialization steps for electronic components. Guessing these values risks leaks, bearing damage or a unit that will not shift. Electronic systems also need a scan tool that can read codes, display live data and run any required relearn or programming functions.
Safety comes first. Support the vehicle on rated stands on level, solid ground, never on a jack alone. A transfer case is heavy and awkward, so removal calls for a transmission jack and a helper rather than balancing it by hand. With the transfer case in neutral or a driveshaft removed, the transmission's park position may no longer hold the vehicle, so chock the wheels and set the parking brake. Allow hot fluid and components to cool before draining or handling them.
Reasonable owner tasks include fluid checks and changes, external seal replacement and some electrical diagnosis when the service information supports it. Internal rebuilds, clutch-pack systems and module programming generally belong with a qualified technician who has the measuring equipment, special tools and experience to set the unit up correctly.
Verify the outcome
After the repair, confirm the fluid is at the correct level with the vehicle level, then road test in every available mode under appropriate operating conditions. Shift through each range as the owner's manual describes, check that indicator lights respond correctly, and use low range or part-time four-wheel drive only on loose or slippery surfaces. Listen for grinding, clunks and whine, and confirm the vehicle no longer binds or drops out of gear. Clear stored codes, drive, and rescan to confirm none return. Recheck for leaks once the unit has reached operating temperature.
Record the work in the service history: date and mileage, parts and part numbers, fluid type and quantity, any programming performed and the codes found. That record supports warranty claims and future diagnosis, and it lets you plan follow-up servicing from the manufacturer's maintenance schedule for your configuration rather than a generic interval.
If symptoms persist, do not assume the new parts are faulty or that the unit needs replacing again. Revisit the original diagnosis and inspect related components such as driveshafts, differentials, hubs and tires. If a shop performed the work or the unit carries a warranty, return the vehicle promptly with your notes so the problem can be traced while the repair is still covered.