Transfer Case Leaks: Finding the Source
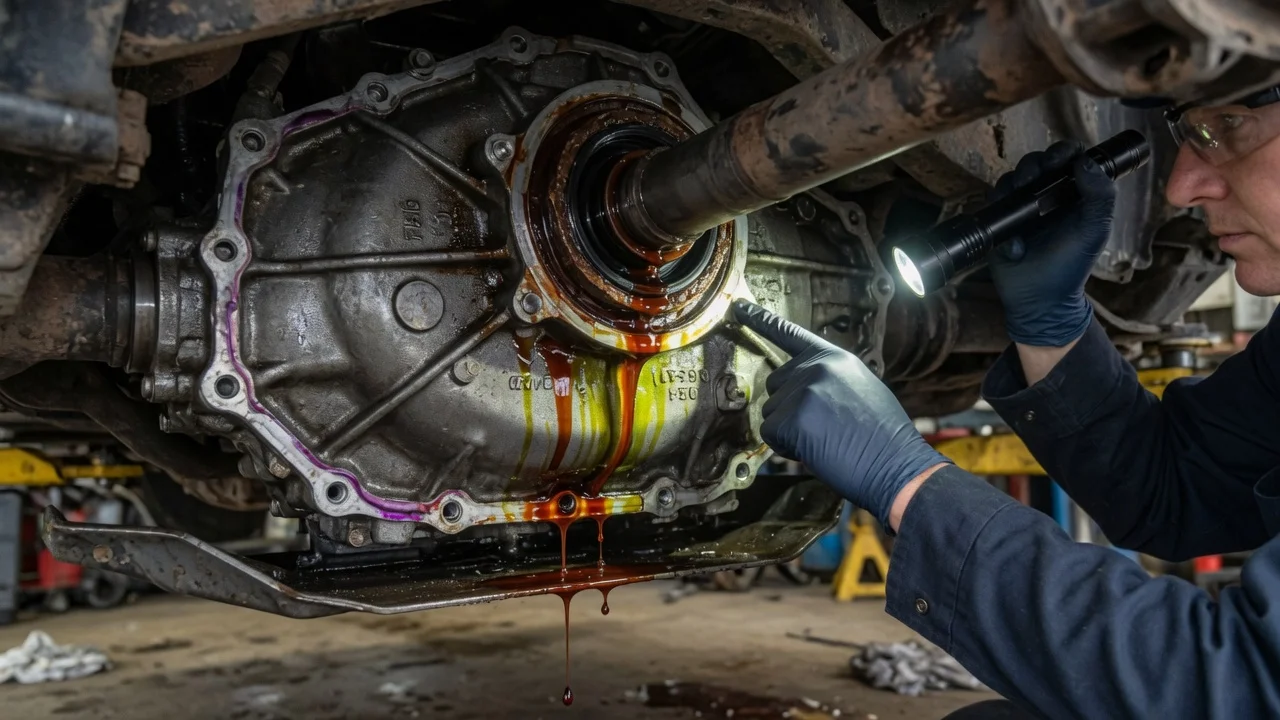
A leaky transfer case rarely shows where the fluid is actually escaping. Drips under the middle of a four-wheel-drive or all-wheel-drive vehicle can come from the transfer case itself, the transmission ahead of it, a differential, or engine oil carried rearward by airflow. This guide covers recording the symptoms, weighing the likely sources, checking in a sensible order and deciding how urgently the vehicle needs attention. It relies on your own vehicle configuration and manufacturer specifications rather than guesswork.
Establish the symptoms
Start by writing down what you have actually seen. Note where the drip lands relative to the wheels and the vehicle centerline. Note whether it appears after a drive, after sitting overnight, or only after highway runs, towing, off-road use or water crossings. Record the color, smell and feel of the fluid, and touch a clean white paper towel to the drip rather than judging from a stain on the driveway. Transfer cases use different fluids depending on design, so the fluid listed for your vehicle in the owner's manual or service information matters more than any general rule about color.
Then list associated signs and recent changes. Useful details include noises when shifting between drive modes, slow or failed four-wheel-drive engagement, a warning light, vibration, or a burning smell after driving. Also note any recent work, such as a fluid change, a transmission or driveshaft repair, a lift or suspension change, or flat towing behind another vehicle. A leak that started right after the case was serviced points somewhere different from one that grew slowly over years of normal operating conditions.
Distinguish plausible causes
If the leak is in the transfer case itself, the usual suspects are the front and rear output shaft seals, the drain and fill plugs or their washers, the joint where the case halves meet, and the seals around any shift motor, sensor or shift lever that passes through the housing. A worn output seal often leaves fluid on the yoke or flange and slings it onto the nearby driveshaft. Wetness concentrated along the case seam suggests the sealing joint. A single wet plug points to a loose plug or a damaged washer. Fluid pushed out of the vent can mean the case was overfilled or the vent is blocked. A cracked housing is possible after impact damage.
Several competing sources can make it look as though the transfer case is the problem. Engine oil, transmission fluid from the pan or rear seal area, and front or rear differential leaks can all run along crossmembers and drip from the lowest point, which is often the transfer case. If the case is wet only on its top or front face and the transmission above it is also wet, the fluid may be arriving from ahead. On some designs, an internal seal between the transmission and transfer case can wear and let fluid move from one unit into the other without any external drip. A transfer case level that rises while the transmission level falls is a clue worth reporting to a technician.
Checks in a useful order
Safe observations come first. Park on level ground with the engine off and the parking brake set, then look from the side with a flashlight. Do not crawl under a vehicle that is not properly supported. Photograph the wet areas, then clean the case and surrounding components with a degreaser suitable for drivetrain parts and drive normally. Recheck after a short drive and again after the vehicle sits overnight. Seeing where fresh fluid appears first is far more useful than inspecting an old, spread-out film of grime.
Tests that need tools, specifications or a qualified technician come next. Getting underneath requires the correct lifting points and jack stands or a lift. Checking the fluid level usually means removing the fill plug and following the procedure in the service information. The manufacturer sets the correct level, fluid type and plug torque for that specific transfer case, and also whether the vehicle must be level during the check. Fluorescent dye and a UV light can separate overlapping leaks. A technician can also check driveshaft and yoke play, inspect the vent, and compare fluid level history in the service records. If a plug will not come out cleanly, stop rather than forcing it.
Interpret the findings
Each result narrows the field without automatically naming a part. Fresh fluid first appearing at an output seal, with the case clean elsewhere, supports that seal but does not explain why it failed. Excessive yoke movement, a worn sealing surface or a blocked vent can ruin a new seal quickly. Wetness along the case seam supports the sealing joint, which typically involves more labor than a seal. A low level confirms fluid loss but not its route. A level above the fill point suggests overfilling or fluid entering from the transmission. If the fluid matches transmission fluid or engine oil rather than the specified transfer case fluid, attention shifts away from the case altogether.
Before deciding the transfer case is leaking and replacing parts, confirm the source with a clean-and-recheck cycle or dye. Verify the correct fluid and level from the manufacturer specifications for your exact vehicle configuration, and look at the condition of the fluid itself. Dark, burnt-smelling fluid or metallic particles on the drain plug can indicate internal wear that a seal replacement will not fix. If the case has been running low for a long time, treating the leak as the whole problem is a common way to pay twice.
Urgency and next action
Some signs mean you should stop driving and arrange an inspection or a tow. These include grinding, clunking or binding noises, difficulty shifting between drive ranges, a transfer case or four-wheel-drive warning, a burning smell, heavy dripping, or fluid landing on the exhaust. Running a transfer case low on fluid can damage its chain, gears and bearings. How quickly that happens depends on design, load and driving conditions, so no safe remaining distance can be promised. A light seep with a confirmed correct level is less urgent, but the level should still be rechecked rather than assumed.
When you book the repair, bring the information that saves diagnostic time. That includes the VIN or full vehicle configuration, including the drivetrain and transfer case type, and the service history showing recent fluid changes and repairs. Add your notes on when the leak appears and what the fluid looks like, plus the photos taken before and after cleaning. Mention towing, off-road use or water exposure, and any change in how four-wheel drive engages. Ask the shop to confirm the exact source and the fluid condition before quoting parts, and to follow the maintenance schedule and fluid specification for your vehicle when refilling.