Toyota Tundra Transmission Speed Sensor Replacement
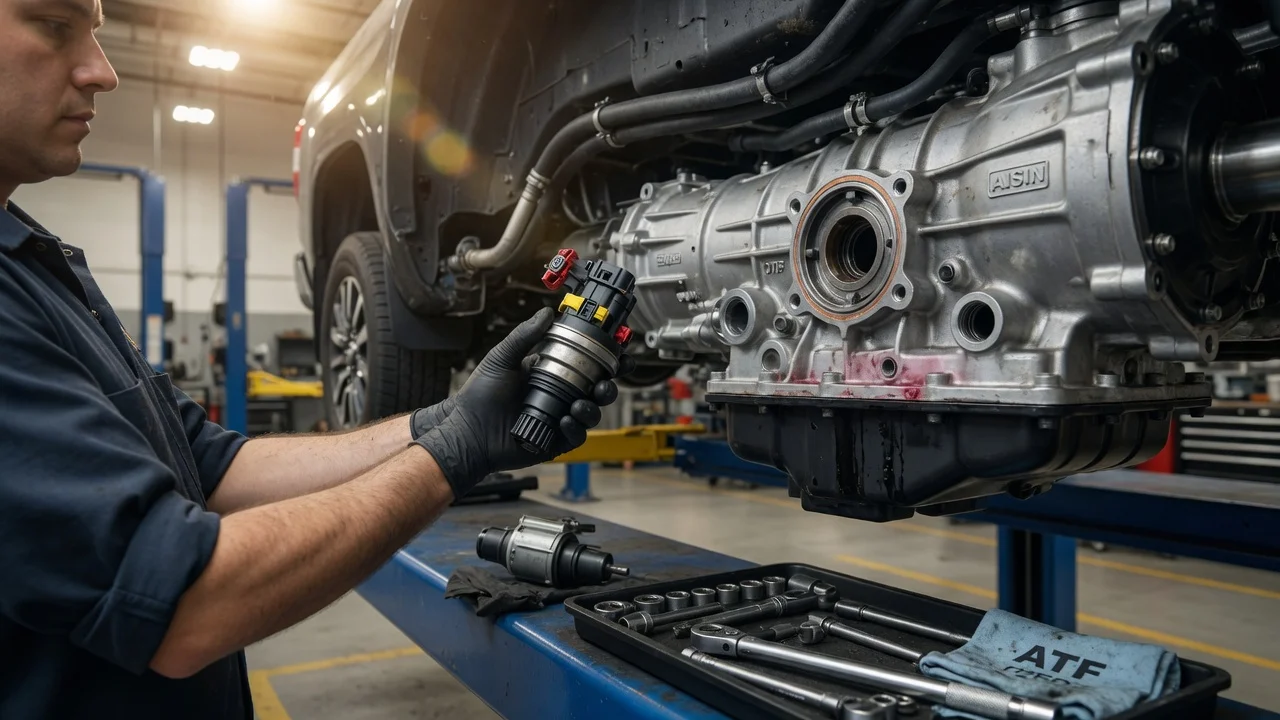
A transmission speed sensor on a Toyota Tundra reports how fast shafts inside the transmission are turning, and the control module uses that signal to time shifts and, on many trucks, to drive the speedometer. When the signal drops out, you may see a jumping speedometer, odd shift behavior or a warning light. Swapping the sensor is often a modest job. Do it only after the fault has been traced to the sensor itself rather than to its wiring, its connector or the transmission.
Confirm the part and repair scope
Start by identifying exactly what is in your truck. Depending on model year and engine, Tundras have used four-, five-, six- and ten-speed automatics, and early trucks were also offered with a manual gearbox. Most automatics carry more than one speed sensor. An input or turbine speed sensor reads the shaft coming from the torque converter, and an output speed sensor reads the shaft leaving the transmission. On some configurations, vehicle speed is also derived from ABS wheel speed sensors or from a sensor on the transfer case. Two-wheel-drive and four-wheel-drive versions can differ, so confirm fitment using the VIN rather than the model name alone.
Next, read the diagnostic codes with a scan tool. Codes such as P0715 point to the input speed sensor circuit, P0720 to the output speed sensor circuit and P0500 to the vehicle speed signal. A circuit code means the module saw a bad or missing signal. It does not prove the sensor is dead. A chafed harness, a corroded or loose connector, low fluid or an internal mechanical fault can set the same code. Watch live data if your tool supports it, inspect the wiring along its route, and check the measured resistance against the value in the factory service information. Also review the service history, because recent work near the transmission often explains a damaged connector or pinched wire.
Once the evidence points to the sensor, your repair options are simple. You can replace the sensor yourself, have a shop do it, or repair the wiring if that turns out to be the real fault. Choose an original-equipment or verified-equivalent part for your exact transmission. A sensor that physically fits but has the wrong signal characteristics can create new problems.
Prepare tools and safe access
Get the factory service information for your year, engine and transmission before starting. It shows the sensor location, any parts that must come off for access, the bolt torque and the fluid specification. Typical tools are a socket set with extensions, a scan tool, a digital multimeter, a drain pan, lint-free rags, a small plastic pick for connector tabs and a new O-ring or seal if the part does not include one. Have the transmission fluid that matches the fluid specification for your unit on hand. Do not substitute a generic fluid for the one Toyota specifies.
Work on level ground with the wheels chocked. Support the truck on properly rated jack stands, never on a jack alone. Let the exhaust and transmission cool, wear eye protection and keep fluid off your skin. Some speed sensors sit in plain view on the side of the case. Others are crowded by heat shields, crossmembers or the transfer case. If access requires removing major components, or if your truck needs a temperature-controlled fluid level procedure you have no means to perform, this is a reasonable job to hand to a transmission shop.
Remove without avoidable damage
Clean the area around the sensor first so dirt cannot fall into the transmission when the sensor comes out. Release the connector lock tab and separate the connector by its body, not the wires. Old plastic becomes brittle, and a broken tab or pulled terminal turns a sensor job into a wiring repair. Note how the harness is routed and which clips hold it, so it goes back exactly the same way.
Remove the retaining bolt and ease the sensor out with a gentle twisting motion to break the seal. Avoid prying against the aluminum case, which scratches and gouges easily. Expect a small amount of fluid to escape. Inspect the sensor tip as it comes out, because many speed sensors are magnetic and collect fine particles. A light film is normal, but heavy metal debris suggests internal wear that a new sensor will not cure. Cover the open bore while you prepare the replacement.
Install and restore the system
Compare the new sensor with the old one for body shape, tip length, mounting tab and connector before installing. Fit a new O-ring and lightly lubricate it with the specified transmission fluid. Push the sensor into the bore by hand in the same orientation as the original until it seats fully. Do not use the bolt to pull it into place. Tighten the bolt to the torque listed in the service information, since overtightening can strip aluminum threads or crack the sensor flange.
Reconnect the connector until the lock engages with a positive click. Re-secure the harness in its original clips, clear of the exhaust and any rotating driveshaft. Then correct the fluid level using the procedure for your transmission. Many later Tundras have no dipstick, and their level is checked at a fill or check plug with the fluid inside a specific temperature range read on a scan tool. A simple speed sensor replacement usually needs no calibration, but confirm in the service information whether your transmission calls for any reset. Do not reset adaptive values out of habit.
Check the completed work
With the truck still safely supported, start the engine and look for leaks at the sensor and at any plugs you disturbed. Clear the stored codes, lower the truck and road test it. If your scan tool shows live data, confirm that the input and output speed readings rise and fall smoothly without dropouts. The speedometer should track road speed, upshifts and downshifts should feel normal, and cruise control should hold speed if the truck has it.
If the same code returns with a new sensor installed, the fault is most likely elsewhere. Common causes are the harness, the connector terminals, the control module or a mechanical problem inside the transmission, and each needs proper circuit testing. Rough shifts that persist without a code can point to fluid condition, fluid level or internal wear rather than the sensor. Record the part, the date and the mileage in the truck's service history, so any future diagnosis starts from known facts.