Toyota Tundra Rear Axle Bearing Tools: How to Choose a Compatible Setup
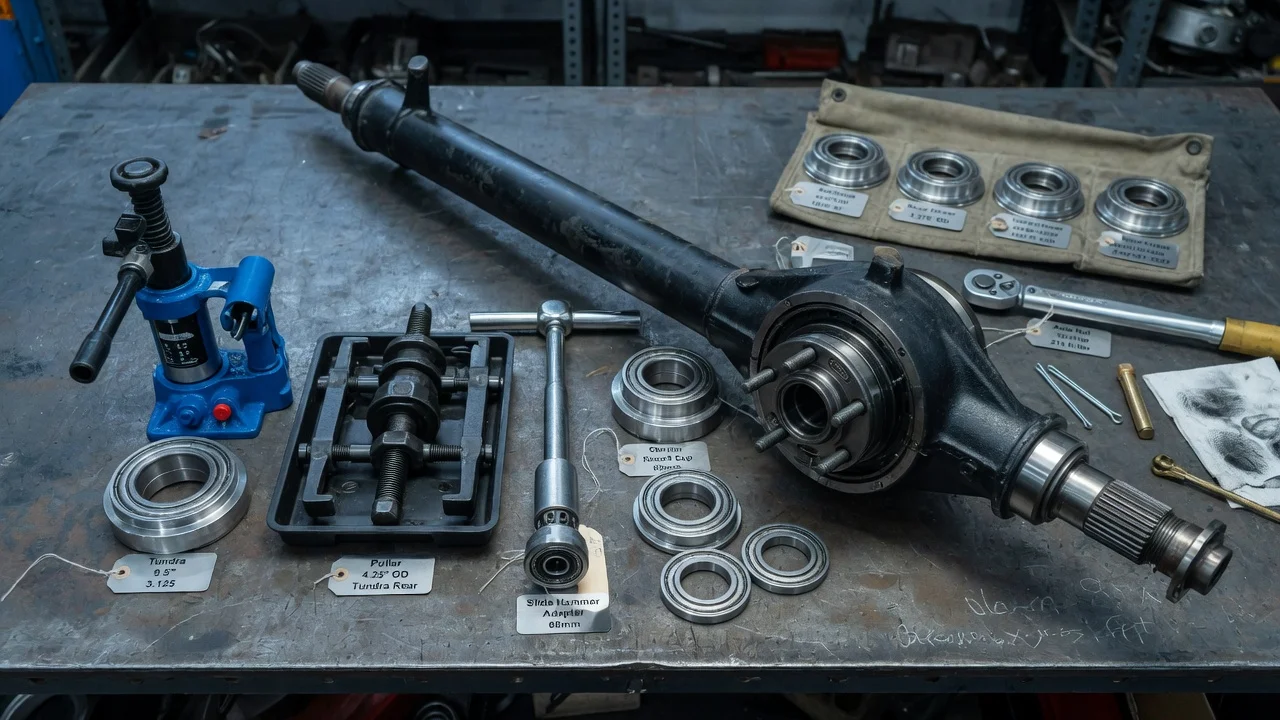
Replacing a rear wheel bearing on a Toyota Tundra is rarely a one-tool job. On many setups the bearing sits on the axle shaft and is held by a pressed retainer, so the shaft has to come out and the bearing has to be removed and installed under controlled force. This guide explains how to match pullers, separators, presses and installers to your specific truck, so you buy a setup that fits the work instead of a generic kit that only fits the listing.
Define the job the product must do
Start with the truck, not the tool. Write down the model year, cab and bed configuration, two- or four-wheel drive, and the rear axle fitted to your vehicle. The Tundra has been built across several generations, and the rear axle design, bearing, seals and ABS sensor arrangement are not guaranteed to carry over between them. Your service history matters too: if the bearings were replaced before, aftermarket parts or a previously damaged retainer may change what you find once the axle is apart. Operating conditions also shape the job. A truck that tows regularly or lives where roads are salted is more likely to have seized backing plate fasteners and corroded flanges, which raises the demands on removal tools.
Next, decide which stages you will actually perform. The work typically splits into pulling the axle shaft, removing the old bearing and retainer, installing the new bearing and retainer, and fitting the seal. Some owners remove the shaft at home and take it to a machine shop for pressing, which means they only need removal tools and a good seal driver. Others want to do everything in their own garage. Be honest about your workspace, bench strength, available air or hydraulic equipment and budget before choosing between a full kit and individual tools.
Check compatibility
Compatibility depends on physical interfaces, not on a product title that says it fits a Tundra. The slide hammer adapter must match the axle flange stud pattern and lug thread so it can be bolted on securely. A bearing separator needs a jaw range that closes behind the bearing and spans its outer diameter. Press sleeves and installers must match the shaft diameter and the inner race so force goes through the correct surface. Seal drivers must match the seal's outer diameter. These dimensions come from manufacturer specifications in the factory repair manual and from the replacement parts themselves, so confirm them before ordering tools.
The safest way to confirm fitment is to identify the correct bearing, retainer and seal part numbers for your exact vehicle configuration, ideally through a dealer parts lookup by VIN, and then compare tool dimensions against those parts. If a seller lists a kit for several Toyota trucks at once, check whether it includes separate adapters or sleeves for different axles, and which one applies to yours. When the old parts are out, measure them and compare before you start pressing anything new.
Features that affect the choice
For removal, the separator's knife edges matter more than its overall size. Thin, well-finished edges get behind the bearing without gouging the shaft, while a thick or rough plate can damage the seal surface you need to reuse. Check whether the maker publishes a load rating; words like heavy-duty or professional are marketing labels, not specifications. A slide hammer should have enough mass and a solid adapter connection to pull the shaft without bending studs, but it cannot free a shaft held by a fastener you forgot to remove.
If you plan to press at home, the press needs both adequate rated capacity and enough working height or a frame opening that allows a long axle shaft to hang through. A gauge helps you see how much force you are applying instead of guessing, which matters when parts resist. For installation, the most important feature is contact surface. The installer sleeve should load only the inner race and retainer; pressing through the outer race or rollers can damage a new bearing before it ever turns. Useful evidence when comparing products includes published dimensions, materials, load ratings and clear statements of which parts each adapter is intended for.
Limitations and ownership costs
Tools are only part of the bill. Plan for a new bearing, a new retainer, axle seals, any gaskets or O-rings specified for your axle, and the correct gear oil if the procedure lets lubricant escape. Treat pressed retainers as single-use unless the repair manual states otherwise. Removing an old retainer is often the slowest step and may require cutting or notching it carefully without touching the shaft, so budget time and abrasive supplies. If the ABS sensor or its wiring is brittle, it may also need replacement.
A tool set cannot diagnose the problem for you. A careful inspection is needed to separate bearing noise from tire, brake or differential noise before you commit to the job. Tools also cannot repair a scored shaft, a worn housing bore or a bent flange. There is no universal replacement interval for rear wheel bearings; follow your maintenance schedule for inspection items and replace based on condition. Pressing creates stored energy, so use eye protection and guards, and keep sleeves, adapters and separator edges clean and undamaged so they remain accurate for the next use.
Build a practical shortlist
Before comparing products, confirm your generation, axle and replacement part numbers, and decide which stages you will do yourself. Then check each candidate against the same points: does the slide hammer adapter match your flange and studs, does the separator jaw range fit the bearing, do press sleeves match the shaft and inner race, does the seal driver match the seal, and are load ratings published rather than implied. Note what is missing from each kit so you are not surprised halfway through the job.
Finally, compare total cost. Add the price of the tools you would still need to buy, the consumables and your time, then set that against paying a machine shop to press the bearings on a shaft you remove yourself. A complete kit can make sense if you maintain several Toyota trucks or expect to repeat the job, while an owner doing a single repair may be better served by quality removal tools and shop pressing. Keep receipts and check return terms in case an adapter does not match your truck once the axle is out.