Toyota Rear Axle Shaft Replacement: Confirm Fitment and Do the Job Right
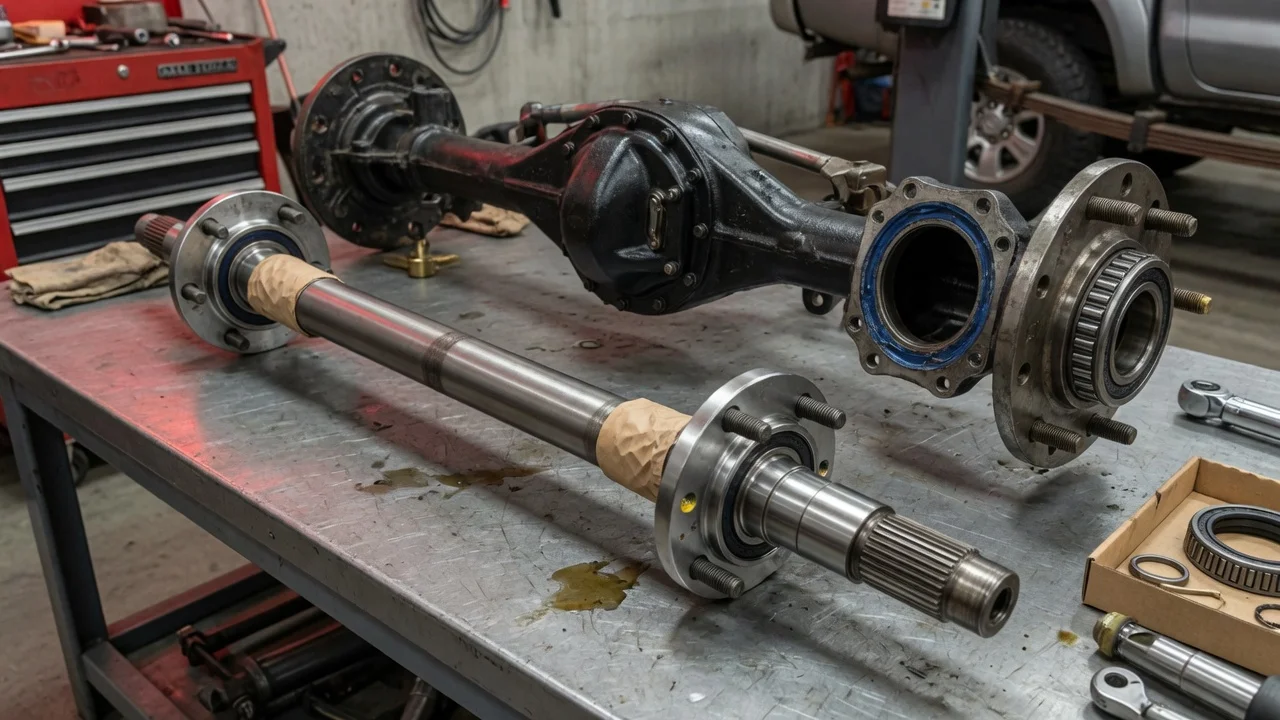
Replacing a Toyota rear axle shaft is a job where choosing the right part matters as much as the wrenching. Shafts differ by model, year, drive type, axle design and options such as a rear differential locker, and a new shaft only helps if the shaft itself is damaged. This guide explains how to match the replacement to your vehicle configuration, prepare for the work, remove and install the shaft, and confirm the repair before the vehicle goes back into service.
Confirm the part and repair scope
Start by confirming what kind of rear axle your Toyota actually has. Rear-wheel-drive and four-wheel-drive trucks and body-on-frame SUVs with a solid rear axle use axle shafts that slide into the housing and engage the differential side gears. Front-wheel-drive cars have no driven rear axle at all, and all-wheel-drive crossovers or models with independent rear suspension use CV half shafts, which are a different part with a different procedure. For a solid axle, the correct shaft depends on model year, drive type, axle design, whether a differential locker is fitted and how the ABS sensor is arranged. Left and right shafts can differ in length on some axles, so order by side. The most reliable way to match the part is to look it up by VIN rather than by model name alone. Also check whether the replacement comes as a bare shaft or as an assembly with the bearing, retainer and sometimes the backing plate already fitted, because that changes the tools you will need.
Next, make sure the shaft is really the failed component. A hum or grinding noise that follows one rear wheel usually points to the wheel bearing. Gear oil on the backing plate, brake drum or brake shoes points to a leaking axle seal. A clunk, vibration, visible wheel wobble or a wheel that no longer drives suggests a bent or broken shaft or worn splines. On many Toyota semi-floating axles the bearing and seal can be renewed on the original shaft, so a new shaft is justified when inspection shows bending, cracks, twisted or worn splines, or damage to the bearing or seal surfaces. Review the service history and operating conditions as well: previous bearing work, heavy towing, overloading and off-road use all help explain the failure. If a leaking seal has soaked the brakes, plan to replace the contaminated shoes or pads at the same time.
Prepare tools and safe access
Get the factory repair information for your exact vehicle before you start. It gives the fastener torque values, the differential oil type and fill procedure, the bearing retainer procedure and any steps unique to your axle. Do not substitute generic numbers from another model. Typical tools include a floor jack, jack stands rated for the vehicle, wheel chocks, sockets and extensions, a torque wrench, a drain pan, brake cleaner and often a slide hammer with an axle adapter. Have the new seals, gaskets or O-rings called for by the manual on hand, along with the specified gear oil and, if the brake line will be opened, the specified brake fluid.
Some parts of this job are not suitable for inexperienced owners. On semi-floating shafts the bearing and retainer ring are pressed on, which requires a hydraulic press and the correct adapters; a retainer that is damaged or not fully seated can allow the shaft to work out of the housing, taking the wheel with it. If you do not have a press, buy a shaft with the bearing already installed or have a machine shop do the pressing. Axles that hold the shaft with a C-clip require opening the differential, which adds another layer of work. Work on level ground and chock the front wheels, because once a shaft is out the transmission in Park may no longer hold the vehicle.
Remove without avoidable damage
Loosen the lug nuts, raise the rear of the vehicle, support it on jack stands and remove the wheel. Remove the brake drum, or the caliper and rotor on disc-brake models, and hang the caliper with wire so it does not dangle from the brake hose. Disconnect the parking brake components as the manual describes and unplug or remove the ABS wheel speed sensor so it is not damaged when the shaft comes out. On some designs the backing plate and brake assembly come out with the shaft, which means disconnecting the brake line at the wheel cylinder; if so, cap the line and plan to bleed the brakes afterward.
Remove the nuts that hold the bearing retainer or backing plate to the axle housing, usually reached through an access hole in the axle flange. Pull the shaft straight out and support its weight so the splines do not drag across the inner oil seal or strike the sensor rotor. If the bearing is tight in the housing bore, use a slide hammer rather than prying against the backing plate. Expect some gear oil to run out. Note the position of any gasket, O-ring or shims so they go back in the same place. On C-clip axles the differential must be drained and opened, the cross shaft removed and the shaft pushed inward to release the clip before it will come out. With the shaft removed, inspect the splines, the inner seal and the housing bore.
Install and restore the system
Before installing, clean the housing flange and replace the inner axle seal if your design has one in the housing. If you are moving the bearing to a new shaft, press it on with a new retainer exactly as the manual specifies; never reuse a retainer ring. Confirm the ABS sensor rotor is present and undamaged on the new shaft and that you have the correct side. Fit the new gasket or O-ring in the position you noted during removal.
Slide the shaft in level, keeping it centered so the splines clear the inner seal, and rotate it slightly until the splines engage the side gear. It should seat without force. Install the retaining nuts and tighten them to the manufacturer specifications. Reinstall the parking brake parts and adjust them as directed. Refit the brakes, reconnect the brake line if it was opened and bleed the system. Reinstall the ABS sensor, keeping its mounting clean and routing the harness through its original clips. Refill the differential to the specified level with the specified oil, including any additive required for a limited-slip differential, then mount the wheel and torque the lug nuts to specification.
Check the completed work
Before lowering the vehicle, spin the wheel by hand. It should turn smoothly without grinding, binding or visible wobble, and there should be no noticeable in-and-out movement of the shaft. Confirm the brake pedal is firm, the parking brake holds, the differential is filled to the correct level and nothing is leaking at the backing plate or fill plug. After lowering, check whether the ABS or stability control warning lights stay off once the vehicle is moving.
Road test at low speed in a safe area, listening for noise and feeling for vibration or pulling. Afterward, check the inside of the wheel and the backing plate for oil, recheck the differential level and recheck lug nut torque as the manual directs. Some signs call for further diagnosis rather than more driving. A persistent hum may come from the differential or the opposite bearing. A clunk can point to the differential or driveline. An ABS warning suggests a damaged sensor or rotor, and fresh oil means the seal is not sealing or the housing bore is damaged. Any sign that the shaft is moving outward means the vehicle should not be driven until the retainer is corrected. Finally, record the repair in the service history and follow the maintenance schedule for future differential oil changes.