Toyota Parking Brake Actuator: Identifying the Correct EPB Part
On many recent Toyota vehicles, the parking brake is applied by an electric motor rather than a lever and cable. When that system shows a warning or refuses to release, owners often look for a replacement actuator and find several similar-looking units listed for the same model. This guide explains how the electric parking brake (EPB) actuator works, what determines the correct part, and when the job should go to a professional.
Which Toyota Parking Brake Actuator Do You Need?
The correct actuator is the one that matches your specific vehicle by VIN, not just by model name and year. Toyota EPB motors are typically side-specific, so a left rear unit and a right rear unit carry different part numbers even though they look nearly identical. Production changes within a model year, trim or drivetrain differences, and hybrid versus gasoline versions can also change the listing. The most reliable identification comes from a VIN-based parts catalog lookup or the part number printed on the label of the original actuator, confirmed against the connector shape and mounting pattern. Equally important, confirm that the actuator is actually the failed component. A parking brake warning can stem from a switch, wiring, a blown fuse, a weak battery, a seized caliper or a software fault, and replacing a good motor will not clear any of those.
How the Electric Parking Brake Actuator Works
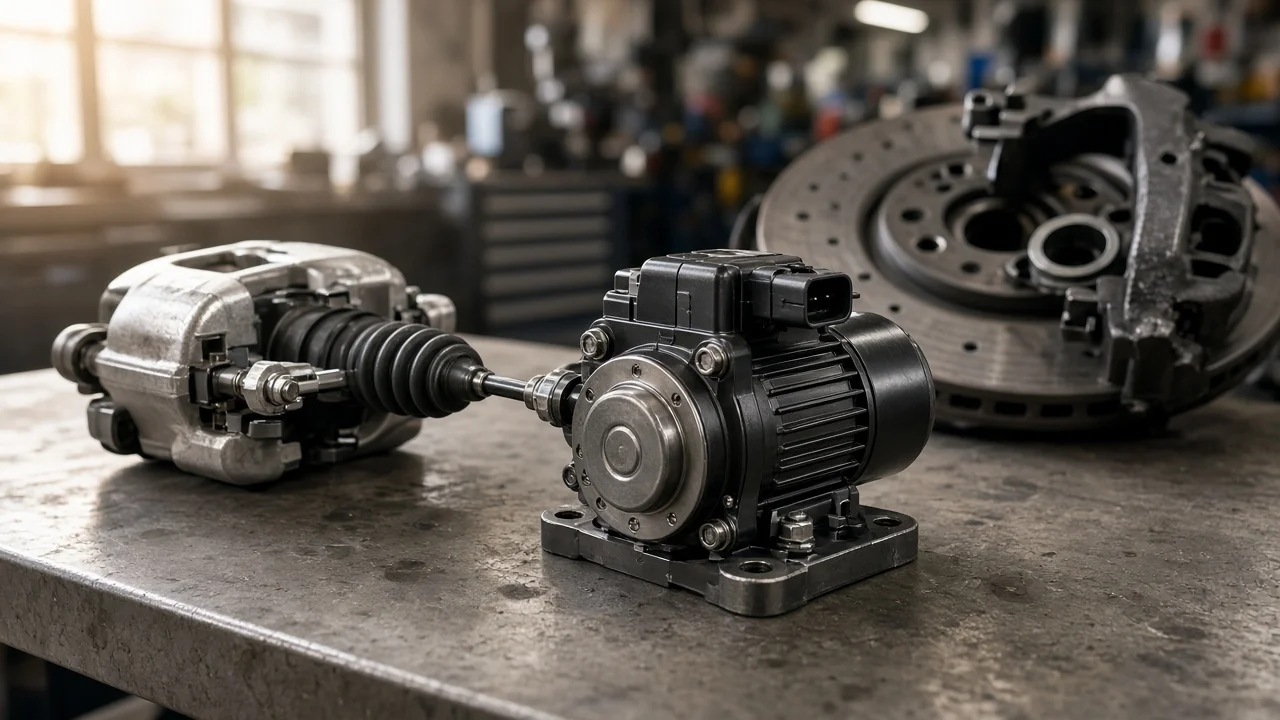
On most EPB systems of this type, the actuator is a motor and gear unit bolted to the back of each rear brake caliper. When you pull or press the parking brake switch, a control module commands the motors to run. The gear train turns a spindle inside the caliper piston, which pushes the piston outward and clamps the brake pads against the brake rotors. The spindle holds that clamping force mechanically after the motor stops, so the vehicle stays held without continuous power. Releasing the brake reverses the motor and backs the spindle off.
The control module monitors motor current and position to decide when the brake is fully applied or released. That is why a weak battery, a corroded connector or a binding piston can trigger a fault even when the motor itself is healthy. Some vehicles use a different layout, such as a single central motor that pulls conventional cables to the rear brakes, so confirm which design your vehicle has before assuming a caliper-mounted unit is the part you need.
What Changes the Correct Part Number
Several details decide which actuator fits. Side is the most common source of ordering mistakes, since left and right motors differ in how they mount and drive the spindle. Model generation matters next: a redesign usually brings a new caliper and actuator, and a mid-cycle update can change connectors or internal design even when the outside looks the same. Drivetrain, brake package and hybrid configuration may also affect vehicle fitment, because rear caliper size and the matching friction material can differ between versions of the same model.
Another variable is how the part is supplied. Depending on the vehicle, the actuator may be sold as a separate motor unit or only as part of a complete rear caliper assembly. Aftermarket listings sometimes group several part numbers together or describe fitment loosely by model and year range. Treat a listing that does not reference your original part number or a VIN check with caution, and compare connector pin count, mounting bolt positions and label details before installation.
Practical Steps Before Ordering or Installing
Start by recording exactly what the vehicle reports: the warning lights, any message on the instrument cluster, whether the brake applies, releases or does neither, and whether the problem affects one side or both. If you have a scan tool that reads chassis and brake modules, retrieve stored codes, since many EPB codes point to a specific side or circuit. Check battery condition and charging voltage first, because low voltage is a frequent cause of EPB faults. Then inspect the actuator connector and wiring at each rear caliper for corrosion, damage or a loose fit.
If replacement is warranted, read the part number on the original actuator label, run your VIN through a dealer or VIN-capable catalog, and confirm the side. While the rear wheels are off, measure pad and rotor thickness against the wear limits in your service information, and check the caliper for leaks or a sticking piston. Do not force the piston back with a standard compression tool on an EPB caliper; most systems require a scan tool maintenance or service mode to retract the mechanism first. After installation, the system usually needs an initialization or calibration procedure. Check the brake fluid level after any caliper work, and confirm the parking brake applies and releases on both sides before driving.
Limitations and When to Get Professional Help
General descriptions cannot replace the procedure for your exact vehicle. Torque specifications, retraction and calibration steps, wear limits and test procedures vary by model and year, and they come from the factory service information for that VIN. Without the correct scan tool function, an otherwise correct actuator may not work, may leave a warning on, or may not hold the vehicle properly on a grade.
Stop using the vehicle and have it inspected if the parking brake will not release, drags while driving or applies unexpectedly, or if brake warnings appear together with a change in pedal feel, pulling or noise. Any fault affecting the service brakes, caliper or hydraulic system is a safety matter. A shop with dealer-level diagnostic capability can confirm whether the actuator, caliper, wiring or control module is at fault, which avoids buying the wrong part and ensures the system is set up correctly after repair.