How to Put a Toyota Electronic Parking Brake in Service Mode
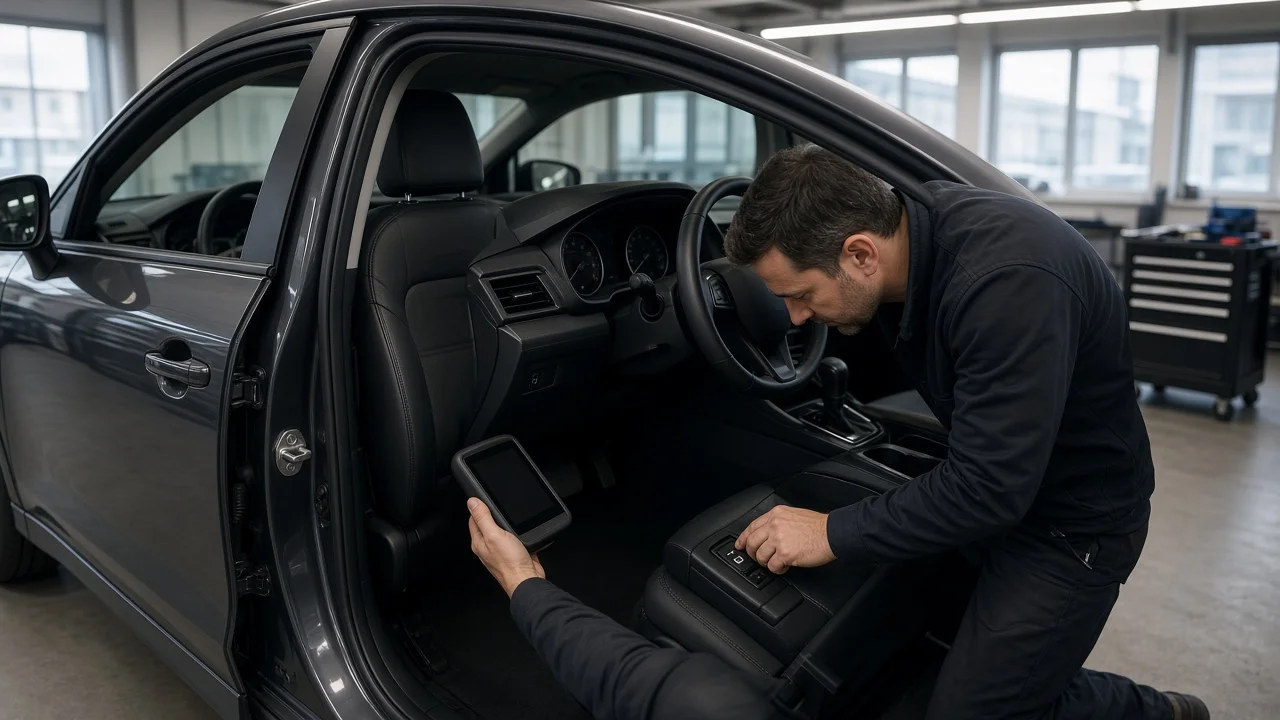
Replacing rear brake pads on a Toyota with an electronic parking brake is not quite the same job as on an older car with a lever or pedal. The rear caliper pistons are held by an electric actuator, so they have to be retracted electronically before new pads will fit. That is what service mode, called maintenance mode in Toyota service information, is for. Here is how it is entered, why it matters and where the procedure varies.
The Short Answer
On most current Toyota models with an electronic parking brake, maintenance mode is activated with a diagnostic scan tool that supports Toyota's parking brake utility functions, such as the dealer diagnostic software or a capable aftermarket tool. With the vehicle stationary, the transmission in Park, the wheels chocked and the ignition on, you select the electric parking brake system, run the maintenance or rear pad replacement function and confirm. The actuator motors then retract the rear caliper pistons, and the system stays locked out until you cancel the mode.
Some models also list a manual sequence that uses the parking brake switch, the brake pedal and the ignition. Where such a sequence exists, the steps and timing differ by model and year, so use the one published in the repair manual for your exact vehicle rather than one borrowed from another car. Whichever method you use, cancel maintenance mode the same way once the new pads are in. The vehicle should never be driven while the system is still in that mode.
How the System Works
Toyota's electronic parking brake typically uses a motor-on-caliper design. A small electric motor and gear unit bolted to each rear caliper turns a threaded spindle inside the piston. When you pull the switch, the spindle drives a nut forward that pushes the piston and clamps the brake pads against the brake rotors. Releasing the switch backs the nut off just enough to free the rotor. The control module tracks this position so it knows how far to drive the actuator next time.
Because that nut sits behind the piston, you cannot simply press the piston back with a clamp the way you would on a conventional caliper. New pads have full-thickness friction material and need the piston almost fully retracted. Forcing it against the spindle can strip the internal threads, damage the gear unit or burn out the motor. Maintenance mode commands both motors to wind the spindle fully back, leaving room to push the piston in. Normal braking is unaffected by any of this. The same piston is still applied by brake fluid pressure every time you press the pedal; the electric actuator only provides the mechanical hold for parking.
What Changes the Procedure
Model and year matter most. Toyota has introduced electronic parking brakes across sedans, crossovers, hybrids and SUVs over several generations, and the menu names, entry conditions and any switch-based method can differ between them. Some larger vehicles use a drum-type parking brake inside the rear rotor hat, operated by cables from a central actuator. On those, rear pad work does not involve retracting a spindle in the caliper, and the parking brake procedure focuses on the cable actuator and shoe adjustment instead.
Operating conditions also affect whether the mode will engage. Low battery voltage can stop the motors partway or prevent the function from running, which is why a battery maintainer is commonly recommended during the job. On hybrids, the required power state may be ignition on rather than ready mode, so check the service information. A stored fault in the parking brake system can block maintenance mode until it is diagnosed. Not every generic scan tool supports the function, even if it reads codes. Front pad replacement is different again: on these Toyotas the actuators are on the rear calipers, so front brake work generally does not require the parking brake to be in service mode.
What You Can Do Yourself
Before starting, confirm the parts and procedure for your vehicle. Check pad and rotor vehicle fitment by VIN or exact model, year and trim, and look up the wear limits: the minimum pad thickness and the minimum rotor thickness, which is usually stamped on the rotor. Park on level ground, chock the front wheels, connect a battery maintainer if you have one and only then enter maintenance mode. Listen for both rear motors running, and confirm on the tool or dashboard that the mode is active before lifting the vehicle.
With the caliper off, push the piston straight back with a suitable compressor unless your service information specifies a different method. As the piston retracts, brake fluid returns to the reservoir, so watch the level and remove some if it approaches the maximum mark. Inspect the caliper slides, boots and piston seal for leaks, binding or damage while you are there, and replace hardware that came with the pads.
After reassembly, pump the brake pedal until it is firm so the pistons bring the pads to the rotors, then exit maintenance mode. Apply and release the parking brake a few times, confirm the warning indicators clear and check that the wheels turn freely when released. A short, slow test drive in a safe area should confirm normal pedal feel and no dragging or pulling.
Limitations and When to Get Help
There is no single universal switch sequence for every Toyota, and guessing at one can leave the system confused or a caliper partly applied. If you do not have a scan tool that supports the function and your repair manual does not list a manual method, a brake shop or dealer can enter and exit maintenance mode quickly. The same applies if the mode will not engage, a warning light stays on after you exit, only one actuator moves, or the motor makes grinding or clicking noises.
Treat certain symptoms as a reason to stop using the vehicle until it has been inspected: a parking brake that will not release, a rear wheel that drags or gets hot, a soft or sinking pedal, fluid leaking at a caliper, or a pull to one side when braking. These can point to a damaged actuator, a seized piston or a hydraulic problem that pad replacement alone will not fix.