Toyota Corolla Cabin Air Filter: Location and Replacement (2010–2016)
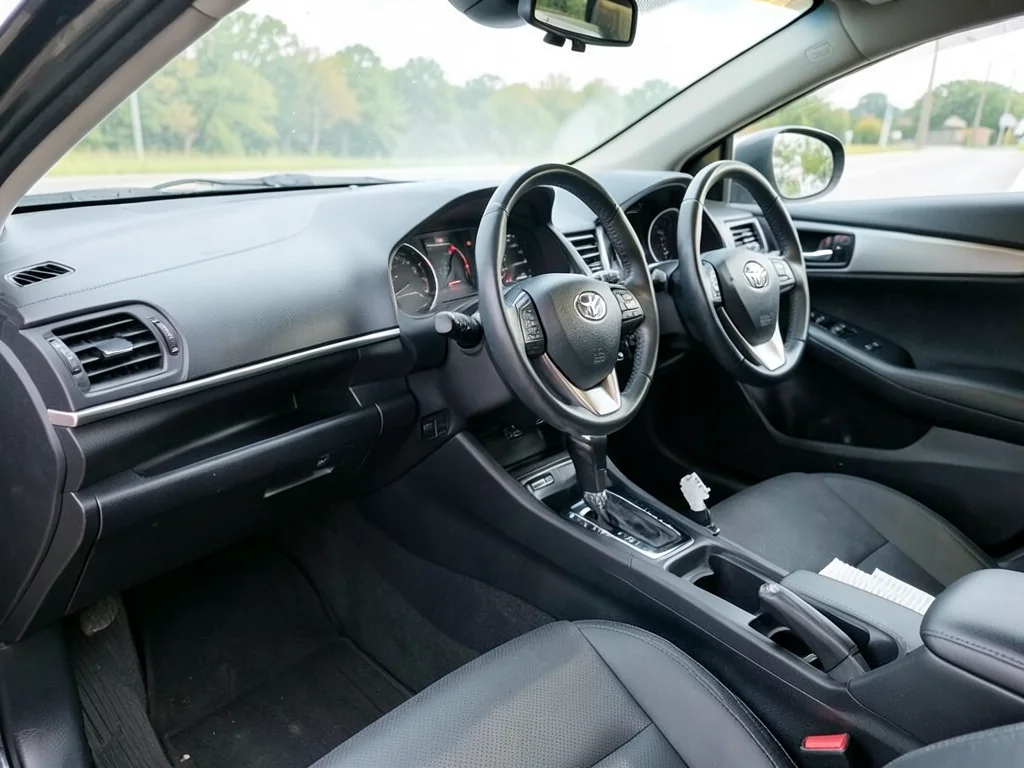
The cabin air filter in a Toyota Corolla cleans the outside air that feeds the heater, air conditioning, and vents before it reaches the passenger compartment. This guide explains where to look for the filter on 2010–2016 Corolla models, how to approach a cabin air filter replacement without damaging trim, and how to decide when a change is due, while confirming details for your exact year and market.
What the Corolla Cabin Air Filter Does
Outside air drawn in by the blower passes through a pleated filter that traps dust, pollen, leaf fragments, and road grit before they reach the evaporator, heater core, and vents. The folded media gives the filter a large surface area in a small housing, so it can collect a surprising amount of debris before airflow suffers. On many Corollas, the filter housing sits behind the passenger-side glove box, but treat that as a starting point to verify against documentation for your vehicle's year and market rather than an assumption.
Weaker airflow from the vents at a given fan setting, or leaves and dirt visible when the housing is opened, are good reasons to inspect the filter. Neither symptom proves a specific fault, because blower, duct, and control issues can produce similar complaints. This guide focuses on cabin filter maintenance for 2010–2016 Corollas, a span that includes more than one body generation, so any cabin air filter for a Toyota Corolla should be matched to the exact model year before purchase or installation.
Locate and Access the Filter in a 2010 Corolla
Before looking for the cabin air filter in a 2010 Toyota Corolla, check the owner's manual or a service reference written for that year and market, since glove box design and housing placement can differ between regions and trim levels. Preparation is simple but matters: park on level ground with the parking brake set, switch off the ignition so the ventilation fan cannot run, and empty the glove box completely so nothing spills or gets in the way while the compartment is lowered.
Support the glove box with one hand as you release only the stops, tabs, or damper the applicable instructions identify, letting the door swing down gently rather than drop. The glove box damper is a small arm or strut that slows the door; unhook it only if the procedure calls for it. Behind the opening, the housing cover is typically a flat plastic panel held by clips or tabs. If reaching it requires forcing plastic, bending the dash, or moving wiring, stop and recheck the procedure.
Confirm Filter Fit and Access for 2014–2016 Corollas
For a 2014, 2015, or 2016 Toyota Corolla cabin air filter, start with the exact model year, market, and ideally a VIN lookup through a parts counter or a reliable application listing. The Corolla was redesigned within this range, so a part that fit a 2010 car should not be assumed to fit a later one. Likewise, confirm the glove box retainers, damper arrangement, and housing cover layout in documentation for your specific vehicle before relying on any general description of access.
A listing that covers several Corolla years does not by itself establish compatibility for every vehicle between 2010 and 2016, because body style, market, and production changes can affect filter dimensions. When test-fitting, the new filter should slide into the housing without crushed or folded pleats, sit flat against its seating surfaces with no gaps around the frame, and allow the housing cover to latch fully. A filter that must be bent or forced into place is likely the wrong part.
Replace the Filter and Confirm Its Orientation
To replace the cabin air filter in a Toyota Corolla, release the confirmed housing cover and slide the old filter out slowly and level, keeping its dirty face oriented so loose debris stays on the media instead of falling into the ventilation system. Before installing the new one, read its markings. An UP arrow shows which edge faces upward when installed, while an AIR FLOW arrow must point in the direction air actually moves through the housing, which should be verified for your vehicle rather than guessed.
With the old filter out, pick up leaves or loose dirt you can reach by hand or with a vacuum nozzle at the housing opening, but do not push debris deeper toward the blower, spray cleaner or water into the housing, or reach toward moving components. Slide the new filter in with its markings correctly aligned, check that it seats evenly, and snap the housing cover closed. Then reconnect the glove box damper and stops according to the same access procedure you used to remove them.
Use the Maintenance Guide to Decide When to Replace It
The maintenance guide for your Corolla's year and market is the proper source for inspection and replacement timing, and it may list different schedules for normal and severe operating conditions. Because this article spans 2010–2016 models sold in different markets, it does not assign one mileage or time interval to the whole range. Frequent driving on dusty or gravel roads, heavy pollen seasons, construction zones, or smoky areas can load a filter faster, which justifies checking its condition sooner than the printed schedule suggests.
Each time you inspect the filter or perform a Toyota Corolla cabin air filter change, note the date and odometer reading so the next check reflects your own driving pattern. Replace a filter that is heavily loaded with debris, torn, collapsed, or wet. Moisture deserves attention beyond the swap itself, since a damp filter can point to a water entry path or drainage problem that a fresh filter will not correct and that may return later as musty odors from the vents.
Check Airflow and Know When Further Diagnosis Is Needed
After the housing and glove box are fully reassembled, open and close the glove box a few times to confirm it moves smoothly, the damper controls its travel, and the stops hold it in place. Then turn on the ignition and run the ventilation fan through its speeds while feeling airflow at the vents. If you hear new rattles, whistling, or fluttering, switch the fan off and recheck that the filter sits flat and the housing cover is fully latched.
Persistent weak airflow or odors after a new filter is installed can stem from other causes, including blower motor issues, blocked intake areas, blend or mode door problems, or evaporator contamination, and filter appearance alone cannot diagnose them. Professional inspection is the sensible next step when moisture keeps returning, blower noise continues, damaged retainers prevent secure glove box or cover assembly, or ventilation problems remain unresolved. A technician can evaluate the system using the vehicle-specific information needed for an accurate diagnosis.