Toyota 22R/22RE Timing Chain Replacement
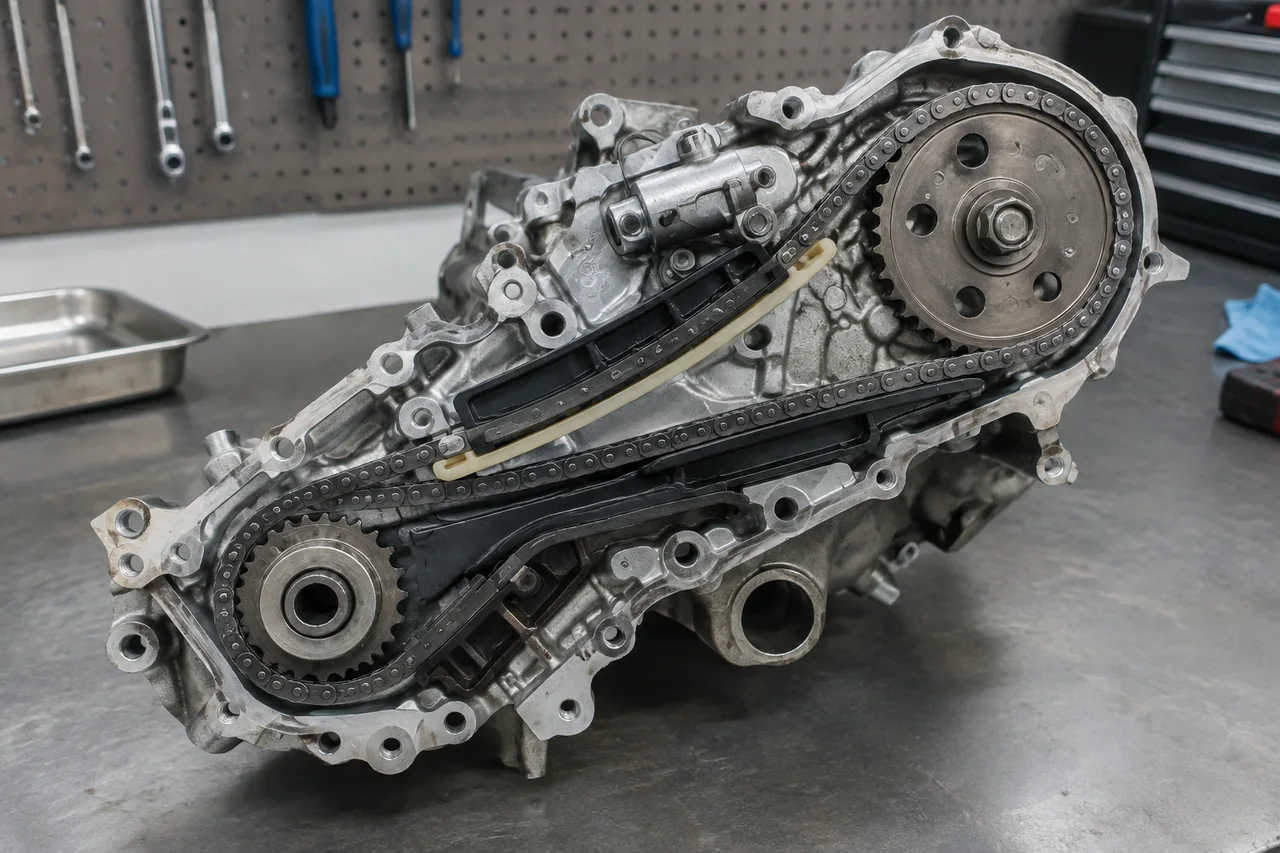
A worn timing chain system on a Toyota 22R or 22RE can produce alarming noises and, left unaddressed, lead to timing cover damage or coolant contamination. Choosing the correct timing chain kit and understanding the replacement scope begins with engine identification and symptom interpretation. The following sections explain guide wear, safe inspection steps, kit selection, repair scope, and post-repair verification for the 22R and 22RE.
Identify the Engine and Its Existing Timing Chain Setup
The timing chain links the crankshaft sprocket to the camshaft sprocket so that valve events remain synchronized with piston movement. On the 22R and 22RE, this chain is tensioned by a hydraulic or spring-loaded chain tensioner and guided by plastic-faced timing chain guides. When these parts wear, the chain can move excessively, creating noise and eventually contacting the timing cover or other components.
The 22R and 22RE designations cover many model years and configurations, and engines may have been swapped or modified. The exact chain length, guide shape, tensioner type, and timing cover depth can vary even within the same engine family. Before ordering a timing chain kit, confirm the block casting, model year, and any service history that may indicate a non-original timing setup.
Recognize Guide Wear and Symptoms That Need Inspection
Damaged timing chain guides lose their plastic wear surface, allowing the chain to slap against metal. Inadequate chain tension from a weak tensioner has a similar effect. This excess movement can create a startup rattle as oil pressure builds, or a persistent metallic noise near the timing cover. Because other engine sounds can mimic these symptoms, sound alone does not identify which component has failed.
If chain contact continues, the steel timing chain can erode the aluminum timing cover, possibly creating a hole between the coolant passage and the crankcase. That leads to coolant contamination and oil that looks milky. Not every worn guide reaches this stage, and mileage alone is a poor predictor of remaining guide life; some engines run well past 100,000 miles while others fail earlier.
Make Safe Observations Before Scheduling Diagnosis
Before scheduling diagnosis, record when the noise occurs, how long it lasts, and whether it changes with engine temperature or oil pressure. Do not deliberately rev the engine or load it to reproduce severe symptoms. With the engine off and cool, check the oil and coolant levels and look for abnormal appearance such as milky oil or oil floating in the coolant, which indicates internal leakage.
Severe mechanical noise, an oil-pressure warning light, overheating, or visible coolant-oil mixing means the engine should be shut off and professionally evaluated. A thorough inspection may be needed to establish guide condition, tensioner function, chain contact marks, and timing cover integrity. Accessible fluid checks are only a starting point; internal damage is not always visible from the outside.
Select a Timing Chain Kit With Verified Fitment
A timing chain kit must match the actual installed engine configuration, not just the vehicle model. Because of engine swaps and production changes, compare the kit's application listing to the block casting number and timing cover style. Supplier documentation or professional confirmation can verify that the chain pitch, guide mounting points, and tensioner body match the engine in the vehicle.
Itemized kit contents typically include the chain, guides, tensioner, and sprockets, but seals and gaskets for the timing cover and front crank are often separate. A material label such as 'heavy duty' does not guarantee fitment. Also, a kit cannot fix a timing cover that has already been worn through; if cover damage or other worn parts are found during replacement, additional repair parts will be needed.
Define the 22RE Timing Chain Replacement Scope
Professional replacement involves removing the front dress and timing cover, inspecting the chain assembly and cover, replacing the approved components, restoring sealing, and verifying operation. Accurate valve timing is critical: the camshaft and crankshaft must be aligned per the service manual before the chain is installed. Incorrect timing can cause poor running or internal contact.
Fastener torque procedures, sealing surfaces, and contamination control all require the correct service information. If guide fragments have broken off, they must be located and removed. During inspection, technician may find cover damage, pitted sealing surfaces, coolant in the oil, or evidence of deeper engine damage. Each finding can expand the estimate and must be discussed before work continues.
Plan a 22R Repair and Confirm the Finished Work
For a 22R repair, confirm the installed timing chain configuration and obtain service procedures specific to the engine and model year. Before approving the repair, ask for a written scope that identifies the parts being replaced, any additional damage found, and how the timing cover will be sealed. This prevents misunderstandings if the job grows beyond a basic chain and guide replacement.
A proper completion check includes verifying cam timing, oil pressure, coolant condition, and the absence of leaks or abnormal noise. If startup rattle or timing-cover noise returns after replacement, have the engine rechecked promptly. Retain the parts list and repair findings for future maintenance, as they document exactly which timing chain kit and associated components were installed.