Toyota 1HZ Glow Plug Relay Selection: Fit, Features and Checks
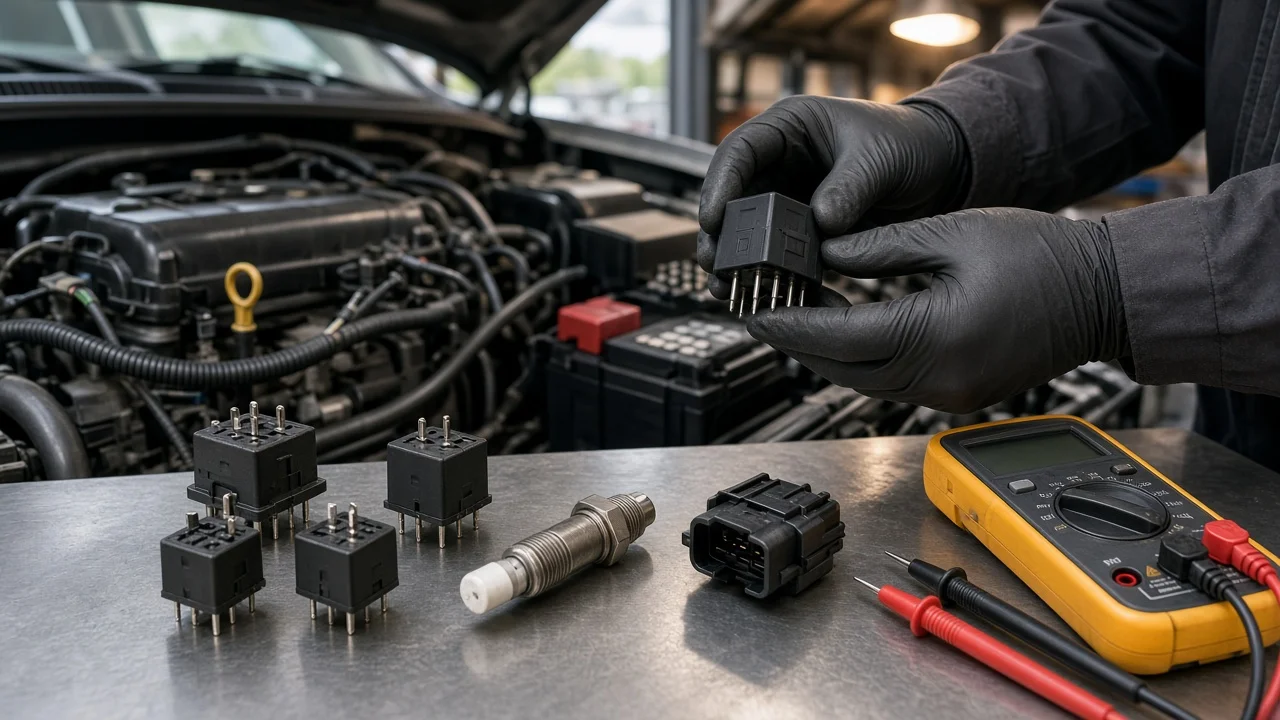
A worn glow plug relay on a Toyota 1HZ usually shows up as long cranking, a rough first few seconds and white smoke on cold mornings. Choosing a replacement looks simple, but the relay must match the vehicle's system voltage, its control circuit and the heavy current that six glow plugs draw together. This guide explains how to confirm the relay is really at fault, what to check for fitment, and how to compare options without relying on marketing labels.
Define the job the product must do
The 1HZ is a naturally aspirated 4.2-liter inline six with indirect injection. Depending on the market, it was fitted to Land Cruiser 70, 80 and 100 series models and to the Coaster bus. Combustion begins in a prechamber, so this engine depends heavily on glow plugs when it is cold. The relay is a high-current switch. A timer or controller energizes its coil, and its contacts send battery voltage to the glow plug bus bar. When the contacts become pitted or burned, the plugs receive reduced voltage or none at all, and cold starts suffer.
Before you buy a part, confirm the relay is the cause. Hard starting on a diesel can also come from air leaking into the fuel system, a restricted fuel filter, weak feed from the injection pump, worn injector nozzles or a battery that cannot hold cranking voltage. Two checks separate electrical faults from fuel faults. First, do a visual leak check of the fuel lines, the filter housing and the priming pump. Second, measure the voltage at the bus bar while the glow system is energized. The supply side runs at low pressure, but the injection lines carry very high pressure. Never loosen injection fittings with the engine running, and never try to feel for spray by hand. Fuel additives may help with water or waxing in some conditions, but they will not repair a failed relay or worn components.
Also think about how the vehicle is used. A cold-climate daily driver needs a reliable automatic preheat. A remote touring or work vehicle may justify carrying a spare relay and a simple way to bypass a failed control circuit.
Check compatibility
Start with system voltage. Depending on market and model, 1HZ vehicles were built with either a 12-volt or a 24-volt electrical system, and a 24-volt vehicle runs two batteries in series. The relay's coil voltage and contact rating must match the system. A 12-volt relay on a 24-volt vehicle can overheat or fail quickly, and a 24-volt relay on a 12-volt vehicle may not pull in reliably. The most dependable reference is the part number printed on the original relay, or the factory parts listing for your frame number.
Next, check the physical and circuit interfaces: terminal layout, connector shape, mounting bracket and the fusible link that protects the feed. Glow circuit designs varied across years and markets. Some use a single relay controlled by a timer. Others combine two relays with a dropping resistor so the plugs keep running at reduced voltage after the engine starts. A replacement that fits one design may not suit another, so trace your wiring or compare it with the original before ordering. Contact capacity also matters. Six plugs together draw a large current during preheat, and the relay needs a rating that handles that load with margin. Finally, confirm the glow plugs match the system voltage, because plugs of the wrong voltage will burn out regardless of which relay you choose.
Features that affect the choice
Most buyers choose among three options: a genuine Toyota or original-supplier part, an aftermarket equivalent cross-referenced to the original number, or a generic continuous-duty relay or solenoid. A genuine or cross-referenced part keeps the factory footprint, connectors and timer logic. Generic heavy-current relays are popular with owners who convert to a manual glow switch. That approach removes dependence on the timer, but the driver then controls glow time, and repeated over-glowing can shorten plug life. A manual conversion also needs a properly sized fuse and wiring, and it may disconnect the dash glow lamp, which is driven by the timer rather than the relay on many setups.
Treat labels such as heavy duty or upgraded as meaningless unless the seller states the coil voltage, contact current rating and duty cycle. Useful evidence includes printed specifications, a clear part-number cross-reference, protection against moisture and dust, and solid terminal construction. A relay that lists only the vehicle model without electrical ratings gives you no way to confirm it suits your system.
Limitations and ownership costs
A new relay cannot fix failed glow plugs, loose bus bar nuts, corroded terminals, tired batteries or fuel delivery faults. With the bus bar removed, check each plug for continuity, because one open plug can make a good relay look ineffective. Budget for the relay and possibly for plugs, terminal hardware, a fusible link and cleaning supplies. If cranking voltage sags badly, budget for battery replacement as well. Before working on the circuit, disconnect the batteries, and on a 24-volt vehicle disconnect both. Tighten every high-current terminal firmly, since a loose connection creates heat and voltage drop.
Ongoing maintenance is minor: inspect the terminals periodically for discoloration or corrosion and keep the connections clean. Remember what the relay cannot do. It will not restore lost compression, compensate for worn injectors or a weak injection pump, or stop air from entering a leaking fuel line. If the engine still starts hard while near-battery voltage reaches the plugs, move on to the fuel filter, priming, leaks, injectors and compression.
Build a practical shortlist
Compare two or three candidates against the same criteria. The part number must match or be clearly cross-referenced to your original. The coil and contacts must suit your 12-volt or 24-volt system. The contact rating must handle six glow plugs with margin. The connector and mount must fit without modification. The part must suit your circuit type, whether timer-controlled, dual relay with resistor, or a manual conversion. The seller should publish real electrical specifications rather than vague marketing terms. Finally, weigh the return terms and how easily you could source a spare where you travel.
After installation, verify the result. The relay should click when preheat starts, the voltage at the bus bar should stay close to battery voltage during preheat, the glow cycle should end as expected, and the terminals should not get hot. If cold starts improve, the job is done. If not, the relay was probably not the main fault, and diagnosis should continue on the plugs, batteries or fuel system.