Tire Pressure Gauge Accuracy and Calibration
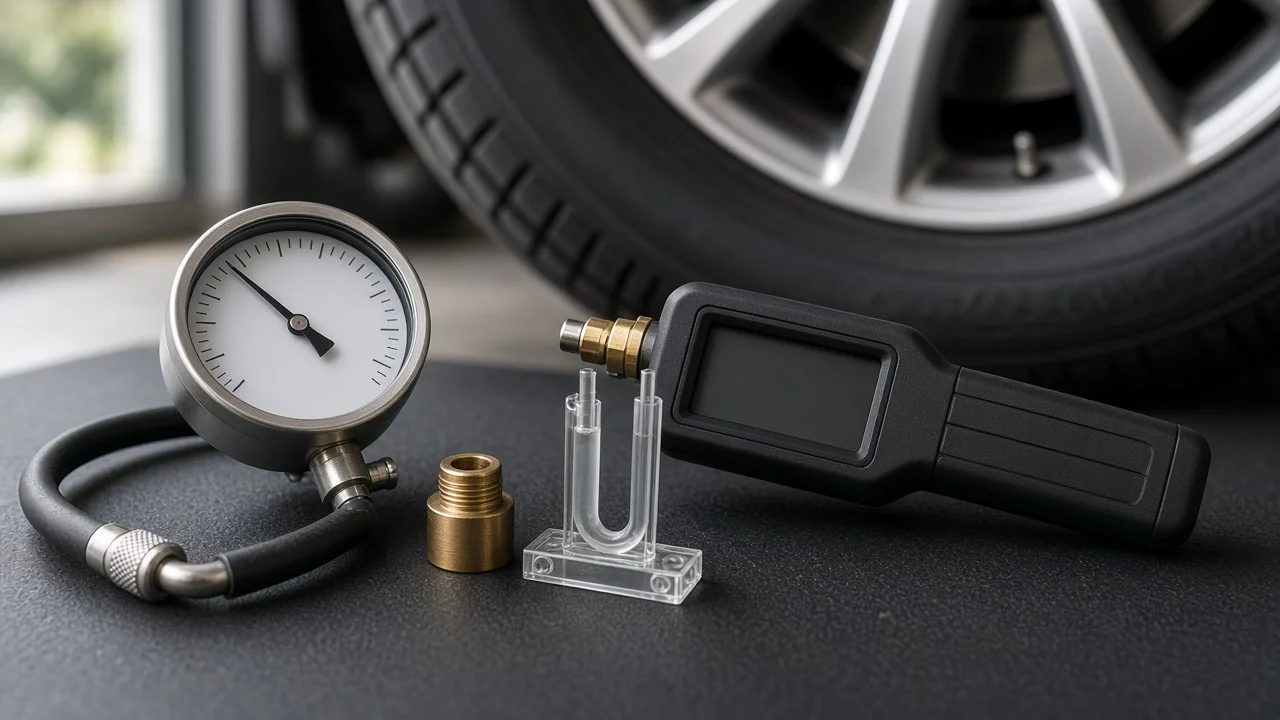
A tire pressure gauge is only useful if you can trust its reading and compare it with the right number. This guide explains how accurate typical gauges are, what they measure, and what affects a reading. It also shows how to check or calibrate a gauge at home and how to compare the result with your vehicle specification rather than the figure molded on the tire sidewall.
The Short Answer on Gauge Accuracy
A decent tire pressure gauge is accurate enough for routine maintenance if it is in good condition, used correctly and checked against a trusted reference from time to time. No gauge is exact. Every model has a tolerance, which the manufacturer usually states as a plus-or-minus value or as a percentage of the gauge's full measurement range. Cheap, dropped or worn gauges can drift beyond that tolerance without any visible sign. A reading is only as reliable as the last time the gauge was verified.
Most consumer gauges cannot be calibrated in the true sense. You can test them, compare them with a reference gauge and reset the zero on models that allow it. When one reads consistently wrong, replace it. Shop-grade tools are a different case: their calibration depends on what the maker or tool supplier supports.
What a Tire Pressure Gauge Actually Measures
A tire gauge reads gauge pressure, which is the difference between the air pressure inside the tire and the pressure of the surrounding atmosphere. Vehicle makers publish their inflation figures on the same basis, so you can compare the two directly as long as they use the same units. Readings may be shown in psi, kPa or bar, and many digital gauges can switch between them. A gauge left on the wrong unit is a common source of confusion, but that is a settings problem, not an accuracy problem.
The reading also reflects tire temperature. Air pressure rises as a tire warms during driving, so the vehicle specification is defined for cold tires. Even a perfectly accurate gauge will give a misleading number if you compare a hot tire with the cold specification.
How Stick, Dial and Digital Gauges Work
A stick or pencil gauge uses a piston and a spring. Air pushes the piston, which slides a marked rod out of the barrel, and the rod stays extended so you can read it. Dirt, moisture or a weakened spring can change how far the rod travels. A dial gauge usually uses a curved Bourdon tube or a diaphragm that flexes under pressure and turns a needle through gears. A hard knock can bend the mechanism or shift the needle so it no longer rests on zero.
A digital gauge uses an electronic pressure sensor that converts force into an electrical signal, then processes and displays it. Many digital models set their zero point when switched on. If you turn one on while it is pressed onto a valve, or while it is unusually hot or cold, every reading that follows can be offset. A weak battery can also cause erratic or low readings on some models. Finally, a display with a decimal place looks precise, but that does not mean the sensor is that accurate.
What Changes the Reading
The connection to the valve stem matters as much as the gauge itself. If the chuck is not pressed on squarely, air escapes with a hiss and the gauge can read low. Repeated poor connections also let air out of the tire. A damaged valve core or a worn chuck seal has the same effect. Press the gauge on firmly and straight. If the reading jumps or you hear leakage, reseat it and measure again.
The measurement range affects what a stated tolerance means in practice. When accuracy is given as a percentage of full scale, a gauge with a much larger range has a wider error band in absolute terms. Its markings are also usually coarser at passenger car pressures. A gauge whose range covers your vehicle specification comfortably, without going far beyond it, is easier to read precisely. Heat, cold storage, impacts and age all add to drift. Gauges built into air station hoses take heavy use and weather, so treat their readings as a rough guide only.
How to Test and Calibrate a Tire Pressure Gauge
Start with a zero check. With no pressure applied, a dial needle should rest on zero, and a digital gauge should show zero after it powers up. Next, test repeatability by measuring the same cold tire three or four times, reseating the gauge each time. Readings that wander noticeably point to a sealing problem or a failing mechanism. Finally, compare it with a reference gauge you have reason to trust, such as a recently bought quality gauge, a shop gauge that is checked regularly or a calibrated master gauge. Do this comparison at the pressure you actually use, because a gauge can be correct at one point and off at another.
What you can adjust depends on the design. Some dial gauges have a zero adjustment screw or a rotating bezel, and many digital gauges have a reset or zero function described in their instructions. Beyond zeroing, most consumer gauges offer no user adjustment. If one reads high or low by the same amount every time, you can note the offset and correct for it in your head, but replacing the gauge is simpler and less error-prone. For a Blue-Point gauge, another professional brand or any shop gauge, don't open the instrument. Follow the manufacturer's documentation or ask the tool supplier whether adjustment or certified calibration service is available.
Reading Results Against Your Vehicle Specification
Compare your reading with the cold inflation pressure set by the vehicle manufacturer. It is normally printed on the tire placard on the driver's door jamb and repeated in the owner's manual. The number molded on the tire sidewall is the maximum pressure the tire is designed to hold, not the pressure your vehicle should run. Some vehicles specify different front and rear pressures, a separate figure for the spare, or adjusted pressures for heavy loads or towing, so read the whole placard.
Measure before driving, or after the vehicle has been parked long enough for the tires to cool. If you have to check warm tires, don't let air out to match the cold specification. Recheck them once they have cooled instead. If your vehicle shows tire pressures on the dashboard, you can use that display to catch large disagreements. It is a separate measurement system, though, so don't assume it is the more accurate of the two.
Limitations and When to Get Help
Without a reference gauge, you cannot know how accurate your own gauge is in absolute terms. You can only tell whether it is consistent. Two gauges that agree may share the same error. Two that disagree tell you that at least one is wrong, but not which one. If accuracy matters for a specific reason, such as setting pressures for a particular load, track use or a pressure-sensitive tire, compare your gauge with a professionally maintained one.
Look up vehicle-specific information if the placard is missing, the tires are not the original size or type, or the owner's manual lists conditions you are unsure how to apply. See a tire shop or technician if one tire keeps losing pressure, the warning light stays on after you inflate to specification, or a valve stem looks damaged. Those are tire or vehicle problems, not gauge problems.