Third-Generation Toyota 4Runner 4WD Actuator Fitment
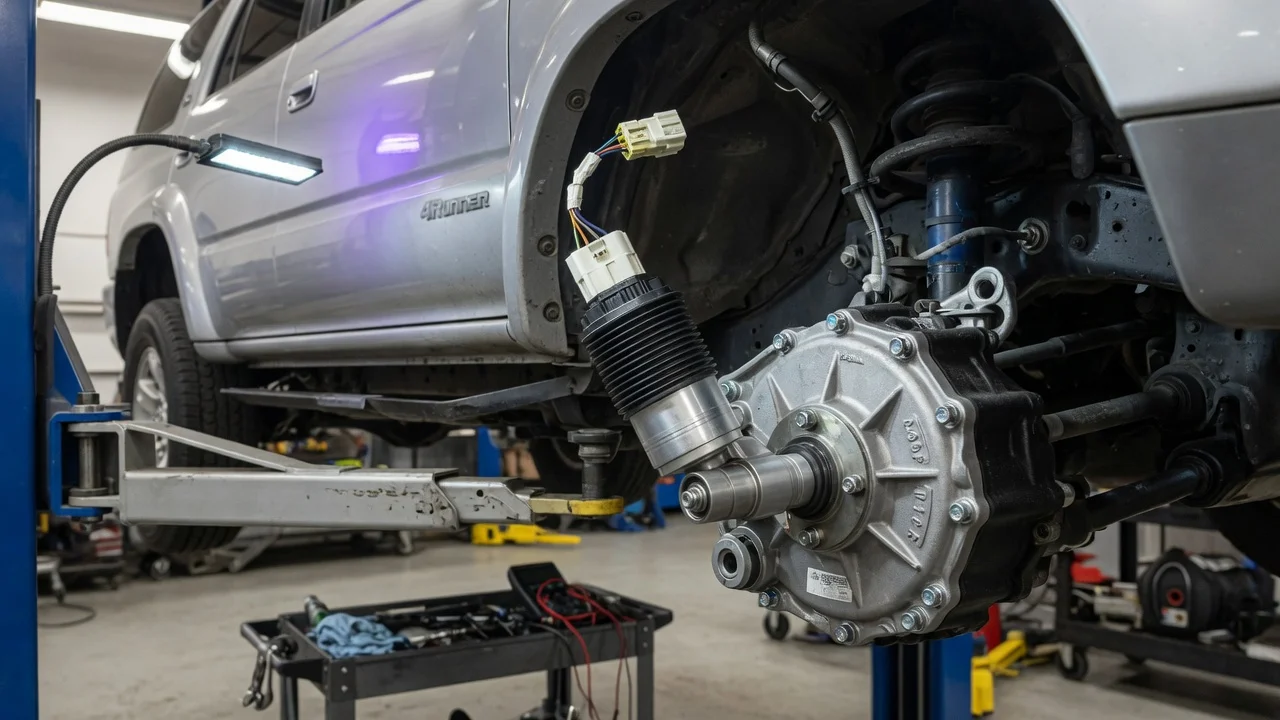
If you are shopping for a 4WD actuator for a third-generation Toyota 4Runner, the right part depends less on the generation name and more on the drivetrain your truck left the factory with. This guide explains which actuator owners usually mean, how it engages the front axle, which configuration details change fitment, and how to confirm a replacement before you buy and install it.
Which actuator fits a third-gen 4Runner
On third-generation 4Runners (the 1996 to 2002 model years in the US) with part-time four-wheel drive, the part sold as the 4WD actuator is normally the vacuum actuator for the front differential's Automatic Disconnecting Differential, usually called the ADD actuator. It mounts on the front differential and connects the front axle when the transfer case is shifted into four-wheel drive. A replacement fits only if it matches your truck's exact drivetrain arrangement. The most reliable confirmation is the part number from the original unit or a VIN-based catalog lookup, not the generation alone.
Be clear about which component you need. The same phrase is sometimes used loosely for transfer case controls, the front differential actuator, or the electric rear differential locker on trucks equipped with one. These are separate parts with separate fitment, so identifying the component that actually failed comes before choosing a replacement.
How the front axle disconnect works
In two-wheel drive, a part-time system does not need to turn the front driveline. The ADD design separates one front axle shaft from the differential, so the differential and front driveshaft are not driven by the wheels during normal driving. When you shift the transfer case into 4H or 4L, a switch signals the truck's 4WD control system, which uses vacuum switching valves to route engine vacuum to the actuator. The actuator's diaphragm moves a shift fork and sleeve that couples the axle shaft to the differential. Shifting back to 2H reverses the vacuum path and releases the sleeve.
A position switch on the actuator is one of the inputs for the 4WD indicator on the dash. Because engagement depends on vacuum, electrical signals and a mechanical sleeve working together, a front axle that will not engage does not automatically mean a failed actuator. Cracked hoses, a faulty switching valve, a bad switch or connector, or a sleeve that cannot align until the wheels roll slightly can all produce similar symptoms.
Configuration details that change fitment
Model year, engine (the 2.7-liter four-cylinder or the 3.4-liter V6), transmission and drivetrain all affect parts selection in this generation. The biggest variable is the 4WD system itself. Some third-gen trims, notably certain Limited models, were offered with a full-time four-wheel-drive system that works differently from the part-time setup, so a listing for an ADD actuator may not apply to them. Two-wheel-drive 4Runners have no front-drive components at all. Confirm your vehicle configuration before assuming a generation-wide listing covers your truck.
Service history matters as well. Previous owners sometimes replace the factory disconnect with a manual locking conversion, swap in a differential from another vehicle, or reroute vacuum lines. Any of these can make a catalog entry for the original configuration misleading. Toyota trucks of the same era may share related components, but treat any cross-reference as a lead to verify by part number rather than proof of fitment. Aftermarket units can also differ from original equipment in connector style, hose port orientation or included seals, so compare a new unit directly with the one you remove.
Checks before you buy and install
Start with an inspection. Confirm that your front differential actually carries a vacuum actuator with hoses running to it, then follow those hoses for cracks, splits, softened sections or loose fittings. Check the electrical connector at the actuator switch for corrosion or damage. A hand vacuum pump can show whether the actuator diaphragm holds vacuum and whether the mechanism moves, but use the test procedure in the service manual for your model year rather than guessing at expected readings. There is no universal replacement interval for this part, so looking over the hoses and connector during routine work on your maintenance schedule is a practical habit.
When ordering, read the part number on the existing actuator if it is legible and match it or a documented supersession. Give your VIN to the parts supplier and ask whether a gasket or seal is included. Before removal, check whether taking the actuator off opens the differential housing; if it does, plan to refill with the lubricant type and quantity in the manufacturer specifications. Use the factory torque values for the mounting bolts rather than general figures.
After installation, test engagement under safe operating conditions as described in the owner's manual: shift into 4H, confirm the indicator responds and the front wheels are driven, then return to 2H and confirm release. Avoid using part-time 4WD on dry, high-traction pavement during this test, since that can bind the driveline.
Limitations and next step
This guide cannot confirm fitment for an individual truck; only the part number, the VIN and a physical inspection can do that. If the front axle still fails to engage after a correct actuator is installed, the fault likely sits on the control side, and diagnosing the switching valves, wiring and control unit requires the factory wiring diagrams and service manual for your model year. Grinding, clunking, or binding in turns indicates a mechanical problem; stop using four-wheel drive and have a qualified technician inspect the differential and driveline.
The practical next step is simple: identify your 4WD system and any past modifications, record the part number from the existing actuator, and match the replacement through a VIN-based lookup before you order.