Tesla Model 3, Model Y and Model S Cabin Air Filter Replacement
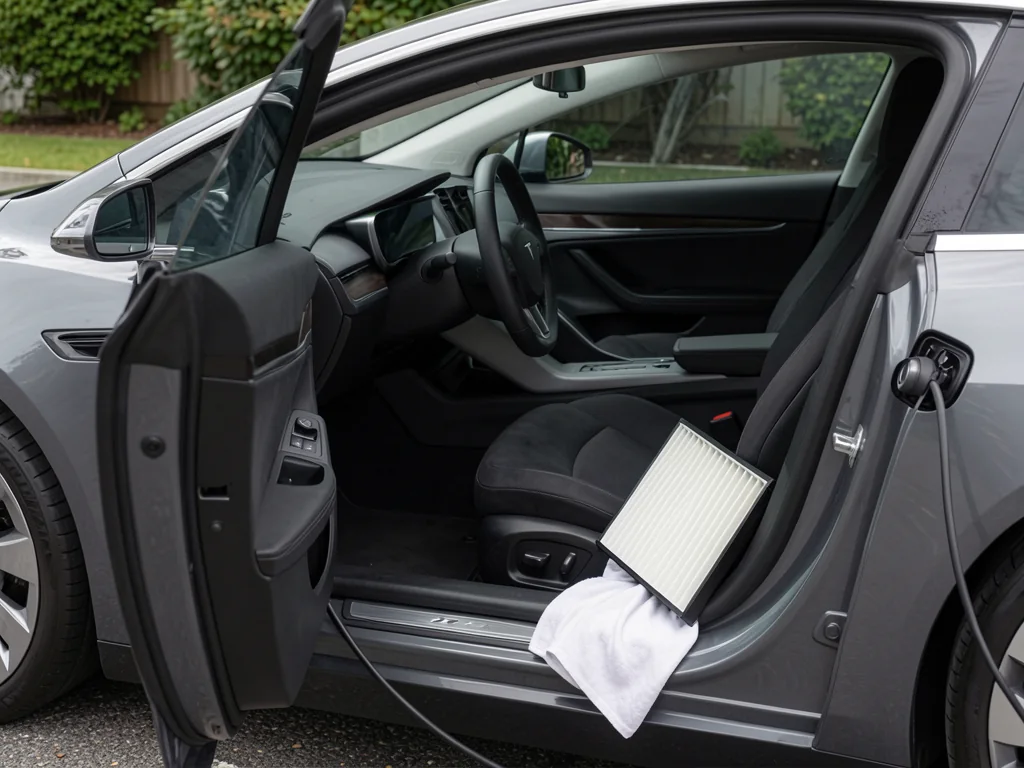
A clean Tesla cabin air filter keeps HVAC airflow strong and helps limit dust, pollen, and musty cabin odor. The Model 3, Model Y, and Model S vary by model year and filtration equipment, so a successful Tesla cabin air filter replacement starts with confirming the correct parts and access procedure. It finishes with installing the new pleated filter media in the right airflow direction.
Identify Your Tesla’s Cabin Filter and Access Location
Before ordering anything, pin down the exact model, model year, and installed filtration equipment. Tesla has revised its vehicles over time, and those changes can affect which filter fits, how many elements the housing holds, and how the cabin filter housing is reached. A filter listed simply as fitting a Tesla Model 3 or Model Y may not match every build. Start with the vehicle's own documentation, not a general product description, when you select parts.
Many owners find the filter behind the passenger footwell, but that location applies only to certain configurations, so confirm it in the vehicle's instructions before removing any trim. The cabin filter cleans the air entering the ventilation system. A vehicle with a separate HEPA assembly may have additional filtration components that are serviced differently. Checking the required quantity and fitment up front prevents a half-finished job, such as opening the filter access cover and discovering the replacement set is incomplete.
Model 3 Passenger-Footwell Filter Replacement
For a Tesla Model 3 cabin air filter replacement, begin by locating the access area described in the instructions for your exact model year and configuration. Park on level ground, secure the car, and follow the specified climate-control shutdown and preparation steps before touching the housing. Those steps matter because HVAC components can remain active while the car is awake, and a running blower can pull loose debris deeper into the ducting once the old Model 3 cabin air filter is out.
Work through the documented trim and cover removal sequence rather than prying at panels, and stop if access requires disturbing wiring or components you do not recognize. As the old elements come out, note their arrangement and airflow direction markings. Pleated filter media installed backward or out of order filters poorly and may not seal. Seat the replacement filters fully, then refit the cover and trim by aligning the clips rather than forcing them, which avoids rattles and broken retainers.
Model Y Cabin Filter Access and Installation
A Tesla Model Y cabin air filter replacement follows similar logic, but don't assume it is identical to the Model 3 job. Confirm the filter location and the applicable passenger-footwell access procedure for your Model Y before starting. Then use the vehicle-specific instructions to remove the access panels and open the filter housing. A plastic trim tool, a flashlight, and a clean surface for removed parts keep fasteners organized and reduce the chance of scratching interior surfaces.
Before fitting new parts, check the documented filter count, installation order, and airflow orientation for the Model Y cabin air filter, and compare them with what you removed. A gap at the housing edge lets unfiltered air bypass the media, which defeats the purpose of the change. Once the housing cover and trim are secure, run the ventilation at several fan speeds. Unusual noise, whistling, or restricted airflow can point to a misaligned filter or a cover that is not fully latched.
Find the Correct Model S Filter Procedure
The Tesla Model S cabin air filter deserves extra care because the car has a long production history with differing equipment. Identify the model year and filtration hardware first, then verify the access location directly. Don't assume the passenger-footwell procedure used on other models carries over to every Model S. Searching behind the wrong panel risks damaged trim or needless disassembly without ever reaching the cabin filter housing, turning a simple maintenance task into a repair.
Confirm the replacement filter specification and whether the documented procedure is intended for owner maintenance. Some service tasks involve removing components that affect other systems or require tools and experience beyond a basic filter swap. When access involves parts or disassembly outside the owner instructions, arranging service is the sensible choice. A technician working from vehicle-specific procedures can replace the filter and inspect the open housing for debris or moisture, which adds value beyond the filter change itself.
Understand HEPA Equipment and Replacement Options
Some Teslas have a factory HEPA filtration system, and knowing whether yours does determines which assembly needs service. HEPA filtration captures much finer particles than a standard cabin filter, and a factory HEPA system is a separate assembly within the HVAC airflow path. A replacement cabin filter labeled HEPA does not establish that the vehicle has the complete factory system. The wording on a box is not confirmation of the car's equipment.
Verify any replacement or retrofit option for the exact vehicle. Matching dimensions alone do not establish suitability, because sealing, airflow resistance, and housing design all affect performance, and denser media can restrict airflow in a system not designed for it. Treat filtration and odor-control claims cautiously, including activated-carbon marketing, and don't assume a filter change will resolve every cabin air complaint. Odors coming from ducting, drains, or other HVAC components can persist no matter how capable the new filter is.
Set Replacement Timing and Assess Persistent Odors
Use current maintenance guidance for your exact Tesla model and model year to set the replacement interval, since recommendations can change and can differ between vehicles and filtration equipment. Driving conditions matter too. Frequent dusty roads, heavy pollen seasons, visible debris, reduced airflow, or recurring odors can justify checking the filter between scheduled services. A quick inspection shows whether the pleated media is clogged, discolored, or damp, which helps you decide whether early replacement is worthwhile.
A dirty filter can contribute to weak airflow or a musty cabin odor, but symptoms alone do not identify the source. After replacement, confirm that airflow is normal at different fan speeds and that the filter access cover is secure. If odors, dampness, or weak airflow continue with fresh filters installed, the cause may lie elsewhere in the HVAC system, such as moisture drainage or ducting problems. At that point, a professional HVAC inspection is the logical next step.